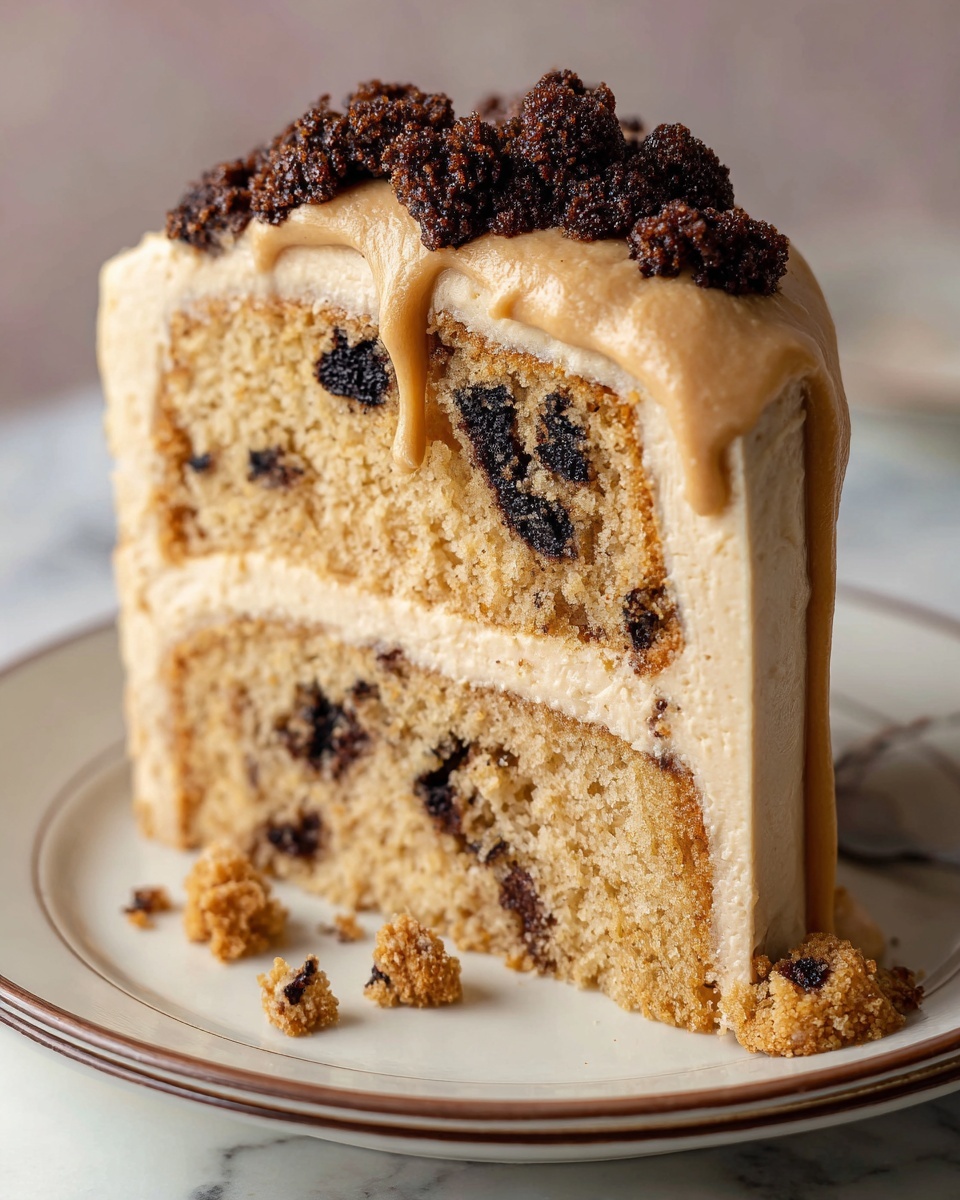
There is something truly magical about a simple, no-fuss bread that turns out soft, moist, and full of nostalgic charm. The Vintage Ice Cream Bread Recipe is a brilliant example of how a few everyday ingredients—ice cream and self-rising flour—can come together to create an irresistible loaf that’s perfect for breakfasts, snacks, or even an impromptu dessert. This delightfully easy recipe captures the spirit of old-fashioned treats while delivering a subtly sweet, tender crumb that feels like a warm hug on a plate.
Ingredients You’ll Need
Gathering your ingredients for this classic bread is refreshingly simple. Each component plays a vital role in giving the bread its unique tenderness and flavor, making this recipe a stress-free favorite to whip up anytime.
- 2 cups ice cream (any flavor, softened): This is the star ingredient, bringing creamy sweetness and moisture to the bread; feel free to experiment with your favorite flavors or even seasonal varieties.
- 1 1/2 cups self-rising flour: Using self-rising flour saves time and effort by already containing baking powder and salt, which gives the bread its fluffy rise and slight savory balance.
How to Make Vintage Ice Cream Bread Recipe
Step 1: Preheat and Prepare Your Pan
Start by heating your oven to 350°F (175°C). While it warms up, grease your loaf pan generously with butter or use a non-stick spray to ensure the bread won’t stick and will come out perfectly shaped. This small step sets the foundation for a flawless bake.
Step 2: Mix Ice Cream and Flour
In a large bowl, combine the softened ice cream and self-rising flour. Stir them together thoroughly until you have an even, thick batter. This simple combination is the backbone of the Vintage Ice Cream Bread Recipe, and you’ll be amazed at how quickly it comes together!
Step 3: Transfer Batter to Pan
Pour your batter into the prepared loaf pan, then smooth the top with the back of a spatula for an even finish. This helps the bread bake consistently, giving it a beautiful golden crust.
Step 4: Bake to Perfection
Bake your loaf for about 45-50 minutes, or until it takes on a golden brown hue and a toothpick inserted into the center emerges clean. This final bake step transforms the simple batter into a luscious, fluffy bread that’s just waiting to be enjoyed.
Step 5: Cool Before Slicing
Once out of the oven, let the bread cool in its pan for 10 minutes. Then, carefully transfer it to a wire rack to cool completely. Patience here ensures that the bread holds its shape and slices beautifully.
How to Serve Vintage Ice Cream Bread Recipe
Garnishes
A light dusting of powdered sugar or a drizzle of honey on top instantly elevates the bread’s appeal. For added flair, fresh berries or a dollop of whipped cream complement the subtle sweetness from the ice cream wonderfully.
Side Dishes
This bread pairs beautifully with a steaming cup of coffee or tea, making it the perfect indulgence for your morning or afternoon break. Alternatively, serve it alongside creamy butter or fruit preserves to enhance every bite.
Creative Ways to Present
Transform your loaf into a showstopper by slicing it into thick pieces and toasting lightly for a crunchy outside and soft inside. For a fun twist, layer slices with ice cream or jam to create a delightful bread sandwich that’s both nostalgic and innovative.
Make Ahead and Storage
Storing Leftovers
Keep any leftover Vintage Ice Cream Bread Recipe wrapped tightly in plastic wrap or stored in an airtight container at room temperature for up to 2 days. This keeps it fresh, soft, and ready for whenever you need a quick treat.
Freezing
If you want to enjoy this bread later, slice it first and freeze the pieces individually in a freezer-safe bag. This method allows you to thaw just what you need without losing that delightful texture.
Reheating
To bring your bread back to life, simply toast slices lightly or warm them in a low oven for 5-7 minutes. The heat restores the soft crumb and enhances the flavors beautifully, as if fresh from the oven.
FAQs
Can I use any flavor of ice cream for this recipe?
Absolutely! The Vintage Ice Cream Bread Recipe is wonderfully versatile, so you can use any flavor that catches your eye. Fruity or chocolate varieties will add different but delightful twists to the bread’s taste.
What if I don’t have self-rising flour?
No worries! You can make your own by combining 1 1/2 cups of all-purpose flour with 2 teaspoons of baking powder and 1/2 teaspoon of salt. This mix mimics self-rising flour and works perfectly in the recipe.
Is this bread sweet or savory?
The flavor leans toward a gentle sweetness thanks to the ice cream, but it’s not overwhelmingly sugary. It’s perfect for those who enjoy a subtle sweet bread that pairs well with both sweet and savory accompaniments.
How dense is the bread?
This bread has a soft, slightly dense texture—not too heavy and definitely very moist—making it great for slicing and layering with your favorite toppings without crumbling.
Can I double the recipe for a larger loaf?
Yes, you can easily double the ingredients and use a larger loaf pan or two standard pans. Just keep an eye on the baking time, as it might need a bit longer depending on the size of your pans.
Final Thoughts
Sharing the Vintage Ice Cream Bread Recipe feels like passing along a treasured secret. Its simplicity and nostalgic charm make it a joy to bake, and the results are always rewarding. Whether you’re in need of a quick snack or a cozy addition to your morning routine, this bread will warm your heart and satisfy your taste buds. Give it a try—you might just find your new favorite comfort bread!
Print
Vintage Ice Cream Bread Recipe
- Prep Time: 10 minutes
- Cook Time: 50 minutes
- Total Time: 1 hour
- Yield: 1 loaf (about 8 slices)
- Category: Bread
- Method: Baking
- Cuisine: American
Description
This Vintage Ice Cream Bread recipe is a simple and delightful quick bread made using just softened ice cream and self-rising flour. Perfect for a fun and easy baking project, the bread has a tender crumb and subtle sweetness from the ice cream, requiring no yeast or eggs.
Ingredients
Ingredients
- 2 cups ice cream (any flavor, softened)
- 1 1/2 cups self-rising flour
Instructions
- Preheat and prepare pan: Preheat your oven to 350°F (175°C). Grease a loaf pan with butter or non-stick spray to prevent sticking during baking.
- Mix ingredients: In a large bowl, combine the softened ice cream with the self-rising flour. Stir them together until fully incorporated; the batter will be thick and sticky.
- Transfer batter to pan: Pour the thick batter into the prepared loaf pan, smoothing the top evenly with a spatula to create a uniform shape.
- Bake the bread: Bake in the preheated oven for 45-50 minutes, or until the bread turns golden brown on top. Test doneness by inserting a toothpick into the center; it should come out clean.
- Cool the bread: Allow the bread to cool in the pan for 10 minutes, then carefully transfer it to a wire rack to cool completely before slicing and serving.
Notes
- You can use any flavor of ice cream, but vanilla or chocolate work best for versatile bread.
- Make sure the ice cream is softened to room temperature for easy mixing.
- Self-rising flour contains baking powder and salt, so additional leavening agents or salt are not needed.
- Cool the bread fully for easier slicing and to prevent crumbling.
- This bread is best eaten within a couple of days and can be toasted upon serving.


