
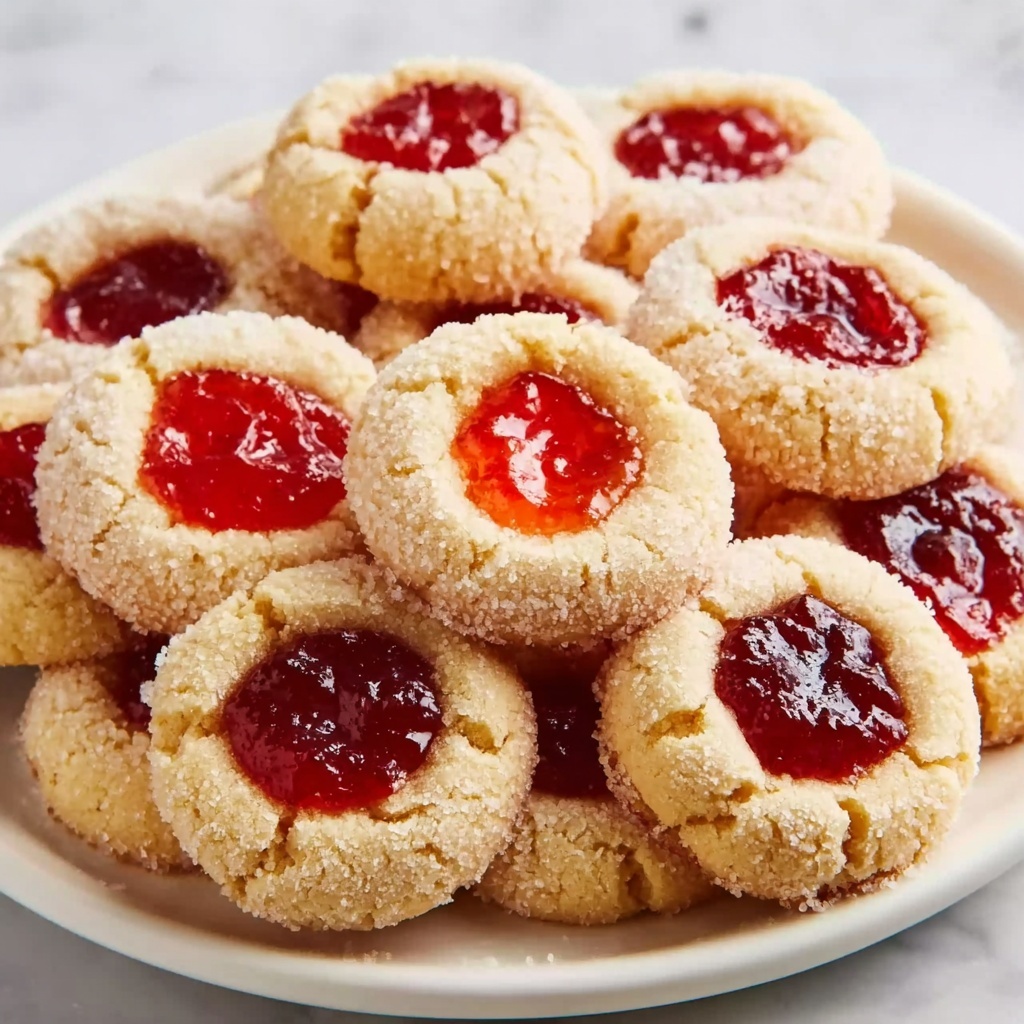
There’s something truly magical about a classic Thumbprint Cookies Recipe that makes it feel like a warm hug from your childhood. These delicate, buttery cookies with a sweet dollop of jam nestled in their centers are as enchanting to the eyes as they are irresistible to your taste buds. Each bite offers a perfect balance of crumbly richness and fruity brightness, all wrapped up in a charming, bite-sized treat. Whether it’s for a holiday gathering or just an everyday indulgence, this Thumbprint Cookies Recipe is a timeless favorite you’ll want to make again and again.
Ingredients You’ll Need
This recipe shines because of its simplicity and the quality of each component. Every ingredient has a clear purpose, whether it’s adding buttery softness, sweet sparkle, or that distinctive jammy pop of flavor that makes these cookies unforgettable.
- 1 cup unsalted butter, room temperature: Provides a rich, creamy base essential for tender cookies.
- ⅔ cup granulated sugar: Adds sweet, crunchy texture to the dough.
- 1 teaspoon vanilla or almond extract: Introduces a fragrant depth that enhances all the other flavors.
- ½ teaspoon kosher salt: Balances sweetness and heightens the buttery notes.
- 2 cups all-purpose flour: The structure that holds everything together with just the right crumb.
- ¼ cup seedless jam (apricot or raspberry recommended): The jewel-like center of the cookie, bursting with fruity sweetness.
- ⅓ cup granulated sugar (for coating): Creates a delightful outer sparkle and gentle crunch.
How to Make Thumbprint Cookies Recipe
Step 1: Cream the Butter and Sugar
Start by beating the room temperature butter with granulated sugar in your stand mixer using the paddle attachment. Mix on medium speed for around 2 to 3 minutes until the mixture becomes light and creamy. This step is crucial as it incorporates air, ensuring your cookies stay tender and light.
Step 2: Add Flavor and Salt
Next, blend in your choice of vanilla or almond extract along with the kosher salt. This enriches your dough with aromatic layers while the salt subtly balances the sweetness, bringing everything together harmoniously.
Step 3: Incorporate the Flour
Scrape down the sides of your bowl to keep everything well mixed. Then reduce the mixer speed to low and gradually add the all-purpose flour. Mix just until a cohesive dough forms, finishing the kneading by hand if necessary. Overmixing here can make cookies tough, so handle gently!
Step 4: Chill the Dough
Roll your dough into a ball and wrap it tightly in plastic wrap. Pop it into the refrigerator for one hour. Chilling helps the dough firm up, making it easier to handle and preventing excessive spreading during baking.
Step 5: Prepare for Baking
Preheat your oven to 350°F (175°C) and line your baking sheets with parchment paper. This setup ensures even baking and easy cleanup, plus your cookies won’t stick.
Step 6: Shape and Coat the Cookies
Pour ⅓ cup of granulated sugar into a shallow bowl. Scoop about one tablespoon of dough, roll it into a neat ball, then coat it completely in the sugar. Place these sugared dough balls on your baking sheet, leaving space between each to allow for gentle spreading.
Step 7: Create the Thumbprint Indentation
Using your thumb or the back of a spoon, press into the center of each dough ball to create a well. Fill this indentation with about ½ teaspoon of your chosen jam. This jam pocket will bubble and caramelize slightly during baking — pure magic!
Step 8: Bake and Cool
Bake the cookies for 14 to 15 minutes, until the edges are just turning golden brown. Let them cool for a minute on the baking sheet so they set properly, then transfer to a wire rack to cool completely. Patience here rewards you with the perfect texture.
How to Serve Thumbprint Cookies Recipe

Garnishes
These cookies are naturally charming, but you can elevate them with a light dusting of powdered sugar for a snowy look. Fresh mint leaves or a tiny piece of candied citrus peel atop the jam add an elegant pop of color and freshness.
Side Dishes
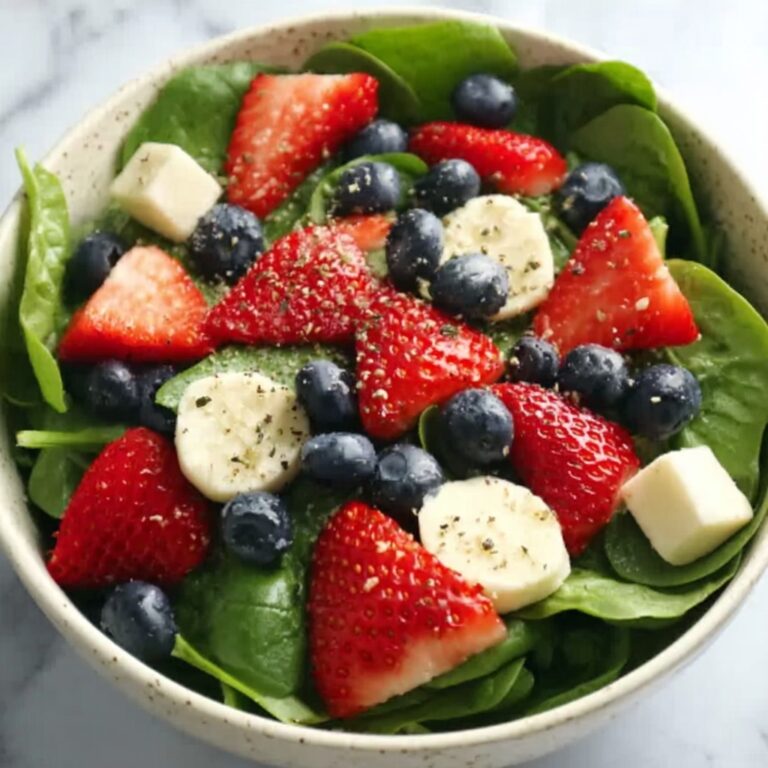
Thumbprint cookies pair wonderfully with a warm cup of tea or a chilled glass of milk. They also complement a cheese platter or can be served alongside fresh fruit for a delightful afternoon snack or dessert option.
Creative Ways to Present
Arrange your Thumbprint Cookies Recipe on a rustic wooden tray or a pretty tiered stand to impress guests. You can also package them in clear cellophane bags tied with ribbons for charming homemade gifts anyone would adore.
Make Ahead and Storage
Storing Leftovers
Once fully cooled, store your Thumbprint Cookies in an airtight container at room temperature. They maintain their fresh, buttery texture and jammy centers beautifully for up to one week, making them perfect for preparing in advance.
Freezing
These cookies freeze brilliantly! Arrange them in a single layer on a baking sheet and freeze until solid, then transfer to a freezer-safe container or bag. They can be stored frozen for up to three months, ready whenever a sweet craving hits.
Reheating
To enjoy them warm, simply let frozen cookies thaw at room temperature and pop them in a preheated oven at 325°F (160°C) for about 5 minutes. This revives their freshly-baked softness and jammy goodness.
FAQs
Can I use any type of jam for this Thumbprint Cookies Recipe?
Absolutely! While apricot and seedless raspberry are classic choices for their bright flavor and smooth texture, you can experiment with other jams like strawberry, blueberry, or even marmalade to tailor the cookies to your taste.
What if I don’t have a stand mixer? Can I make these by hand?
Yes, you can. Use a hand mixer or even a sturdy wooden spoon to cream the butter and sugar. It might take a little more elbow grease, but the results will still be delicious and well worth it.
How long should I chill the dough if I’m short on time?
The dough really benefits from at least one hour in the fridge, as it makes shaping easier and improves texture. If in a hurry, chilling for 30 minutes can work, but don’t skip this step entirely if you want the best cookie experience.
Can I make the dough in advance?
Yes! The dough can be prepared and refrigerated overnight, or frozen up to one month. Just thaw it completely in the fridge before shaping to ensure smooth handling and consistent baking.
How do I keep the jam from spreading too much during baking?
Using seedless jam helps prevent excess runniness. Also, pressing a well-defined indentation in the dough before filling and avoiding overfilling with jam keeps everything neat and perfectly portioned.
Final Thoughts
This Thumbprint Cookies Recipe is more than just a dessert — it’s a joyful creation that invites smiles and shared moments. The simplicity of the ingredients combined with the nostalgic charm makes these cookies an absolute must-try. Whether you’re gifting them to friends or savoring them yourself, each batch promises a comforting touch of sweetness that never goes out of style. Give it a go — your future self (and your taste buds) will thank you!
Print
Thumbprint Cookies Recipe
- Prep Time: 1 hour 15 minutes
- Cook Time: 15 minutes
- Total Time: 1 hour 30 minutes
- Yield: 24 cookies
- Category: Dessert
- Method: Baking
- Cuisine: American
- Diet: Vegetarian
Description
Classic Thumbprint Cookies are buttery, tender cookies with a delightful jam-filled center. Rolled in sugar for a sweet crunch, these cookies are perfect for any occasion and easy to make with simple ingredients. The recipe yields 24 delicious cookies baked to golden perfection.
Ingredients
Cookie Dough
- 1 cup unsalted butter, room temperature
- ⅔ cup granulated sugar
- 1 teaspoon vanilla extract or almond extract
- ½ teaspoon kosher salt
- 2 cups all-purpose flour
Coating and Filling
- ⅓ cup granulated sugar (for coating)
- ¼ cup jam (apricot and seedless raspberry recommended)
Instructions
- Cream Butter and Sugar: In a stand mixer bowl fitted with the paddle attachment, beat the room temperature butter and granulated sugar together on medium speed for 2-3 minutes until the mixture turns light and creamy, ensuring a smooth base for the dough.
- Add Flavorings and Salt: Mix in the vanilla or almond extract along with the kosher salt until well combined, adding aromatic depth to the cookie dough.
- Incorporate Flour: Scrape down the sides of the bowl, reduce mixer speed to low, and gradually add the all-purpose flour. Mix until a dough forms, finishing kneading by hand if necessary to bring it together without overworking.
- Chill the Dough: Shape the dough into a ball, wrap it tightly in plastic wrap, and refrigerate for 1 hour to firm up, making it easier to handle and enhancing texture.
- Prepare for Baking: Preheat your oven to 350°F (175°C) and line baking sheets with parchment paper to prevent sticking and ensure even baking.
- Shape and Sugar-Coat Cookies: Pour ⅓ cup granulated sugar into a shallow bowl. Scoop 1 tablespoon of chilled dough, roll it into a smooth ball, then roll each ball in sugar to coat completely. Arrange the sugar-coated dough balls evenly spaced on the prepared baking sheets.
- Create Thumbprint and Fill: Use your thumb or the back of a spoon to gently press an indentation into the center of each dough ball. Fill each indentation with approximately ½ teaspoon of your chosen jam, such as apricot or seedless raspberry, for a sweet, fruity center.
- Bake and Cool: Bake the cookies in the preheated oven for 14-15 minutes until the edges are just beginning to brown. Remove from the oven and allow the cookies to cool on the baking sheet for 1 minute before transferring them to a wire rack to cool completely.
Notes
- For the best texture, ensure butter is at room temperature to cream properly with sugar.
- Chilling the dough is essential to prevent spreading during baking and to enhance flavor.
- You can substitute the jam with your favorite preserves or curd for different flavors.
- To make these cookies gluten-free, use a gluten-free all-purpose flour blend in place of regular flour.
- Store cookies in an airtight container at room temperature for up to one week, or freeze for longer storage.
