
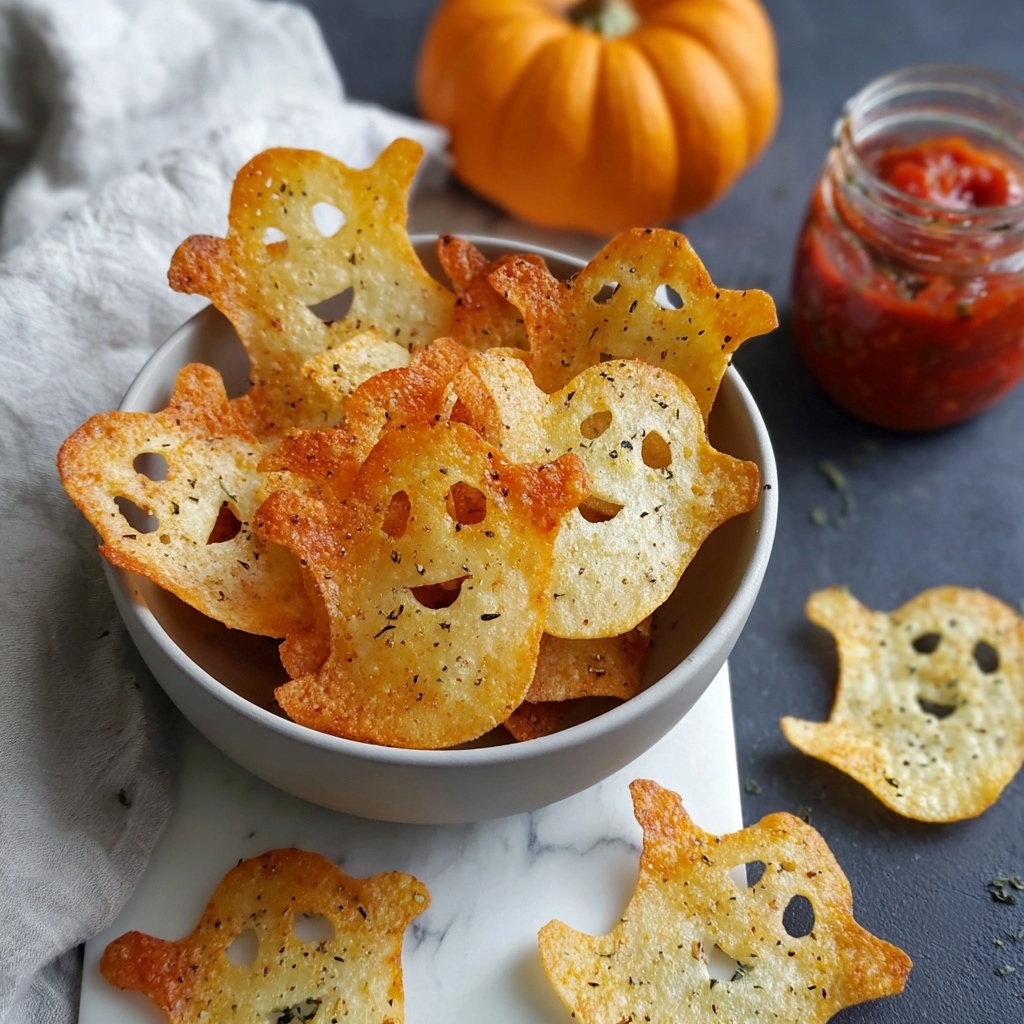
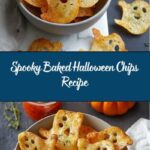
If you’re looking to add some festive fun and crunch to your Halloween celebrations, this Spooky Baked Halloween Chips Recipe is an absolute must-try. These delightful chips are not only irresistibly crispy and lightly salted but also shaped into charming Halloween-themed figures that bring an extra touch of whimsy and excitement to your party snack table. Simple to prepare yet full of seasonal spirit, this recipe transforms everyday flour tortillas into a spooky, savory treat that everyone will love. Whether you serve them with dip or snack on them solo, these chips are sure to be the highlight of your Halloween festivities.
Ingredients You’ll Need
Getting these chips just right is all about a few straightforward ingredients that work perfectly together to create a crispy, flavorful base. Each element is thoughtfully chosen to enhance the taste and texture, while keeping things light and easy.
- Flour tortillas (4): The canvas for your spooky shapes—choose gluten-free or grain-free if needed to keep everyone happy.
- Avocado or olive oil spray: A light mist helps the chips bake to a perfectly golden crisp without excess grease.
- Salt: The essential seasoning that brings out the flavor and adds the perfect savory finish.
How to Make Spooky Baked Halloween Chips Recipe
Step 1: Prepare Workspace
Start by preheating your oven to 375°F (190°C), and line two large baking sheets with parchment paper. This setup ensures your chips bake evenly and don’t stick, making cleanup a breeze and keeping your shapes intact.
Step 2: Cut Spooky Shapes
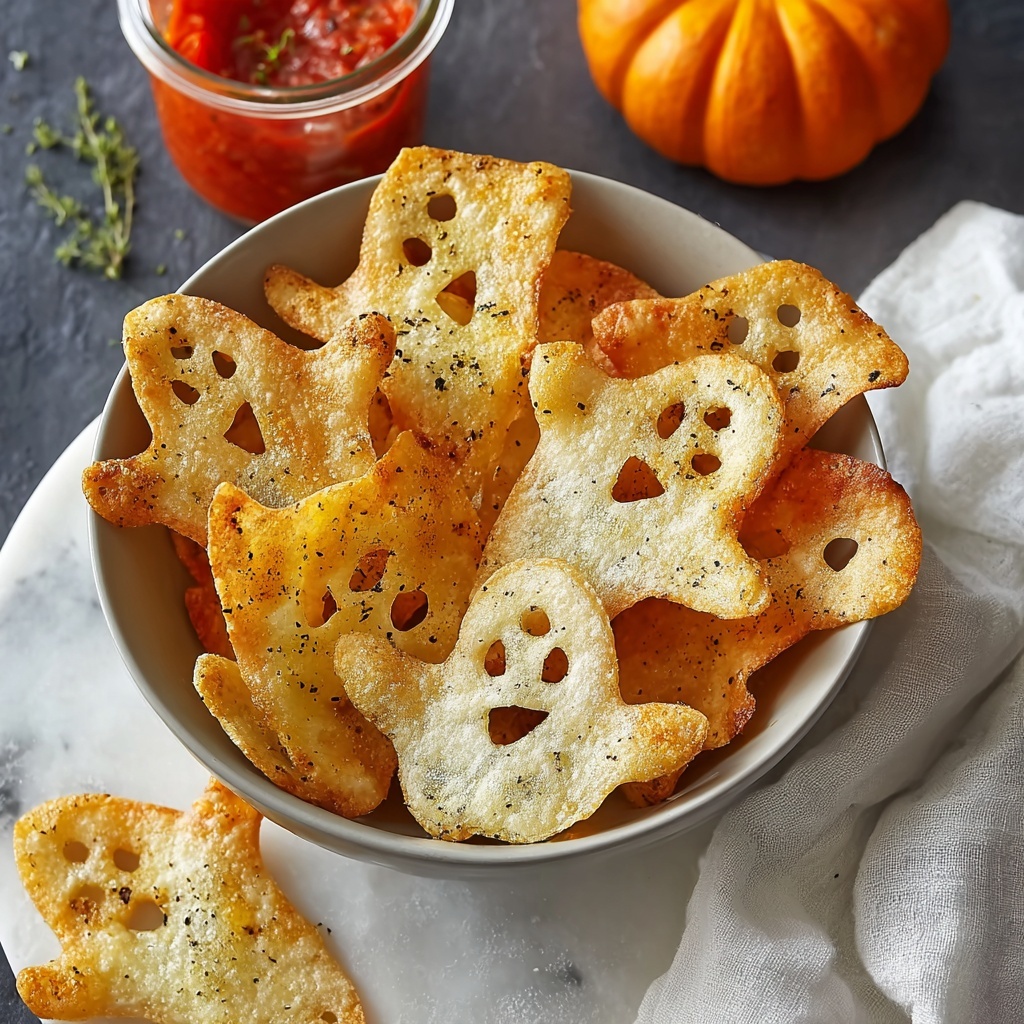
Stack two or three tortillas for efficiency and use Halloween-themed cookie cutters to press out your spooky figures. Think ghosts, pumpkins, bats, and more. Place each shape carefully on the baking sheets without overlapping to allow for even baking and maximum crunch.
Step 3: Oil and Season
Give both sides of your tortilla shapes a light spritz of avocado or olive oil spray. This tiny bit of oil is key to achieving a crisp texture and a golden color. Then, sprinkle them generously with salt for that perfect savory kick.
Step 4: Bake to Crispy Perfection
Bake the chips in your preheated oven for 8 to 12 minutes, watching closely so they don’t burn, since ovens can vary in temperature. If you’re using two baking sheets, rotate them halfway through baking to ensure even cooking. The chips should turn a beautiful golden brown when done.
Step 5: Cool and Serve
Immediately transfer the baked chips to a wire rack to cool completely. This step is crucial as it helps them crisp up even more as they cool. Once cooled, they’re ready to serve, or store them in an airtight container at room temperature for up to three to four days.
How to Serve Spooky Baked Halloween Chips Recipe
Garnishes
Adding a little extra pizzazz to your Spooky Baked Halloween Chips Recipe is easy with some creative garnishes. Try a sprinkle of smoked paprika or a pinch of chili powder for a smoky twist, or top with finely chopped fresh herbs like cilantro for a bright pop of flavor. Even a small drizzle of lime juice can elevate these chips to next-level deliciousness.
Side Dishes
These baked chips pair wonderfully with classic dips like guacamole, salsa, or a creamy queso. For a Halloween-themed twist, consider a black bean dip or a bright orange roasted carrot hummus to echo the seasonal spirit. Their mild saltiness and crisp texture make them perfect dippers that bring out the best in any accompaniment.
Creative Ways to Present
For a festive presentation, arrange your Halloween-shaped chips around a spooky-themed bowl or platter decorated with mini pumpkins and artificial cobwebs. You can also set them up on a tiered serving tray for an eye-catching display at parties. Try using a rustic wooden board or black slate for contrast that makes each chip’s shape pop dramatically.
Make Ahead and Storage
Storing Leftovers
Keep any leftover Spooky Baked Halloween Chips Recipe fresh by storing them in an airtight container at room temperature. This keeps them delightfully crispy for up to three or four days, perfect for snacking leftovers without losing that fresh-out-of-the-oven crunch.
Freezing
While these chips are best enjoyed fresh, you can freeze them if you want to extend their lifespan. Place them in a single layer on a baking sheet to freeze individually, then transfer to a resealable freezer bag to keep their shape and crispness. When ready to eat, thaw briefly at room temperature.
Reheating
If your chips lose some of their crunch, simply pop them in a preheated oven at 350°F (175°C) for about 3 to 5 minutes. This quick reheat revitalizes their crisp texture without drying them out, so they’re ready to delight again in no time.
FAQs
Can I use corn tortillas instead of flour tortillas?
You can try corn tortillas, but they may be less flexible when cutting shapes and could result in a different texture. Flour tortillas tend to crisp up more evenly and hold their shape better for this recipe.
What can I do if I don’t have Halloween-themed cookie cutters?
No worries! You can use kitchen knives or craft scissors to cut freehand shapes or even simple triangles and squares for chips with a spooky name. The fun is in the creativity and taste!
Is it possible to make these chips vegan?
Absolutely! This recipe is naturally vegan, especially if you use avocado or olive oil spray and check that your tortillas contain no animal products.
Can I add other seasonings besides salt?
Definitely. Experiment with garlic powder, chili powder, smoked paprika, or even a sprinkle of nutritional yeast to enhance flavor. Just be mindful not to overcrowd the chips, letting the seasoning complement the natural tortilla taste.
How many chips does this recipe make?
This Spooky Baked Halloween Chips Recipe yields about 32 chips, depending on the size of your cookie cutters and how many you cut from each tortilla.
Final Thoughts
Once you try this Spooky Baked Halloween Chips Recipe, you’ll wonder how you ever celebrated Halloween without it. The ease of preparation, combined with the festive shapes and irresistible crunch, makes these chips a total winner for parties or cozy nights in. Give them a go, and I promise they’ll become a cherished seasonal staple in your snack rotation!
Print
Spooky Baked Halloween Chips Recipe
- Prep Time: 10 minutes
- Cook Time: 12 minutes
- Total Time: 22 minutes
- Yield: 32 servings
- Category: Snack
- Method: Baking
- Cuisine: American
- Diet: Gluten Free
Description
Create festive and crispy Halloween-themed chips using gluten-free or regular flour tortillas. These spooky baked tortilla chips are quick to make, lightly oiled, and perfectly salted, making them an ideal seasonal snack, party appetizer, or fun treat for kids and adults alike.
Ingredients
Ingredients
- 4 flour tortillas (gluten-free or grain-free, as needed)
- Avocado or olive oil spray
- Salt, to sprinkle
Instructions
- Prepare Workspace: Preheat your oven to 375°F (190°C). Line two large baking sheets with parchment paper to prevent sticking and facilitate easy cleanup.
- Cut Spooky Shapes: Stack 2-3 tortillas together and use Halloween-themed cookie cutters to press firmly and cut out fun shapes. Carefully place each cut-out shape in a single layer on the lined baking sheets, ensuring they do not overlap to guarantee even baking.
- Oil and Season: Lightly spray both sides of the tortilla shapes with avocado or olive oil spray to promote golden crispiness. Generously and evenly sprinkle salt over the tortilla pieces for balanced seasoning.
- Bake to Crispy Perfection: Bake the shaped tortillas in the preheated oven for 8-12 minutes until they turn golden brown and crispy. Keep a close eye on them to avoid burning as oven temperatures can vary. If using multiple sheets, rotate them halfway through cooking for even baking.
- Cool and Serve: Once baked, immediately transfer the chips to a wire cooling rack and let them cool completely. As they cool, the chips will become even crispier. Serve fresh or store cooled chips in an airtight container at room temperature for 3-4 days.
Notes
- Use gluten-free or grain-free tortillas if you have dietary restrictions or prefer a healthier alternative.
- For added flavor, sprinkle with additional seasonings such as chili powder, cumin, or paprika before baking.
- Make sure not to overlap the tortilla shapes on the baking sheet to ensure even cooking.
- Store baked chips in an airtight container to maintain freshness and crispiness.
- Keep a close watch during baking since thinner shapes may brown faster.