Red Velvet Brownies Recipe
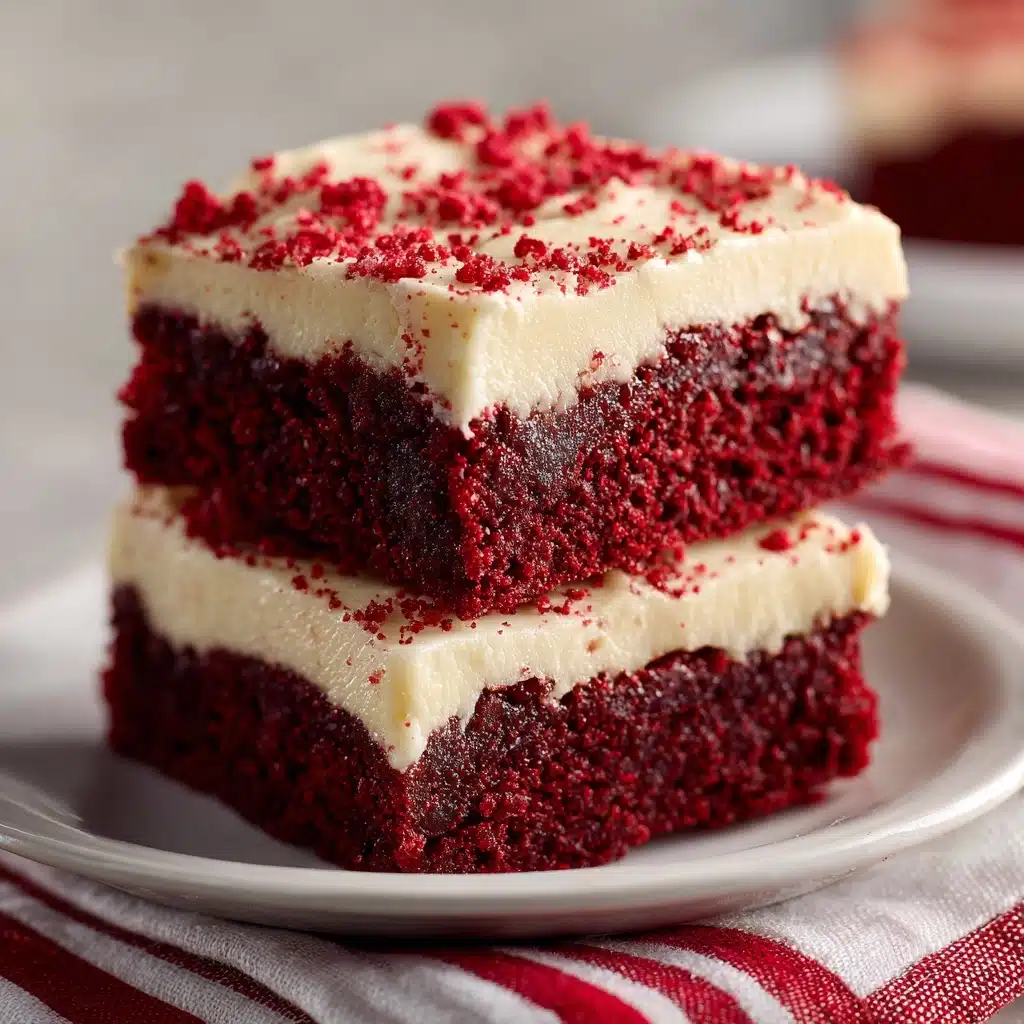
If you’re looking for a bold and beautiful treat that delivers both chocolatey richness and show stopping color, these Red Velvet Brownies are your answer. Imagine fudgy chocolate squares that combine the irresistible flavors of classic red velvet cake with the dense, chewy delight of a traditional brownie. Not only do they bring a festive pop of red to your dessert table, but every bite offers that subtle hint of cocoa and a bit of tang that makes red velvet so special. Perfect for holidays, special occasions, or any day that needs a dash of elegance!
Ingredients You’ll Need
What makes these Red Velvet Brownies truly magical is how a handful of simple ingredients can come together to create a dessert that’s equal parts stunning and delicious. Each item deserves its spot in the lineup, helping build the soft crumb, vivid color, and signature taste you’ll come back to again and again.
- Unsalted Butter (1/2 cup, melted): Gives the brownies their rich, tender base and luxurious mouthfeel—always use unsalted so you can control the saltiness.
- Granulated Sugar (1 cup): Adds sweetness and helps create that glossy, crackly top we all love in brownies.
- Large Eggs (2): Essential for binding the batter and making the brownies wonderfully chewy.
- Vanilla Extract (1 teaspoon): Rounds out the flavors with a warm, aromatic touch.
- Red Food Coloring (1 tablespoon): Delivers that iconic red hue that makes these brownies stand out—gel color works best for vibrancy.
- Unsweetened Cocoa Powder (1/4 cup): Adds the chocolatey backbone while letting the red color shine through.
- White Vinegar (3/4 teaspoon): Gives a subtle tang and helps react with the baking soda for a tender crumb, just like in classic red velvet recipes.
- Salt (1/4 teaspoon): Balances and intensifies all the other flavors.
- All-Purpose Flour (3/4 cup): Provides just enough structure to keep these brownies dense and moist.
- White Chocolate Chips (1/2 cup, optional): Sprinkle on top for creamy, melty pockets of sweetness and an extra-special finish.
How to Make Red Velvet Brownies
Step 1: Prep the Baking Pan
Start by preheating your oven to 350°F (175°C). Line an 8×8-inch baking pan with parchment paper, leaving an overhang on two sides for easy lifting later. This small detail makes a world of difference when it’s time to slice and serve your Red Velvet Brownies—no sticking and no messy corners!
Step 2: Mix the Wet Ingredients
In a large mixing bowl, whisk the melted butter and sugar together until the mixture looks glossy and well combined. This step is the foundation of the fudgy texture you crave, so take your time making sure it’s smoothly blended.
Step 3: Add Eggs, Vanilla, and Food Coloring
Add the eggs, vanilla extract, and red food coloring to your buttery sugar mixture. Whisk thoroughly until everything is fully incorporated and the batter boasts a vibrant red color throughout. The eggs emulsify everything, while the food coloring gives the batter its dramatic, signature look.
Step 4: Stir in Cocoa, Vinegar, and Salt
Sprinkle in the unsweetened cocoa powder, white vinegar, and salt. Gently fold these in until no cocoa streaks remain. The cocoa adds depth without overpowering, and the vinegar works unseen magic, lending that authentic red velvet tang.
Step 5: Fold in the Flour
Next, add the flour and fold gently—just until you can’t spot any streaks of flour. Don’t overmix or the brownies might turn out cakey instead of fudgy. You want the batter to be cohesive but still tender.
Step 6: Assemble and Bake
Pour the batter into your prepared pan and smooth the top with a spatula. If you’re feeling extra decadent, sprinkle white chocolate chips evenly over the surface. Bake for 25 to 30 minutes, or until a toothpick inserted in the center comes out with a few moist crumbs. Overbaking can dry them out, so keep an eye toward the end!
Step 7: Cool and Slice
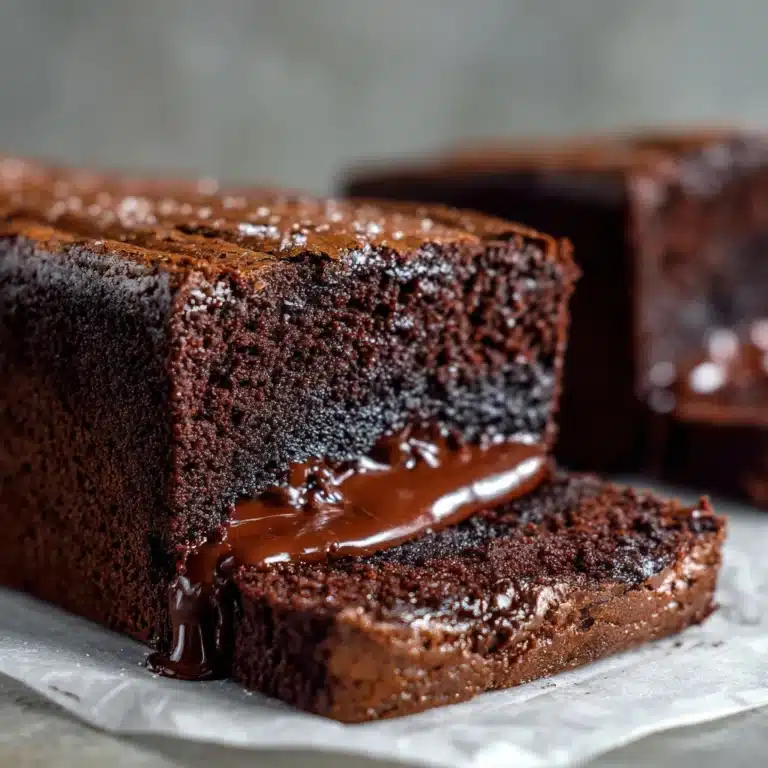
Let your Red Velvet Brownies cool completely in the pan (pop them in the fridge for extra fudginess). Use the parchment to lift them out, then slice into squares and admire those glorious red layers. Patience pays off here—cutting too soon means messy edges!
How to Serve Red Velvet Brownies
Garnishes
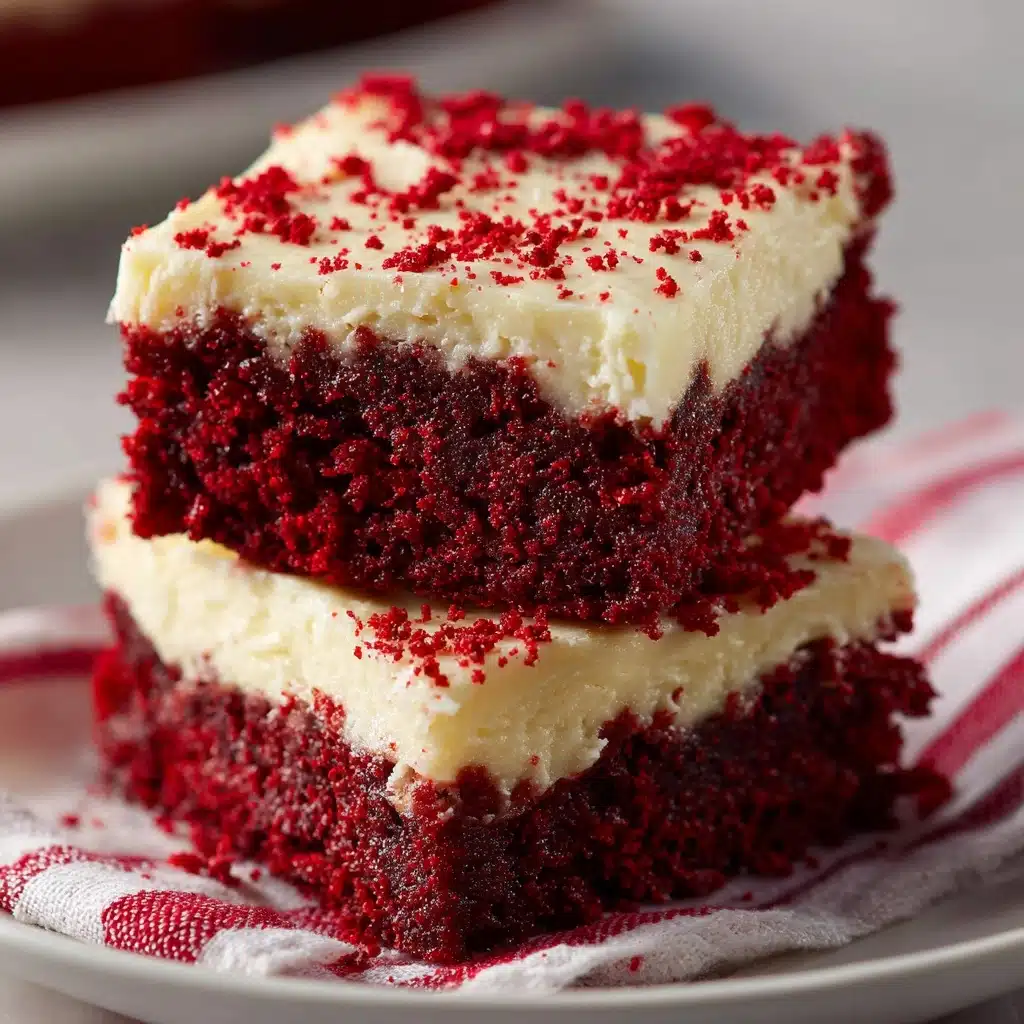
Dress up your Red Velvet Brownies with a flurry of powdered sugar, a drizzle of white chocolate, or a few fresh berries for a pop of color. Even a dollop of whipped cream can add a little luxury to each bite and make your brownies look bakery-worthy.
Side Dishes
Pair these decadent brownies with a scoop of vanilla ice cream or a cup of hot coffee for a classic and comforting combination. For something a little more festive, serve with a handful of sweet-tart raspberries or a creamy glass of cold milk.
Creative Ways to Present
Cut the brownies into hearts for Valentine’s Day, use them as a layer in parfaits, or skewer brownie cubes with marshmallows for a fun dessert kebab. Red Velvet Brownies also make stunning gifts—just wrap squares in parchment and tie with a ribbon.
Make Ahead and Storage
Storing Leftovers
Keep leftover Red Velvet Brownies in an airtight container at room temperature for up to 3 days. Their flavor and texture only get better as they sit, making them a great make-ahead treat.
Freezing
Wrap individual brownies tightly in plastic wrap and then foil before freezing. They’ll stay delicious for up to 2 months. To enjoy, just thaw at room temperature—no need to reheat unless you want them slightly warm and gooey.
Reheating
For that just-baked feel, pop a brownie square in the microwave for 10-15 seconds. They’ll come out soft and fudgy, with melty chocolate chips if you used them. Perfect when you want a quick hit of comfort!
FAQs
Can I use natural cocoa powder instead of Dutch-process?
Absolutely! Natural cocoa powder will work perfectly in these Red Velvet Brownies. The flavor will be slightly more intense and a little lighter in color, but the texture and overall result will still be delicious.
What kind of red food coloring is best?
Gel food coloring provides the most vibrant results without watering down your batter. However, liquid food coloring also gets the job done if that’s what you have—it just may require a bit more for a bold red shade.
Can I add cream cheese to the brownies?
Yes! Drop spoonfuls of sweetened cream cheese over the batter and swirl gently before baking for a classic red velvet tang and an extra dazzling presentation. It’s a fun twist that guests will love.
Why do you use vinegar in red velvet brownies?
Vinegar brings out the tangy note traditional to red velvet desserts and reacts with the cocoa, giving you that classic flavor profile. It also helps keep the crumb tender and moist—don’t skip it!
Can I double the recipe for a larger batch?
Definitely. Simply double all the ingredients and bake in a 9×13-inch pan, adjusting the baking time as needed (they may need an extra 5-10 minutes, so check for moist crumbs with a toothpick).
Final Thoughts
I can’t wait for you to try these Red Velvet Brownies—they truly bring together everything we love about red velvet and brownies in one unforgettable bite. Whether you’re sharing with loved ones or treating yourself, these fudgy, vibrant treats are sure to become a new favorite in your baking rotation.
Print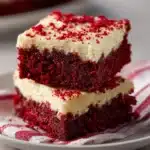
Red Velvet Brownies Recipe
- Total Time: 40 minutes
- Yield: 9 brownies 1x
- Diet: Vegetarian
Description
Indulge in the rich and decadent flavors of these Red Velvet Brownies. With a fudgy texture and a hint of cocoa, these brownies are perfect for any chocolate lover.
Ingredients
Dry Ingredients:
- 3/4 cup all-purpose flour
Wet Ingredients:
- 1/2 cup unsalted butter (melted)
- 1 cup granulated sugar
- 2 large eggs
- 1 teaspoon vanilla extract
- 1 tablespoon red food coloring
- 1/4 cup unsweetened cocoa powder
- 3/4 teaspoon white vinegar
- 1/4 teaspoon salt
- 1/2 cup white chocolate chips (optional for topping)
Instructions
- Preheat the oven: Preheat the oven to 350°F (175°C) and line an 8×8-inch baking pan with parchment paper.
- Mix wet ingredients: In a large mixing bowl, whisk together the melted butter and sugar until smooth. Add eggs, vanilla extract, and red food coloring; mix until combined.
- Combine dry ingredients: Stir in cocoa powder, vinegar, and salt. Gently fold in the flour until just combined.
- Bake: Pour the batter into the pan, smooth the top, and sprinkle with white chocolate chips. Bake for 25-30 minutes.
- Cool and serve: Let the brownies cool completely before slicing into squares.
Notes
- For a richer texture, refrigerate the brownies for an hour post-baking.
- You can swirl in cream cheese before baking for a tangy variation.
- Prep Time: 10 minutes
- Cook Time: 30 minutes
- Category: Dessert
- Method: Baking
- Cuisine: American
Nutrition
- Serving Size: 1 brownie
- Calories: 230
- Sugar: 18g
- Sodium: 90mg
- Fat: 11g
- Saturated Fat: 7g
- Unsaturated Fat: 3g
- Trans Fat: 0g
- Carbohydrates: 30g
- Fiber: 1g
- Protein: 3g
- Cholesterol: 55mg
