Pocky Christmas Trees Recipe
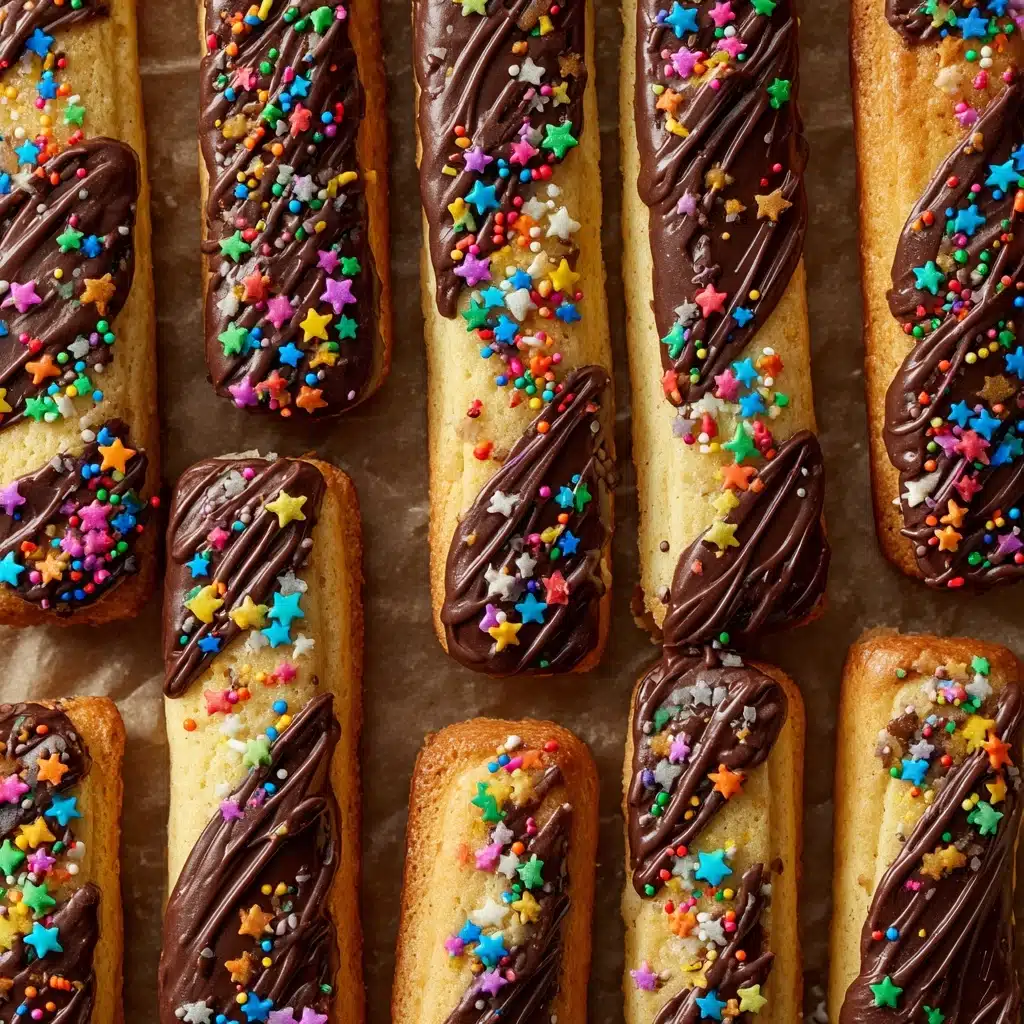
Pocky Christmas Trees are the ultimate no-bake holiday treat—adorable, festive, and (best of all) a total showstopper at every party. These whimsical edible trees start with classic Pocky sticks, get a swirly drizzle of melted chocolate tinted merry green, then are showered with sparkling sprinkles and topped with a cheerful star. The result is part dessert, part holiday craft, and 100% fun, making them perfect for both gifting and sharing. Plus, each bite delivers a delightful combo of crispy biscuit, sweet chocolate, and a dash of festive crunch.
Ingredients You’ll Need
-
Pocky Christmas Trees:
- 1 box of Pocky sticks (chocolate or plain)
- 1 cup white chocolate or green candy melts
- Green gel food coloring (if using white chocolate)
- Assorted holiday sprinkles or sugar pearls
- Mini star sprinkles (for tree toppers)
- Parchment paper
How to Make Pocky Christmas Trees
Step 1: Prep Your Canvas
Start by lining a baking sheet with parchment paper. This not only keeps your counter clean, but gives you a smooth surface for working your magic. The parchment is key for peeling the finished trees off easily once they’ve set.
Step 2: Melt and Color the Chocolate
In a microwave-safe bowl, melt the white chocolate or green candy melts in 30-second intervals, stirring well each time. If you’re melting white chocolate, now’s the moment to add a drop or two of green gel food coloring. Stir until the color is smooth and even—it should look just like a Christmas tree!
Step 3: Ready Your Piping Bag
Transfer the melted chocolate into a piping bag, or use a zip-top bag with a tiny corner snipped off. This gives you tons of control as you “draw” the zigzagging branches down each Pocky stick.
Step 4: Shape the Trees
Lay the Pocky sticks flat on the prepared parchment, making sure they’re spaced out enough so your trees won’t overlap. Starting near the top of each stick (leave just a bit peeking out for the trunk), pipe the melted chocolate down in a zigzag motion, widening the “branches” as you reach the base. Each should look like a charming, mini Christmas tree!
Step 5: Time to Decorate
Before the chocolate sets, let loose with your holiday sprinkles, sugar pearls, and, of course, that all-important mini star at the top. Press them in gently, so they set right into the chocolate.
Step 6: Let Them Set
All that’s left is patience! Leave the Pocky Christmas Trees to set at room temperature for about 30 minutes, or pop the tray in the fridge for 10 to 15 minutes. Once they’re firm, carefully peel them off the parchment—and voilà! Your edible woodland is ready.
How to Serve Pocky Christmas Trees

Garnishes
The simplest way to amp up presentation is with extra edible glitter, colored sanding sugar, or tiny candy canes nestled around your trees. Love a snowy effect? Sift a touch of powdered sugar over your platter for instant winter vibes.
Side Dishes
Pocky Christmas Trees pair perfectly with mugs of hot cocoa, frothy lattes, or cups of holiday tea. Arrange them on a cookie platter alongside other seasonal favorites, or serve with bowls of fresh berries for a playful pop of color and freshness.
Creative Ways to Present
These treats truly shine as edible gifts—wrap each in clear cellophane with a ribbon for adorable stocking stuffers or tuck a tree atop a wrapped present for an Instagram-worthy gift topper. Arrange a dozen on a platter to create your own edible “forest” centerpiece at the dessert table!
Make Ahead and Storage
Storing Leftovers
If you have extra Pocky Christmas Trees (lucky you!), store them in an airtight container at cool room temperature for up to five days. Keep them single-layer or place parchment between layers to avoid any accidental sticking or smudges.
Freezing
These treats freeze surprisingly well—simply layer them with parchment in a freezer-safe container. They’ll keep for up to a month, but let them come to room temperature before serving for the best flavor and texture.
Reheating
No reheating needed! Pocky Christmas Trees are at their best served straight from the container or platter. If chilling has made them a bit too firm, let them sit at room temp for a few minutes to soften ever so slightly before serving.
FAQs
Can I use different flavors of Pocky sticks?
Absolutely! Chocolate, strawberry, and even matcha Pocky all work beautifully. Experiment to find your favorite, or use an assortment for a colorful forest.
How do I keep the chocolate from seizing when adding food coloring?
Be sure to use gel food coloring rather than liquid, as liquid can cause the chocolate to seize. Add just a drop at a time and stir well—it’s all about the perfect tint!
Can kids help make Pocky Christmas Trees?
Yes, it’s a wonderful, hands-on holiday project for kids. They’ll love piping the chocolate and getting creative with decorating. Just supervise the melting process and any bag-snipping.
What if I don’t have a piping bag?
A zip-top plastic bag with a tiny tip cut off works great in a pinch. Squeeze gently for precise lines—no need for fancy equipment!
How can I avoid the chocolate cracking or falling off?
Let the trees set fully before handling, and don’t overload the branches with decorations. Keeping the chocolate layer thinly piped and even helps everything hold together beautifully.
Pocky Christmas Trees: Final Thoughts
There’s just something so joyful about crafting (and devouring) these Pocky Christmas Trees! They make any gathering feel a little more festive, and the memories you’ll make—whether with friends, family, or solo—will last far beyond the holidays. Grab your sticks and sprinkles, and let the delicious creativity begin!
Print
Pocky Christmas Trees Recipe
- Total Time: 30 minutes
- Yield: 12 trees 1x
- Diet: Vegetarian
Description
Learn how to make adorable Pocky Christmas Trees, a fun and festive holiday treat that’s perfect for parties or as edible gift toppers. These cute no-bake treats are easy to create and will delight both kids and adults alike!
Ingredients
Pocky Christmas Trees:
- 1 box of Pocky sticks (chocolate or plain)
- 1 cup white chocolate or green candy melts
- Green gel food coloring (if using white chocolate)
- Assorted holiday sprinkles or sugar pearls
- Mini star sprinkles (for tree toppers)
- Parchment paper
Instructions
- Prepare the Chocolate: Line a baking sheet with parchment paper. Melt the white chocolate or candy melts in the microwave, adding green food coloring if using white chocolate. Transfer to a piping bag.
- Form the Trees: Place Pocky sticks on parchment paper. Pipe melted chocolate in a zigzag to create tree shapes. Decorate with sprinkles and top with a star.
- Set and Serve: Let the trees set at room temperature or chill until firm. Peel from parchment and enjoy as festive treats!
Notes
- Try using dark or milk chocolate with crushed candy canes for a tasty twist!
- Store in an airtight container for up to 5 days.
- Great for holiday parties and as gift toppers!
- Prep Time: 15 minutes
- Cook Time: 0 minutes
- Category: Dessert
- Method: No-Bake
- Cuisine: Japanese-American
Nutrition
- Serving Size: 1 tree
- Calories: 120
- Sugar: 10g
- Sodium: 25mg
- Fat: 6g
- Saturated Fat: 4g
- Unsaturated Fat: 2g
- Trans Fat: 0g
- Carbohydrates: 15g
- Fiber: 0g
- Protein: 1g
- Cholesterol: 2mg

