
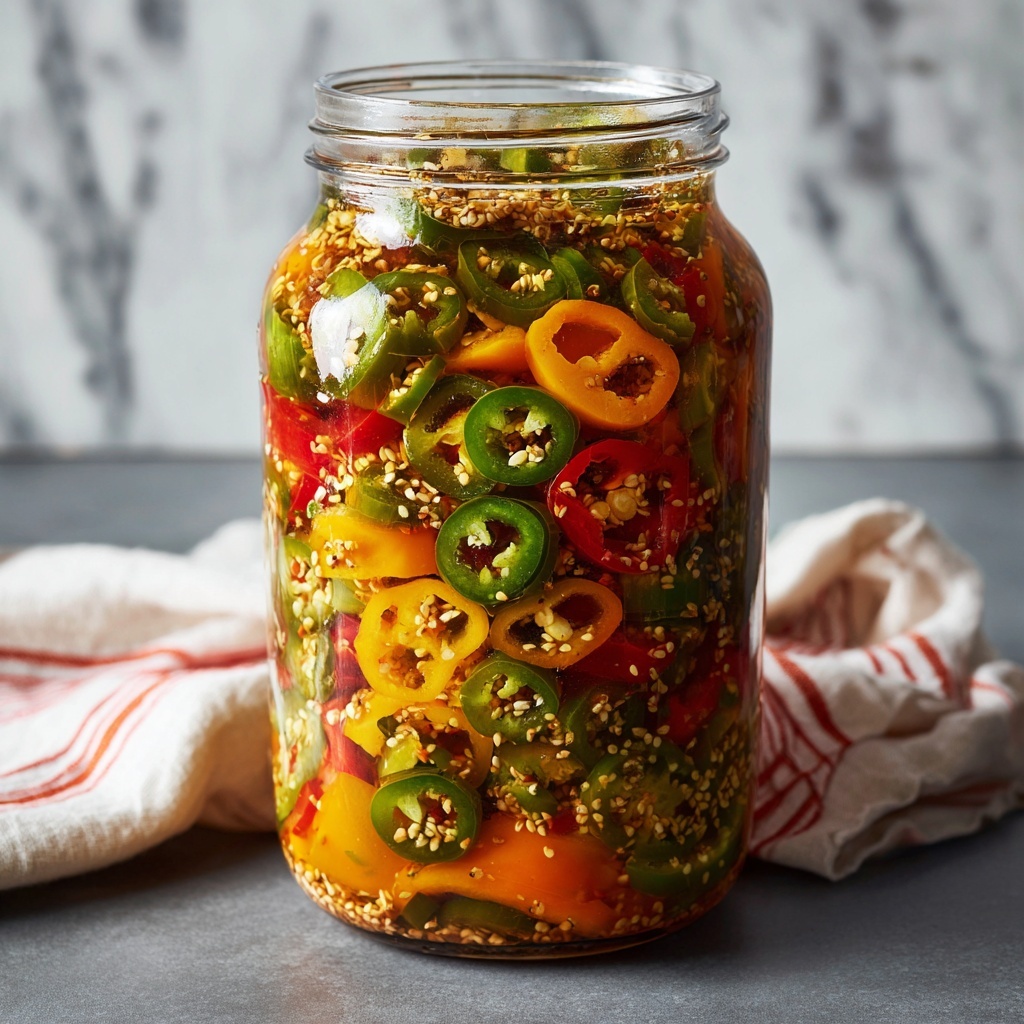
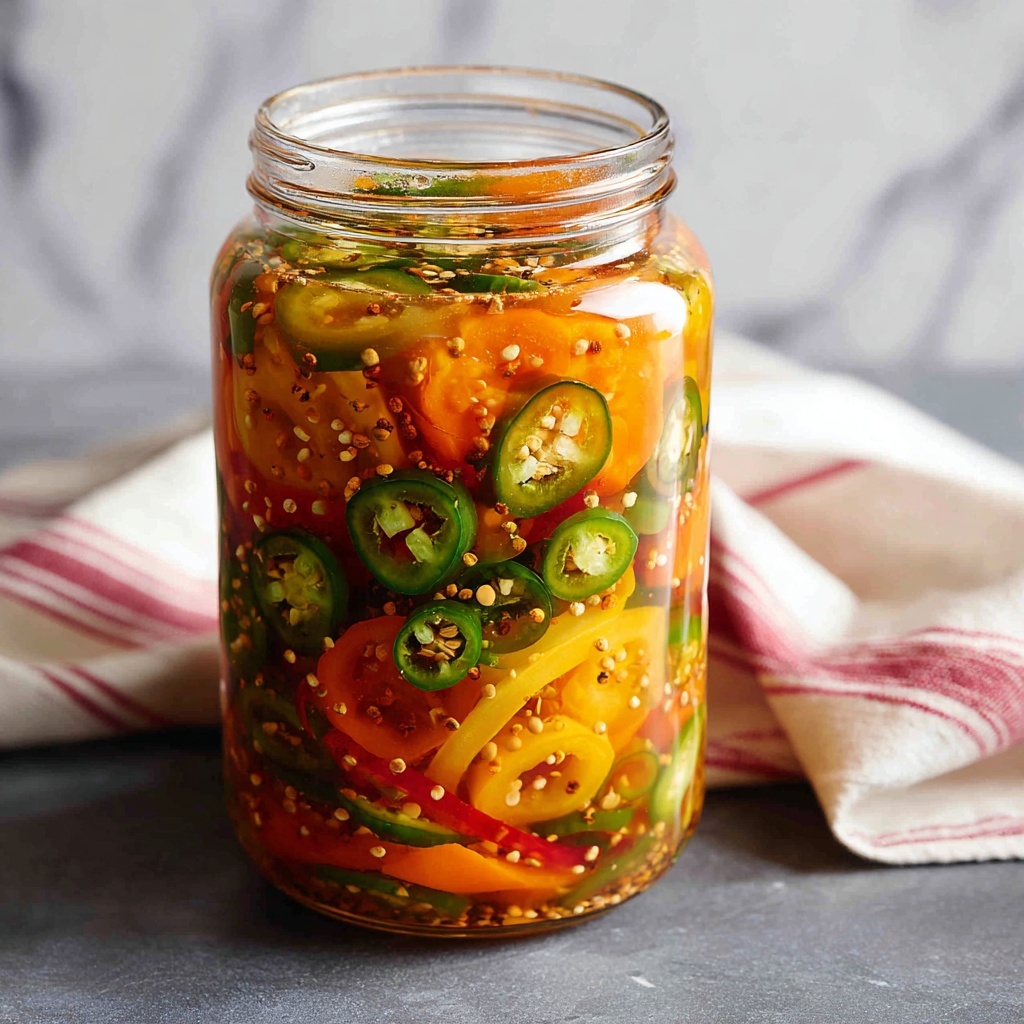
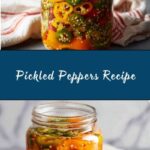
If you love vibrant flavors with just the right kick, this Pickled Peppers Recipe is an absolute must-try. It transforms a colorful mix of jalapeños, banana peppers, and bell peppers into tangy, spicy gems that can brighten up any dish. Whether you enjoy them on sandwiches, tossed into salads, or straight from the jar, these homemade pickled peppers pack a punch of flavor and crunch that’s simply irresistible.
Ingredients You’ll Need
Creating the perfect batch of pickled peppers is surprisingly simple, and it all starts with a handful of essential ingredients. Each one plays a crucial role: balancing heat, adding tang, or enhancing texture and aroma to make every bite memorable.
- 1 pound assorted peppers: A colorful mix of jalapeños, banana, and bell peppers adds both heat variety and visual appeal.
- 1 1/2 cups white vinegar: This provides the signature tang and preserves the peppers beautifully.
- 1/2 cup water: Dilutes the vinegar slightly for a more balanced acidity.
- 2 tablespoons granulated sugar: Adds just a touch of sweetness to mellow the sharpness of the vinegar.
- 1 tablespoon kosher salt: Essential for seasoning and drawing out flavors.
- 3 cloves garlic, smashed: Infuses a warm, aromatic depth that’s simply mouthwatering.
- 1/2 teaspoon black peppercorns: Adds a subtle spicy note to the brine.
- 1/2 teaspoon mustard seeds (optional): For a hint of earthiness and texture.
- 1 bay leaf: Contributes a gentle, herbal background flavor.
How to Make Pickled Peppers Recipe
Step 1: Prepare and Pack the Peppers
Begin by slicing your assorted peppers into rings or strips. Don’t forget to wear gloves if you’re working with hotter varieties like jalapeños to protect your skin. Tightly pack the peppers into clean, sterilized jars, leaving about half an inch of headspace at the top. Drop one smashed garlic clove, some black peppercorns, and mustard seeds (if using) into each jar to build flavor right from the start.
Step 2: Make the Brine
In a small saucepan, combine the vinegar, water, sugar, salt, and bay leaf. Bring this mixture to a gentle boil over medium heat, stirring occasionally to ensure the sugar and salt fully dissolve. The hot brine is what will transform your peppers into sparkling tangy delights, so don’t rush this step!
Step 3: Pour the Brine and Seal
Carefully pour the steaming brine over the peppers in each jar until they are completely submerged. This is crucial for even pickling and to prevent spoilage. Allow the jars to cool down to room temperature before sealing them tightly with lids. This cool-down moment also lets the flavors settle a bit before refrigeration.
Step 4: Chill and Develop Flavor
Place the sealed jars in the refrigerator and let the pickled peppers chill for at least 24 hours. This waiting period lets the flavors marry and intensify, making each bite tangier, crispier, and more satisfying. These pickled peppers will stay fresh and flavorful in the fridge for up to two months.
How to Serve Pickled Peppers Recipe
Garnishes
Pickled peppers make a fantastic garnish that livens up everything from creamy dips to hearty stews. Toss a few rings on top of tacos or pizzas for that vibrant pop of color and welcome heat. They also pair beautifully as a topping on burgers or hot dogs, adding crunch and a zing that’s simply addictive.
Side Dishes
Thinking beyond garnishes? Pickled peppers are fantastic alongside richer side dishes like mac and cheese or creamy potato salads, cutting through the heaviness with their sharp acidity. They also complement grilled vegetables or roasted meats, giving your meal an extra dimension of flavor.
Creative Ways to Present
For a fun twist, serve pickled peppers on a charcuterie board alongside assorted cheeses, cured meats, and crunchy crackers. Their tangy, spicy vibe balances salty and creamy bites effortlessly. You can also blend them into a relish or mix into creamy dressings for a surprise hit of flavor in sandwiches and wraps.
Make Ahead and Storage
Storing Leftovers
Once sealed and refrigerated, your pickled peppers will hold their incredible flavor and crispness for up to two months. Always use a clean utensil to scoop out what you need to avoid contamination, and make sure the peppers stay submerged in the brine to preserve their texture.
Freezing
Freezing is not recommended for this Pickled Peppers Recipe as it can cause the peppers to lose their crunch and become mushy. For the best experience, enjoy them fresh from the fridge within the storage time mentioned.
Reheating
Since these pickled peppers are a refrigerated and ready-to-eat condiment, reheating is unnecessary. They’re best enjoyed cold or at room temperature, which keeps their snap and bright acidity intact.
FAQs
Can I use only one type of pepper for this recipe?
Absolutely! While a mix of peppers adds color and varying heat, you can use just jalapeños for a spicier batch or all bell peppers for a milder version. The recipe is flexible to your taste preferences.
Do I need to sterilize the jars before packing the peppers?
Yes, sterilizing jars ensures your pickled peppers stay fresh and safe to eat by preventing bacterial growth. Simply wash them in hot soapy water, rinse well, and bake at 225°F for about 10 minutes.
How long do pickled peppers last in the refrigerator?
When stored properly in sealed jars and kept refrigerated, pickled peppers remain delicious for up to two months. Always check for any signs of spoilage before consuming.
Can I omit the mustard seeds?
Certainly! Mustard seeds add subtle flavor and texture, but if you don’t have them or prefer to skip, the pickled peppers will still taste fantastic with the other seasonings.
Is this recipe vegan and gluten-free?
Yes, this Pickled Peppers Recipe is naturally vegan and gluten-free, making it suitable for a wide range of diets without any modifications.
Final Thoughts
There’s nothing quite like the satisfying crunch and zesty splash of these pickled peppers to brighten up everyday meals. I encourage you to give this Pickled Peppers Recipe a go and watch how it transforms your snacks, lunches, and dinners into vibrant flavor celebrations. Once you start making your own, store-bought will feel a world away!
Print
Pickled Peppers Recipe
- Prep Time: 15 minutes
- Cook Time: 5 minutes
- Total Time: 20 minutes (plus at least 24 hours chilling)
- Yield: 3 cups
- Category: Condiment
- Method: No-Cook
- Cuisine: American
- Diet: Vegan, Gluten Free
Description
This easy recipe for pickled peppers features a vibrant mix of assorted peppers soaked in a tangy vinegar brine with garlic and spices. Perfect as a zesty condiment, these quick pickled peppers add a flavorful kick to sandwiches, tacos, salads, and charcuterie boards. The peppers are sliced and preserved in a simple hot brine, then refrigerated for at least 24 hours to develop their delicious taste. This vegan and gluten-free pickle is ready in just 20 minutes and keeps fresh for up to two months in the fridge.
Ingredients
Peppers
- 1 pound assorted peppers (jalapeños, banana peppers, bell peppers, or a mix), sliced into rings or strips
Brine
- 1 1/2 cups white vinegar
- 1/2 cup water
- 2 tablespoons granulated sugar
- 1 tablespoon kosher salt
- 1 bay leaf
Flavorings
- 3 cloves garlic, smashed
- 1/2 teaspoon black peppercorns
- 1/2 teaspoon mustard seeds (optional)
Instructions
- Prepare Jars and Peppers: Sterilize clean jars and tightly pack the sliced peppers into them leaving about 1/2 inch of space at the top. Add one smashed garlic clove, a few black peppercorns, and some mustard seeds (if using) to each jar.
- Make the Brine: In a small saucepan, combine the white vinegar, water, granulated sugar, kosher salt, and bay leaf. Heat over medium heat, stirring occasionally until the sugar and salt fully dissolve and the mixture comes to a boil.
- Pour Brine Over Peppers: Carefully ladle the hot brine over the peppers in each jar, ensuring all peppers are fully submerged. Allow the jars to cool to room temperature.
- Seal and Refrigerate: Once cooled, tightly seal the jars with lids and refrigerate. Let the pickled peppers chill for at least 24 hours to develop flavor before serving. They will keep well in the refrigerator for up to 2 months.
Notes
- Wear gloves when slicing hot peppers to prevent skin irritation.
- Mix different types of peppers for a more colorful and flavorful pickle.
- Pickled peppers are versatile and delicious on sandwiches, tacos, salads, and charcuterie boards.