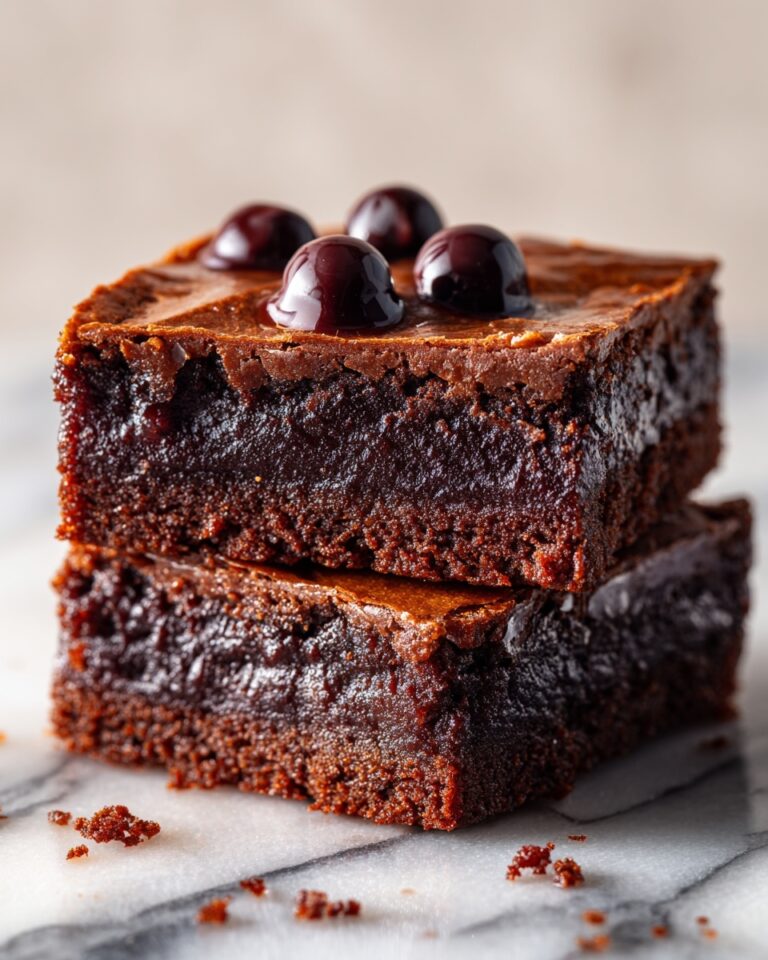
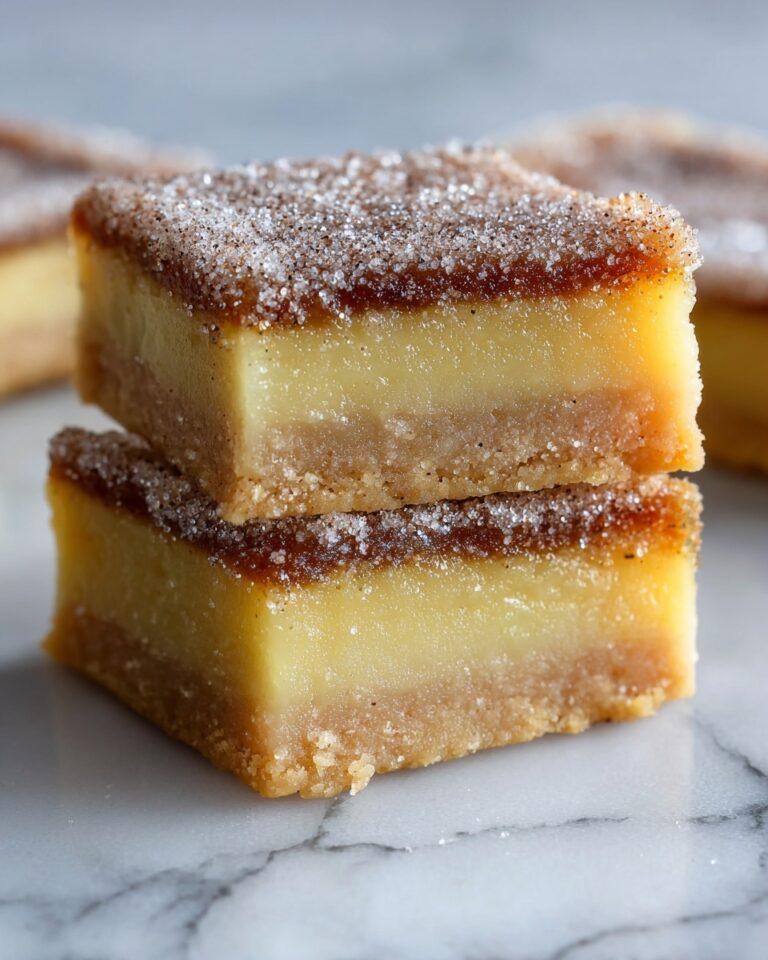
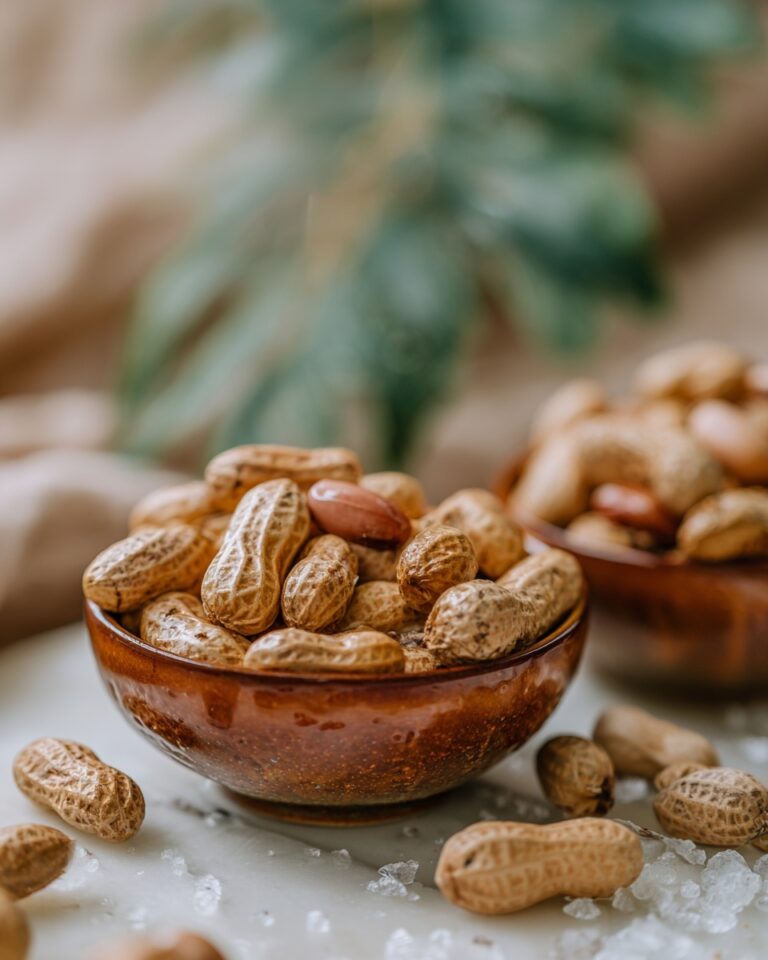
If you have a soft spot for the irresistible combo of chocolate and peanut butter, you are going to fall head over heels for this Peanut Butter Dream Bars Recipe. These bars boast a perfectly crisp graham cracker crust topped with a luscious, creamy peanut butter layer followed by rich chocolate pudding and a cloud-like whipped topping. Every bite delivers an amazing balance of textures and flavors that feels like a warm, comforting hug. Whether it’s for a special occasion or a simple treat to brighten your day, these bars will quickly become a beloved classic in your dessert lineup.

Ingredients You’ll Need
Don’t be fooled by the short list — each ingredient in this recipe is essential to achieving that perfect harmony of taste and texture. From the buttery graham cracker crust that adds crunch to the silky chocolate pudding and creamy peanut butter layer, every component plays an important role in creating these dreamy bars.
- 2 cups graham cracker crumbs: Provides the crunchy, slightly sweet base that holds everything together.
- ½ cup unsalted butter (melted): Binds the graham cracker crumbs and adds richness to the crust.
- 1 cup creamy peanut butter: The star flavor, lending smoothness and a nutty depth to the bars.
- ½ cup powdered sugar: Sweetens the peanut butter layer without graininess.
- 4 oz cream cheese (softened): Adds tang and creamy texture to balance the sweetness.
- 1 (3.9 oz) box instant chocolate pudding mix: Creates a luscious, chocolatey middle layer.
- 1 ½ cups cold milk: Activates the instant pudding to the perfect consistency.
- 1 ½ cups whipped topping (such as Cool Whip): Lightens and tops the bars with a fluffy finish.
- Optional garnish: Chopped peanut butter cups, chocolate shavings, or crushed peanuts add extra texture and a finishing touch.
How to Make Peanut Butter Dream Bars Recipe
Step 1: Prepare the crust
Start by preheating your oven to 350°F. Combine the graham cracker crumbs with the melted butter in a bowl until the mixture looks evenly moistened. Then firmly press this into the base of a greased 9×9-inch baking dish to form a compact crust. Baking it for 8 to 10 minutes not only sets the crust but also brings out a toasty flavor that gives the bars a wonderful depth. Let it cool completely before moving on — this step ensures your peanut butter layer goes on flawlessly smooth.
Step 2: Create the peanut butter layer
In a clean bowl, beat together the creamy peanut butter, powdered sugar, and softened cream cheese. Mixing these until completely smooth yields a rich, velvety layer that contrasts beautifully with the crunchy crust. Spread this mixture evenly over the cooled graham cracker crust, laying the foundation for the chocolate and whipped topping layers.
Step 3: Make the pudding layer
Whisk the instant chocolate pudding mix with cold milk until thickened, which usually takes about two minutes. This step is crucial because the pudding needs to be smooth and not lumpy. Once ready, carefully spread the chocolate pudding over the peanut butter layer, making sure it covers every corner for maximum indulgence in every bite.
Step 4: Add the whipped topping
Finally, top the layered bars with a generous spread of whipped topping. This airy, cool layer balances the richness beneath and adds a cloud-like texture that makes every forkful feel light yet decadent. Use an offset spatula or the back of a spoon to smooth it out evenly.
Step 5: Chill and garnish
Place your masterpiece in the refrigerator and chill for at least two hours, allowing all the layers to set and meld together. Just before serving, sprinkle your chosen optional garnish like chopped peanut butter cups, chocolate shavings, or crushed peanuts to add crunch and an extra pop of flavor. This final touch makes the Peanut Butter Dream Bars Recipe feel even more special and inviting.
How to Serve Peanut Butter Dream Bars Recipe

Garnishes
While the bars are stunning on their own, a sprinkle of chopped peanut butter cups or a scattering of chocolate shavings instantly elevates the presentation and adds bursts of texture that complement the creamy layers perfectly. Crushed peanuts also provide a subtle crunch that ties in beautifully with the peanut butter flavor.
Side Dishes
These bars are rich and satisfying enough to shine solo, but they can be delightful alongside fresh fruit, such as sliced strawberries or banana, which introduces a fresh, juicy contrast. A dollop of vanilla ice cream alongside makes them an unbeatable dessert duo for any occasion.
Creative Ways to Present
For a fun twist, try serving individual bars in small dessert cups with a drizzle of warm chocolate syrup or peanut butter sauce. Layering the bars with additional whipped topping and garnishes in clear glasses can turn this traditional dessert into an elegant parfait perfect for parties.
Make Ahead and Storage
Storing Leftovers
Peanut Butter Dream Bars are fantastic for make-ahead desserts because they keep beautifully in the refrigerator. Store leftovers in an airtight container for up to 4 days to maintain their freshness and perfect texture. This lets you enjoy the bars anytime without any compromise in flavor.
Freezing
You can freeze these bars if you want to extend their shelf life—wrap them tightly in plastic wrap and foil or place them in an airtight freezer-safe container. Freeze for up to one month. When you’re ready to enjoy, thaw them overnight in the fridge for best results, preserving the creamy and layered goodness.
Reheating
Since these bars are meant to be enjoyed chilled, reheating isn’t usually recommended. However, if you prefer them slightly less cold, you can leave them at room temperature for 10 to 15 minutes before serving to soften the layers somewhat without losing their delightful texture.
FAQs
Can I use crunchy peanut butter instead of creamy?
You absolutely can! Crunchy peanut butter will add some extra texture to the peanut butter layer, giving the bars a little more bite. Just be sure to beat it thoroughly for even mixing with the cream cheese and powdered sugar.
Is there a way to make these bars gluten-free?
Yes! Simply swap out regular graham cracker crumbs for gluten-free graham cracker crumbs. The rest of the ingredients are naturally gluten-free, making this dessert accessible for those with gluten sensitivities.
Can I substitute the whipped topping with homemade whipped cream?
Definitely. Freshly whipped cream works wonderfully and offers a lighter, fresher topping. Just whip heavy cream with a little sugar until soft peaks form, then spread it atop the pudding layer before chilling.
How long do I need to chill before slicing?
Chilling for at least two hours is essential for the bars to set properly. If you slice too soon, the layers might not hold together well. Overnight chilling is even better if you have the time.
Can I make these bars ahead for a party?
Yes, these bars are perfect for making ahead. You can prepare them a day or two in advance and keep them refrigerated until just before serving. This helps flavors develop and saves you last-minute prep stress.
Final Thoughts
I can’t recommend enough giving this Peanut Butter Dream Bars Recipe a try if you crave a dessert that perfectly balances creamy, crunchy, and chocolatey elements all in one delightful bite. It’s an easy recipe that feels indulgent but is surprisingly simple to pull off — making it an absolute joy to bake for friends, family, or yourself. Once you do, I bet it’ll become a sweet favorite you return to time and time again.
Print
Peanut Butter Dream Bars Recipe
- Prep Time: 20 minutes
- Cook Time: 10 minutes
- Total Time: 30 minutes plus 2 hours chilling
- Yield: 9 bars
- Category: Dessert
- Method: Baking
- Cuisine: American
- Diet: Vegetarian
Description
Peanut Butter Dream Bars are a luscious layered dessert combining a crispy graham cracker crust, creamy peanut butter layer, rich chocolate pudding, and light whipped topping. Perfectly balanced for a sweet treat that’s easy to make and ideal for gatherings or an indulgent snack.
Ingredients
For the Crust:
- 2 cups graham cracker crumbs
- ½ cup unsalted butter, melted
For the Peanut Butter Layer:
- 1 cup creamy peanut butter
- ½ cup powdered sugar
- 4 oz cream cheese, softened
For the Pudding Layer:
- 1 (3.9 oz) box instant chocolate pudding mix
- 1 ½ cups cold milk
For the Whipped Topping:
- 1 ½ cups whipped topping (such as Cool Whip)
Optional Garnish:
- Chopped peanut butter cups
- Chocolate shavings
- Crushed peanuts
Instructions
- Prepare the Crust: Preheat your oven to 350°F (177°C). In a medium mixing bowl, combine the graham cracker crumbs with the melted unsalted butter until the mixture is well combined and resembles wet sand. Press this mixture firmly and evenly into the bottom of a greased 9×9-inch baking dish. Bake the crust for 8–10 minutes, then remove from oven and allow it to cool completely before proceeding.
- Make the Peanut Butter Layer: In a separate bowl, beat together the creamy peanut butter, powdered sugar, and softened cream cheese using a mixer until the mixture becomes smooth and creamy with no lumps. Spread this peanut butter layer evenly over the cooled graham cracker crust, ensuring a uniform layer.
- Prepare the Pudding Layer: In another bowl, whisk the instant chocolate pudding mix with the cold milk for about 2 minutes or until the mixture thickens. Pour and spread the pudding layer evenly over the peanut butter layer, taking care not to mix the layers.
- Add the Whipped Topping: Top the pudding layer with the whipped topping, spreading it out into an even layer for a light and creamy finish.
- Chill and Garnish: Place the assembled bars in the refrigerator and chill for at least 2 hours or until the layers are set. Just before serving, garnish with your choice of chopped peanut butter cups, chocolate shavings, or crushed peanuts for added texture and flavor.
Notes
- Bars can be prepared a day in advance and kept chilled to enhance flavors.
- For a gluten-free version, substitute regular graham crackers with gluten-free graham crackers.
- Ensure cream cheese is softened to avoid lumps in the peanut butter layer.
- Use cold milk when making pudding to help it thicken quickly and properly.


