If you have a sweet spot for chocolate and love desserts with a unique texture, then the Kladdkaka (Swedish Sticky Chocolate Cake) Recipe is going to become your next obsession. This luscious cake boasts a perfectly crisp crust that gives way to a delightfully gooey, fudgy center, creating an irresistible combination that’s simple yet deeply satisfying. Known throughout Sweden as a beloved classic, this cake brings together just a handful of everyday ingredients into a magical, melt-in-your-mouth experience. It’s quick to make, wonderfully versatile, and utterly comforting—the kind of dessert you’ll find yourself craving again and again.
Ingredients You’ll Need
Getting started with the Kladdkaka (Swedish Sticky Chocolate Cake) Recipe is a breeze thanks to its straightforward ingredient list. Each component has a starring role, from the richness of butter to the deep flavor of cocoa, working harmoniously to create that iconic sticky texture and rich chocolate taste.
- 3 eggs: These bind the ingredients while adding moisture and richness to the cake.
- 11 tablespoons butter: Melted and cooled, butter provides the luscious fat that ensures a tender crumb and velvety mouthfeel.
- 1 ¼ cups sugar: Sweetness is key here, balancing the chocolate’s bitterness perfectly.
- 1 cup all-purpose flour: The structure of the cake comes from this, lending just enough support without making the cake cakey.
- 1 teaspoon vanilla sugar (or extract): A subtle aroma that enhances the chocolate flavor with warmth.
- 1 teaspoon baking powder: Helps achieve just the right rise, giving the cake a delicate crust while keeping the inside gooey.
- 6 tablespoons cocoa powder: The heart of the dessert, delivering intense chocolate flavor and its signature dark color.
- Powdered sugar for decoration: A dusting finish that adds a touch of elegance and a bit of sweetness on top.
How to Make Kladdkaka (Swedish Sticky Chocolate Cake) Recipe
Step 1: Preheat and Prepare Your Pan
Begin by warming up your oven to 350°F (175°C). While it heats, grease a 9 to 10 inch springform pan thoroughly and line it with baking paper. This ensures the cake comes out cleanly and keeps the edges nice and crisp—an integral part of this delicious dessert.
Step 2: Melt Butter and Mix with Sugar and Eggs
Gently melt the butter and allow it to cool for a few minutes so it doesn’t cook the eggs when added. Stir in the sugar, then beat in the eggs one at a time. Mixing these ingredients properly sets a smooth, glossy base for the batter, which contributes to Kladdkaka’s signature sticky texture.
Step 3: Combine Dry Ingredients Separately
In another bowl, sift together the flour, cocoa powder, baking powder, and vanilla sugar. This helps avoid lumps and ensures even distribution of rising agents and flavor throughout the batter.
Step 4: Fold Dry Ingredients into Wet Mixture
Add the dry ingredients slowly to the butter and egg mixture, stirring gently until you have a smooth, rich batter. Avoid overmixing to keep the cake tender and gooey inside.
Step 5: Bake to Perfection
Pour the batter into the prepared pan and slide it into your preheated oven. Bake for about 25 minutes—you’re aiming for a crispy edge with a slightly jiggly, gooey center that stays true to the Kladdkaka (Swedish Sticky Chocolate Cake) Recipe’s irresistible charm.
Step 6: Cool, Decorate, and Chill
Once baked, allow the cake to cool completely at room temperature before dusting with powdered sugar. For best serving results, chill the cake in the fridge; this helps it set and makes slicing easier and cleaner.
How to Serve Kladdkaka (Swedish Sticky Chocolate Cake) Recipe
Garnishes
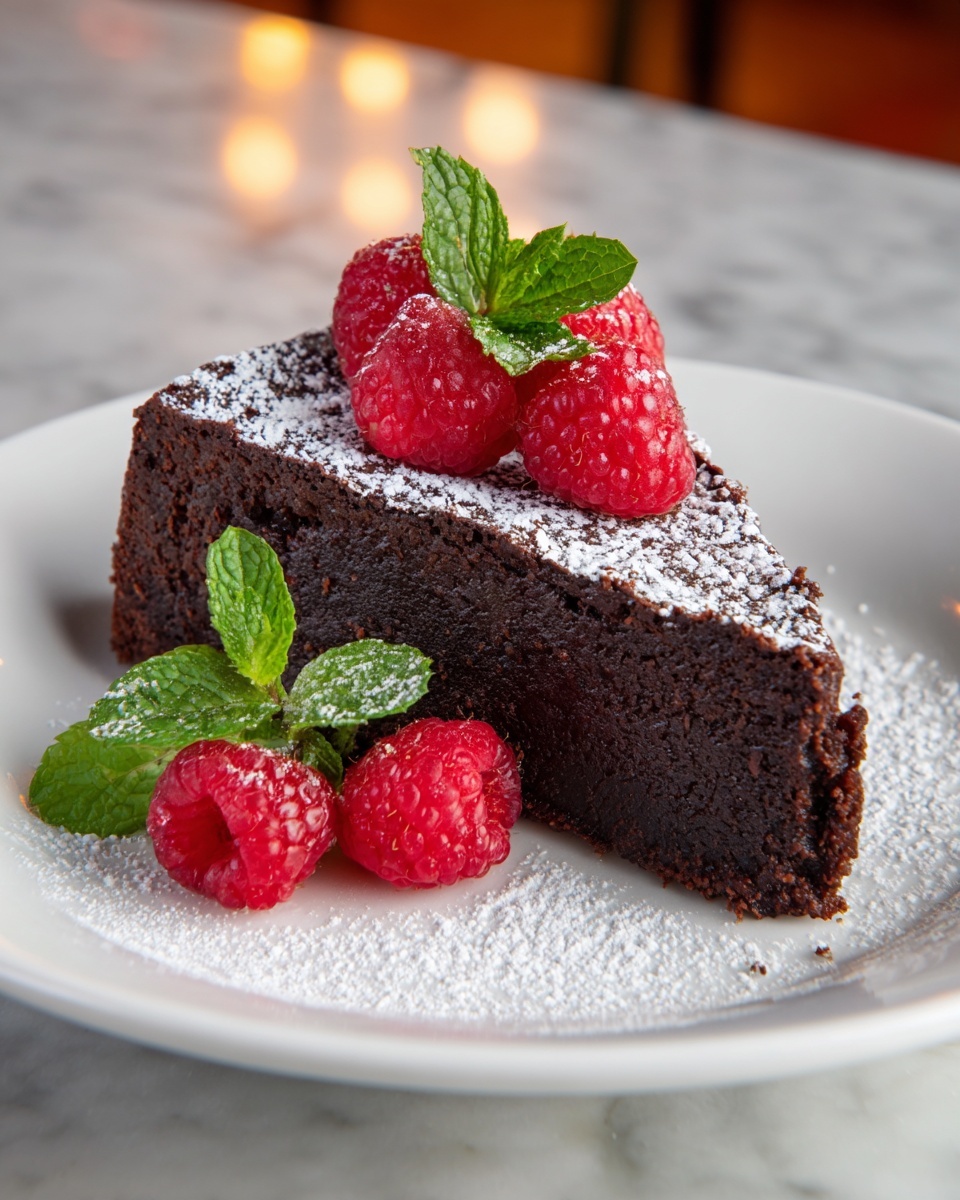
Simple garnishes work beautifully with Kladdkaka. A sprinkle of powdered sugar adds delicate sweetness, but you can also top it with fresh raspberries, a dollop of whipped cream, or a scoop of vanilla ice cream to contrast the dense, chocolatey richness.
Side Dishes
While Kladdkaka is delightful on its own, pairing it with fresh fruits like strawberries or tart cherries provides a refreshing counterbalance. A light drizzle of raspberry coulis or a side of tangy crème fraîche can elevate the experience even further, making your dessert feel elegant and fresh.
Creative Ways to Present
Try serving Kladdkaka in individual ramekins for a personalized touch or layered with whipped cream and berries in a glass for an impressive dessert parfait. You can also cut it into small squares and serve as part of a dessert platter for gatherings, allowing everyone to enjoy a bite of this luscious cake.
Make Ahead and Storage
Storing Leftovers
If you’re lucky enough to have leftover Kladdkaka, store it in an airtight container in the refrigerator. The cake keeps well for up to 3 days and the texture becomes even more dense and fudgy, making for a delicious second day treat.
Freezing
You can freeze Kladdkaka by wrapping it tightly in plastic wrap and placing it in an airtight freezer-safe container. It freezes well for up to one month. Thaw it overnight in the fridge before serving, and you’ll still enjoy that signature sticky texture.
Reheating
Warm slices gently in the microwave for about 15-20 seconds to revive that melty feeling or heat in a low oven for a few minutes. Serve immediately with your favorite garnish for a cozy, comforting dessert experience.
FAQs
What makes Kladdkaka different from regular chocolate cake?
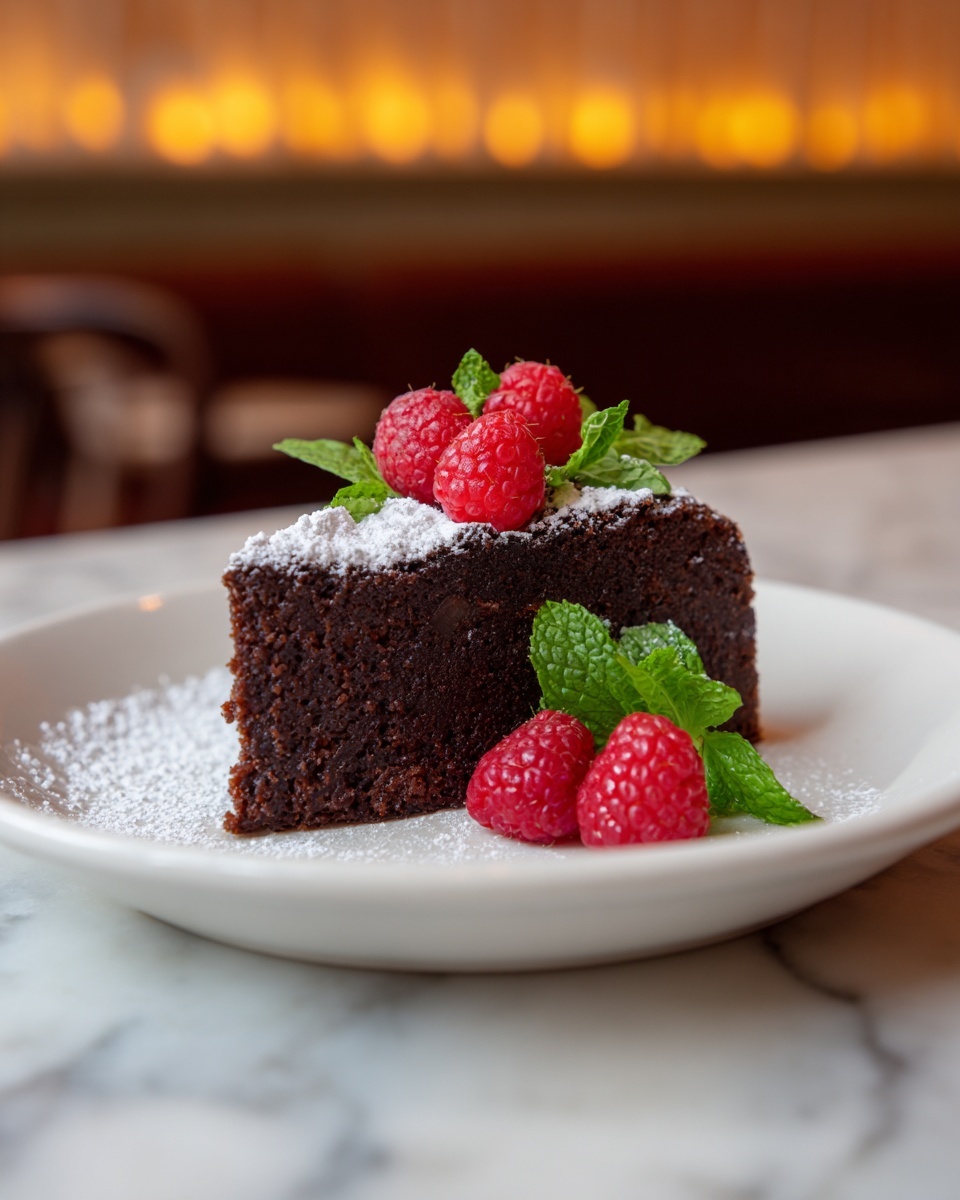
Kladdkaka stands out because of its wonderfully sticky and gooey center contrasted with a thin, crispy crust. Unlike fluffy chocolate cakes, it’s almost fudgelike, offering an intense chocolate experience that’s quick and easy to make.
Can I use regular sugar instead of vanilla sugar?
Yes! If you don’t have vanilla sugar, simply substitute with regular sugar and add 1 teaspoon of vanilla extract. This will ensure your Kladdkaka (Swedish Sticky Chocolate Cake) Recipe still has that lovely vanilla aroma.
Is it possible to make this cake gluten-free?
Absolutely. Just swap the all-purpose flour for a gluten-free baking blend, and ensure that your cocoa powder and baking powder don’t contain gluten. The texture might vary slightly, but it will still be delicious and gooey.
Why is the center supposed to be gooey?
The gooey center is the hallmark of the Kladdkaka (Swedish Sticky Chocolate Cake) Recipe—this is what sets it apart. It’s intentionally underbaked to keep that fudgy, sticky texture that melts in your mouth.
Can I double the recipe for a larger cake?
Yes, you can double the ingredients and bake in a larger pan, but watch your baking time closely—it may need a bit more time in the oven, and the texture can be affected if overbaked. It’s best to keep a close eye on the cake’s center.
Final Thoughts
There’s something truly magical about the Kladdkaka (Swedish Sticky Chocolate Cake) Recipe—its simplicity and rich flavor combine to make an unforgettable treat perfect for any occasion. Whether you bake it for a cozy night in or to impress friends with a decadent dessert, this cake is sure to become a fast favorite. So go ahead, grab those simple ingredients, and indulge in this sweet little piece of Swedish comfort!
Print
Kladdkaka (Swedish Sticky Chocolate Cake) Recipe
- Prep Time: 10 minutes
- Cook Time: 25 minutes
- Total Time: 35 minutes
- Yield: 9 servings
- Category: Dessert
- Method: Baking
- Cuisine: Swedish
- Diet: Vegetarian
Description
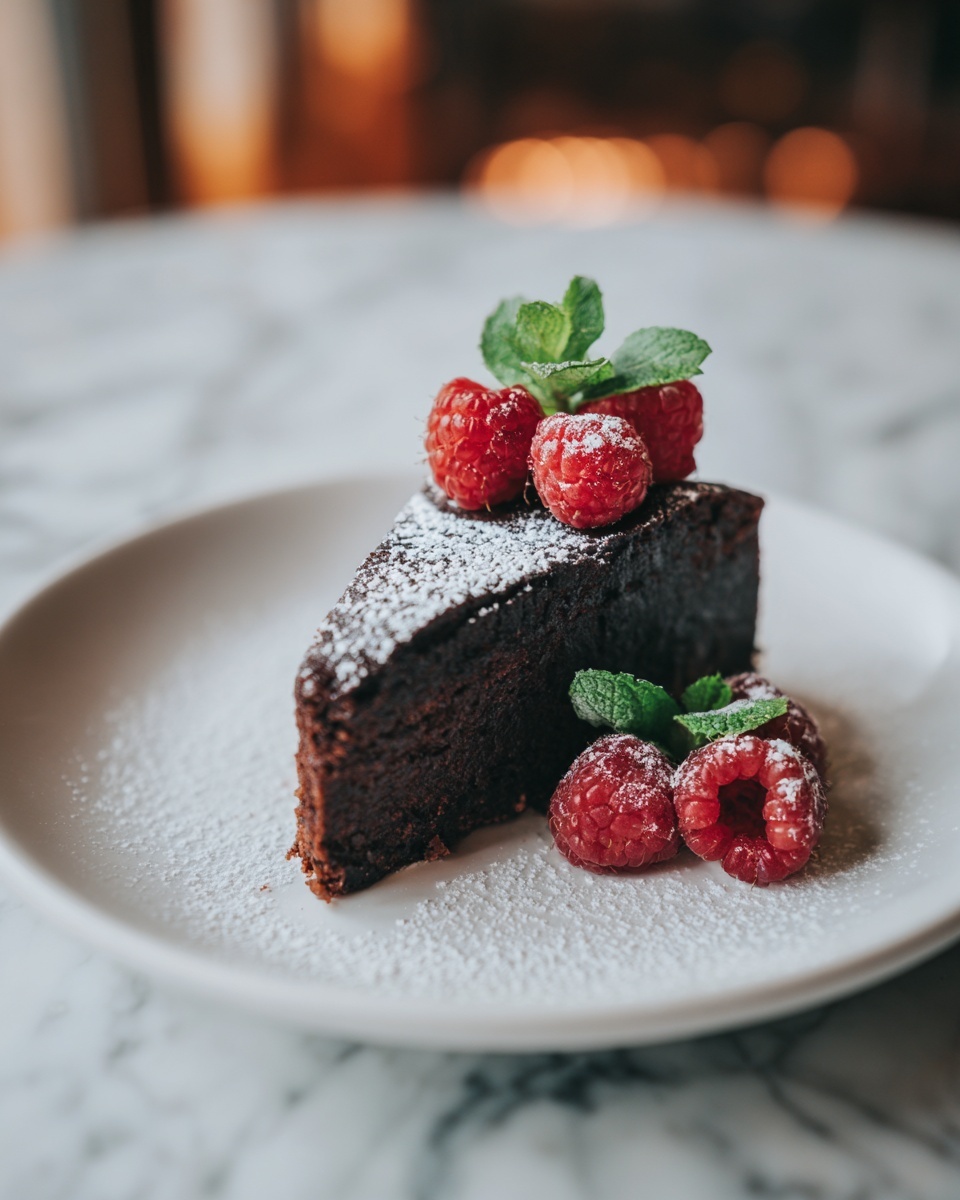
Kladdkaka is a classic Swedish sticky chocolate cake known for its rich, gooey center and crisp exterior. This easy-to-make dessert combines cocoa powder and melted butter to create an indulgent treat that is perfect for any occasion. With minimal ingredients and quick preparation, it’s a beloved favorite in Sweden and beyond, ideal served with a dusting of powdered sugar or a dollop of whipped cream.
Ingredients
Wet Ingredients
- 3 eggs
- 11 tbsp butter
- 1 ¼ cups sugar
Dry Ingredients
- 1 cup all-purpose flour
- 1 tsp vanilla sugar (or vanilla extract)
- 1 tsp baking powder
- 6 tbsp cocoa powder
For Decoration
- Powdered sugar for decoration
Instructions
- Preheat the Oven: Preheat your oven to 350°F (175°C). Grease and line a 9-10 inch springform pan with baking paper to ensure easy removal and even baking.
- Prepare the Batter: Melt the butter in a saucepan or microwave and allow it to cool slightly. In a mixing bowl, combine the melted butter with sugar and eggs, stirring thoroughly until the mixture is smooth and creamy.
- Mix Dry Ingredients: In a separate bowl, whisk together the flour, cocoa powder, baking powder, and vanilla sugar until evenly combined. Gradually add these dry ingredients to the wet mixture, folding carefully to create a smooth, uniform batter without lumps.
- Bake the Cake: Pour the batter into the prepared springform pan and place it in the preheated oven. Bake for approximately 25 minutes until the top and edges form a crisp crust while the center remains soft, gooey, and slightly jiggly to the touch.
- Cool and Decorate: Remove the cake from the oven and let it cool completely in the pan. Once cooled, dust the top generously with powdered sugar for a classic finishing touch.
- Chill and Slice: Place the cooled cake in the refrigerator to chill, which will help set the gooey center and make slicing easier and cleaner. Serve chilled or at room temperature.
Notes
- Do not overbake; the cake should be slightly undercooked in the center for the traditional sticky texture.
- Vanilla sugar can be substituted with 1 tsp vanilla extract if unavailable.
- Use a springform pan for easy removal of the cake.
- Serve with whipped cream or fresh berries for added flavor.
- Store leftovers covered in the refrigerator for up to 3 days.

