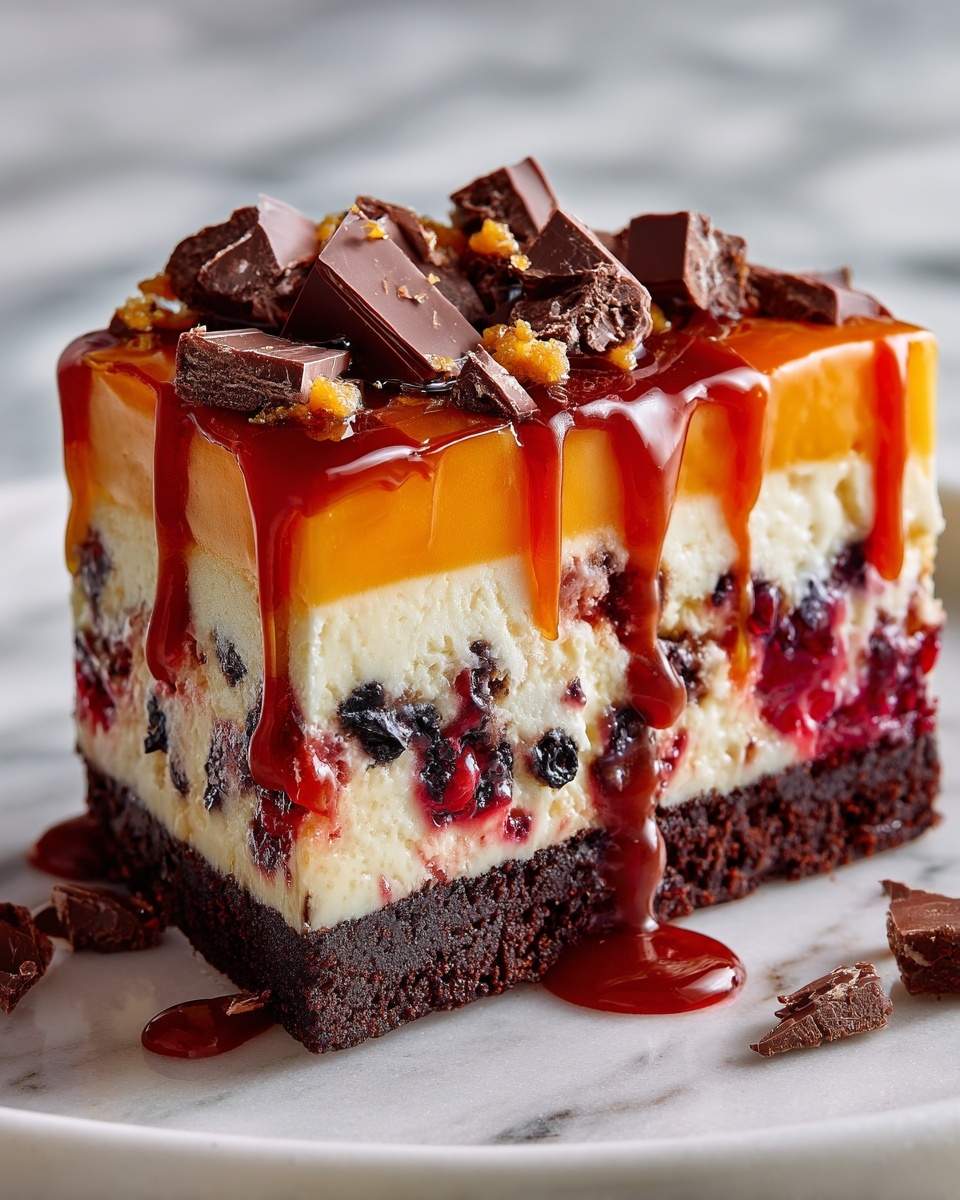
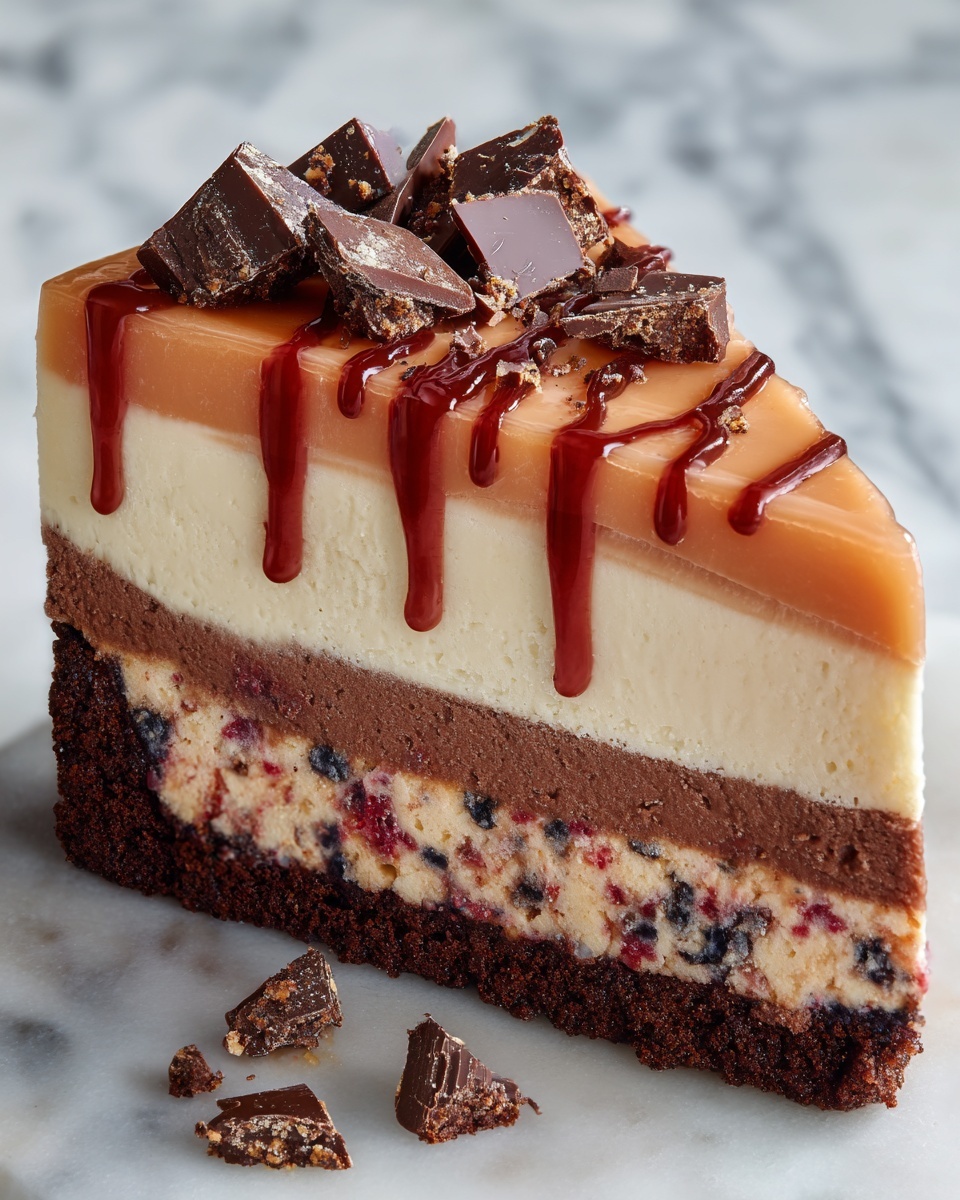
Get ready to wow your guests with this truly unforgettable Halloween Multicolored Layered Cheesecake Recipe! This festive dessert combines creamy, luscious cheesecake layers in vibrant orange, black, and purple colors that perfectly capture the spirit of Halloween. Each bite delivers the rich tang of cream cheese balanced by a crunchy Oreo crust, while the colorful layers make for an eye-catching centerpiece at any celebration. Whether you’re planning a kids’ party or an elegant Halloween gathering, this cheesecake brings fun, flavor, and a bit of spooky style to your dessert table.
Ingredients You’ll Need
These simple yet thoughtfully selected ingredients come together to create the perfect taste, texture, and visual appeal for your Halloween Multicolored Layered Cheesecake Recipe. Each element plays its own special role, from the creamy base to the striking colors that make this dessert stand out.
- Oreo cookie crumbs: Provide a rich, chocolatey, and crunchy base that complements the smooth cheesecake.
- Unsalted butter, melted: Binds the crumbs together to form a sturdy and flavorful crust.
- Cream cheese, softened: The star ingredient that makes the cheesecake luxuriously creamy and tangy.
- Granulated sugar: Sweetens the creamy filling just right without overpowering flavors.
- Large eggs: Help set the cheesecake and give it the perfect dense yet tender texture.
- Vanilla extract: Adds a warm, comforting depth to the flavor.
- Almond extract: Offers a subtle, nutty undertone that enhances the overall taste.
- Sour cream: Keeps the cheesecake moist and adds a slight tang that balances the sweetness.
- Food coloring (orange, black, purple): Creates the striking Halloween colors that make this recipe so visually exciting.
- Heavy whipping cream: Whipped into a fluffy topping, it adds a light contrast to the dense cheesecake layers.
- Powdered sugar: Sweetens and stabilizes the whipped cream for a smooth finish.
- Halloween-themed sprinkles or decorations: The fun final touch to bring a festive flair.
How to Make Halloween Multicolored Layered Cheesecake Recipe
Step 1: Preheat and Prepare
Start by preheating your oven to 350°F (175°C). Grease a 9-inch springform pan to ensure your cheesecake releases easily after baking. This prep work is essential to achieving a smooth, neat cheesecake finished with beautiful layers.
Step 2: Make the Oreo Crust
Mix the Oreo cookie crumbs with the melted butter in a medium bowl until the mixture looks evenly moistened. Press this mixture firmly into the bottom of your prepared pan to create a chocolatey, crisp base that will add contrasting texture to your silky cheesecake layers.
Step 3: Whip Up the Filling
Beat the softened cream cheese and granulated sugar in a large bowl until completely smooth and creamy. Add the eggs one at a time, mixing thoroughly after each addition to keep your batter silky. Stir in the vanilla and almond extracts along with sour cream for that perfect moist texture and lovely depth of flavor.
Step 4: Color Your Batter
Divide your cheesecake mixture evenly into three separate bowls. Add orange food coloring to one, black to the second, and purple to the third. Make sure you mix each one well until the colors are fully incorporated and vibrant. This step is what turns your cheesecake into an eye-catching Halloween spectacle.
Step 5: Layer the Batter
Pour the orange batter over your crust and spread it gently and evenly. Next, carefully add the black layer on top, smoothing it out without disturbing the layer beneath. Finally, pour the purple layer over the black one, creating neat colorful tiers that will bake into a beautiful, marvellous cake.
Step 6: Bake to Perfection
Bake the layered cheesecake in your preheated oven for 50 to 60 minutes until the center is just set. Then, turn off the oven and leave the cheesecake inside with the door slightly open for an additional hour. This slow cooling method helps prevent cracks and preserves the silky texture you want in every bite.
Step 7: Cool and Chill
Remove your cheesecake from the oven and let it cool completely to room temperature before refrigerating. Chill it for at least four hours, or overnight if possible. This resting time allows the flavors to meld and the texture to firm up perfectly for slicing and serving.
Step 8: Prepare the Whipped Topping
Beat the heavy whipping cream with powdered sugar until stiff peaks form for a luscious, cloud-like topping. Spread or pipe this over the chilled cheesecake to add a creamy contrast to the colorful layers beneath.
Step 9: Decorate with Halloween Flair
Finally, sprinkle your Halloween-themed sprinkles or decorations generously over the whipped cream. This final touch brings fun, whimsy, and festive charm to your dessert, making it look just as delightful as it tastes.
How to Serve Halloween Multicolored Layered Cheesecake Recipe
Garnishes
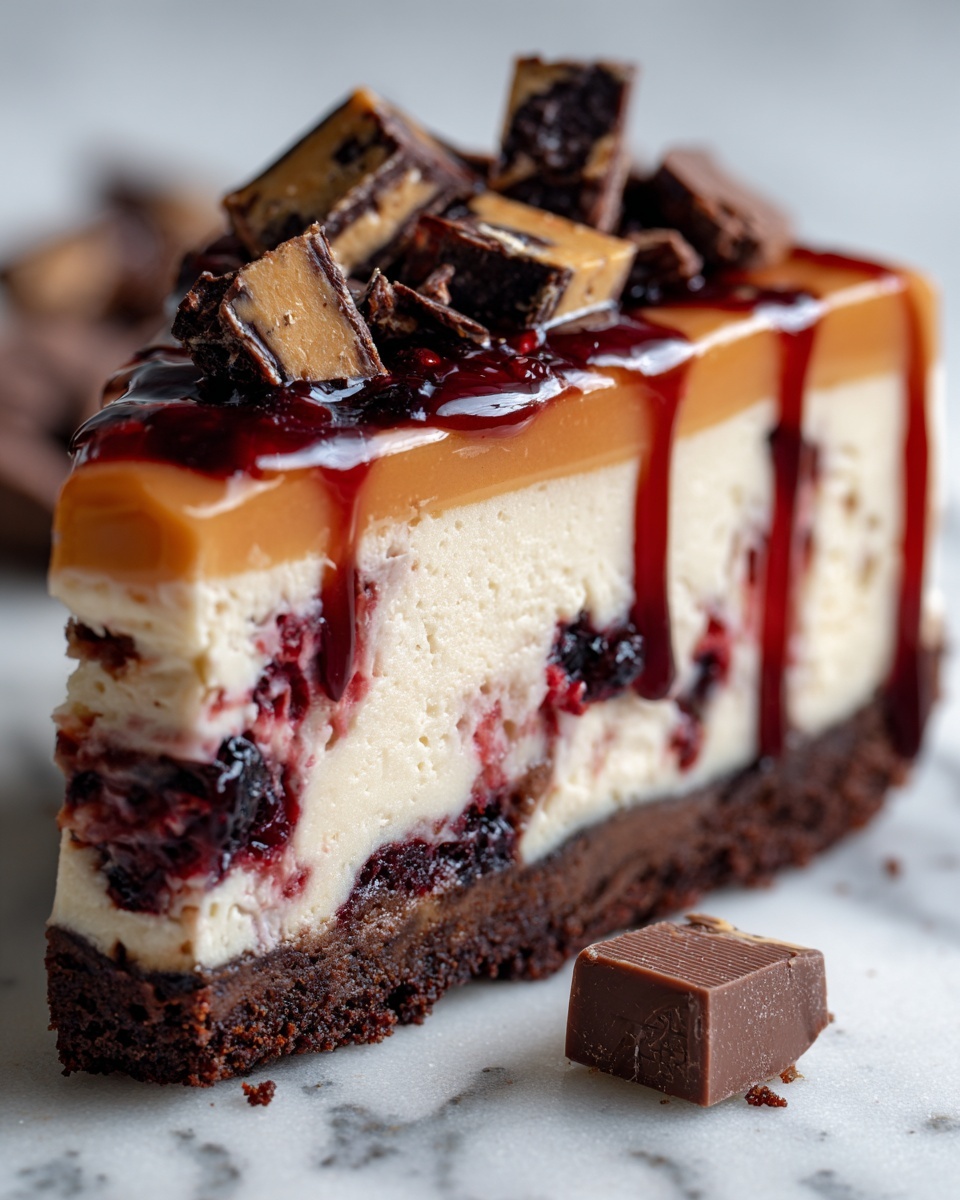
Adding sprinkles is only the beginning. Consider edible glitter or small candy pumpkins to enhance the spooky vibe. A few fresh raspberries or blueberries can also add a pop of natural color and tartness that harmonizes beautifully with the rich, creamy cheesecake.
Side Dishes
This cheesecake pairs wonderfully with light, refreshing sides like toasted nuts or a crisp green salad with a tangy vinaigrette if you want to balance out the richness at a Halloween dinner. For a cozy party, serve it alongside spiced cider or hot chocolate for a true autumnal feast.
Creative Ways to Present
Present your Halloween Multicolored Layered Cheesecake Recipe on a decorative platter with themed napkins and candles to set the mood. Slice cleanly with a hot knife to reveal those stunning layers, and serve each portion with a festive fork or plate that complements your party’s theme for an extra special touch.
Make Ahead and Storage
Storing Leftovers
Cover any leftover cheesecake tightly with plastic wrap or foil and store it in the refrigerator. It will stay fresh for up to 4 days, making it perfect for enjoying a few slices in the days following your party without losing any flavor or texture.
Freezing
You can freeze the cheesecake for longer storage by wrapping it carefully in plastic wrap and then foil to protect it from freezer burn. Freeze for up to 1 month. Thaw in the refrigerator overnight before serving to maintain that creamy consistency.
Reheating
Cheesecake is best enjoyed chilled, so reheating is generally not recommended. However, if you prefer a softer slice, let it sit at room temperature for 15 to 20 minutes before serving, allowing it to soften gently without compromising the flavors.
FAQs
Can I use regular chocolate cookie crumbs instead of Oreo crumbs for the crust?
Absolutely! Regular chocolate cookie crumbs will work just fine and give a similar flavor. Oreos add a bit of extra sweetness and a hint of vanilla, but feel free to adapt depending on your pantry staples.
Is it okay to substitute food coloring with natural alternatives?
Yes, natural colorings like beet juice for orange or activated charcoal for black can be used. Just keep in mind that natural dyes may have a milder color impact and could slightly alter the flavor.
How do I avoid cracks on the cheesecake surface?
Preheating the oven properly, baking at the right temperature, and allowing the cheesecake to cool slowly with the oven door ajar helps prevent cracks. Also, avoid overmixing the batter and do not overbake.
Can I make this cheesecake gluten-free?
Definitely! Swap the Oreo crust for a gluten-free cookie crumb alternative, such as gluten-free chocolate sandwich cookies or graham crackers. Just ensure the substitutions match your desired texture and flavor.
What can I use if I don’t have a springform pan?
A deep cake pan or a regular round baking pan can work, but be mindful that removing the cheesecake might be trickier. You can line your pan with parchment paper for easier removal, but a springform pan remains the easiest option for clean edges.
Final Thoughts
There is something so joyful about serving this vibrant Halloween Multicolored Layered Cheesecake Recipe to friends and family. It’s a celebration of color, flavor, and festive fun all rolled into one unforgettable dessert. I encourage you to give this recipe a try and watch how the colorful layers bring smiles and delight to your Halloween gatherings. Happy baking and happy Halloween!
Print
Halloween Multicolored Layered Cheesecake Recipe
- Prep Time: 30 minutes
- Cook Time: 1 hour 10 minutes
- Total Time: 1 hour 40 minutes plus chilling time
- Yield: 12 servings
- Category: Dessert
- Method: Baking
- Cuisine: American
- Diet: Vegetarian
Description
This festive Halloween Cheesecake features a colorful layered filling with vibrant orange, black, and purple hues atop a crunchy Oreo crust. Finished with a fluffy whipped cream topping and fun Halloween-themed sprinkles, this dessert is perfect for spooky celebrations and guaranteed to impress guests with its striking appearance and creamy texture.
Ingredients
Crust
- 2 cups Oreo cookie crumbs
- 1/2 cup unsalted butter, melted
Cheesecake Filling
- 3 packages (8 oz each) cream cheese, softened
- 1 cup granulated sugar
- 3 large eggs
- 1 teaspoon vanilla extract
- 1/2 teaspoon almond extract
- 1/2 cup sour cream
- Food coloring (orange, black, purple)
Topping
- 1 cup heavy whipping cream
- 1/4 cup powdered sugar
- Halloween-themed sprinkles or decorations
Instructions
- Preheat Oven: Preheat your oven to 350°F (175°C). Grease a 9-inch springform pan to ensure the cheesecake does not stick and releases easily after baking.
- Prepare Crust: In a medium bowl, combine the Oreo cookie crumbs and melted unsalted butter. Mix until fully combined. Press this mixture firmly and evenly into the bottom of the prepared springform pan to form the crust layer.
- Prepare Filling: In a large mixing bowl, beat the softened cream cheese with granulated sugar until smooth and creamy. Add eggs one at a time, beating well after each addition for a smooth batter. Stir in vanilla extract, almond extract, and sour cream until the mixture is homogeneous.
- Color the Batter: Divide the cheesecake batter evenly into three separate bowls. Add orange food coloring to the first bowl, black food coloring to the second, and purple food coloring to the third. Stir each until the colors are uniform and vibrant.
- Layer the Batter: Pour the orange batter evenly over the prepared Oreo crust and spread gently. Next, carefully pour the black batter over the orange layer and spread evenly. Finally, add the purple batter on top, spreading it smoothly to create a distinct three-layered visual effect.
- Bake: Bake the layered cheesecake in the preheated oven for 50 to 60 minutes, or until the center is just set but slightly jiggly. Once baked, turn off the oven and leave the cheesecake inside with the oven door slightly ajar for 1 hour to prevent cracking.
- Cool and Chill: Remove the cheesecake from the oven and allow it to cool completely at room temperature. Once cooled, refrigerate the cheesecake for at least 4 hours or overnight to set fully and enhance flavor development.
- Prepare Topping: In a medium bowl, beat the heavy whipping cream with powdered sugar until stiff peaks form, creating a fluffy whipped cream topping.
- Decorate and Serve: Spread or pipe the whipped cream over the chilled cheesecake surface. Finish by adding Halloween-themed sprinkles or decorations for a festive touch before serving.
Notes
- Ensure all cream cheese is softened before mixing to avoid lumps in the batter.
- Use gel food coloring for more vibrant colors without altering batter consistency.
- Be gentle when layering batters to prevent mixing of colors.
- Allow the cheesecake to cool gradually in the oven to reduce cracking.
- The cheesecake benefits from chilling overnight for best slicing and flavor.

