If you’ve ever wanted to capture the vibrant sweetness of summer in a jar, this Easy Homemade Peach Jam Recipe is the perfect way to do it. Bursting with fresh peaches and a hint of lemon, this jam transforms simple, everyday ingredients into a luscious spread that’s both sweet and slightly tangy. It’s incredibly satisfying to make from scratch, and once you do, you’ll wonder why you ever bought store-bought jam. Whether you slather it on toast, swirl it into yogurt, or gift it to a friend, this jam brings sunshine to any bite.
Ingredients You’ll Need
The magic of this Easy Homemade Peach Jam Recipe comes from the simplicity and quality of its ingredients. Each one plays a crucial role in balancing flavor, texture, and natural sweetness, so it’s worth choosing the freshest peaches you can find.
- Peaches (3 1/2 pounds): Use ripe, juicy peaches for the best flavor and natural sweetness; peeling and pitting them ensures a smooth jam.
- Sugar (2 1/2 cups): Adjust to taste based on your peach’s sweetness, as it helps the jam set and adds that classic jam sweetness.
- Lemon juice (juice of one lemon): Adds brightness and balances the sweetness while aiding in the preservation of the jam’s vibrant color.
How to Make Easy Homemade Peach Jam Recipe
Step 1: Add Peaches and Lemon Juice
Start by placing your peeled, pitted, and chunked peaches into a medium saucepan. Pour in the fresh lemon juice, which will bring out the peaches’ natural brightness and prevent the color from darkening. Bring this mixture to a boil over medium-high heat, using a spoon or potato masher to crush the peaches to your preferred texture. Whether you like a chunky or smooth jam, this is the moment to decide how rustic it will be.
Step 2: Reduce Heat and Add Sugar
Once the peaches are bubbling, reduce the heat to medium. Slowly stir in the sugar, watching as it dissolves smoothly into the fruity mixture. Keep the mixture on a steady boil, stirring frequently to avoid burning. This part requires your attention, but trust me, the aroma filling your kitchen is worth every second!
Step 3: Boil and Stir Until Jam Consistency
Allow the jam to cook until it thickens to the perfect consistency, usually between 15 to 25 minutes. You’ll know it’s ready when the jam clings to a spoon and doesn’t run off when tilted. Patience here results in that irresistible spreadable texture that tastes like pure peach sunshine.
Step 4: Cool the Jam
Remove the pan from heat and let your peach preserves cool. If, after cooling, the jam isn’t quite thick enough, simply return it to the stove and boil it again for another 10 minutes before letting it cool once more. This extra step ensures your jam is perfectly set without the use of pectin.
How to Serve Easy Homemade Peach Jam Recipe
Garnishes
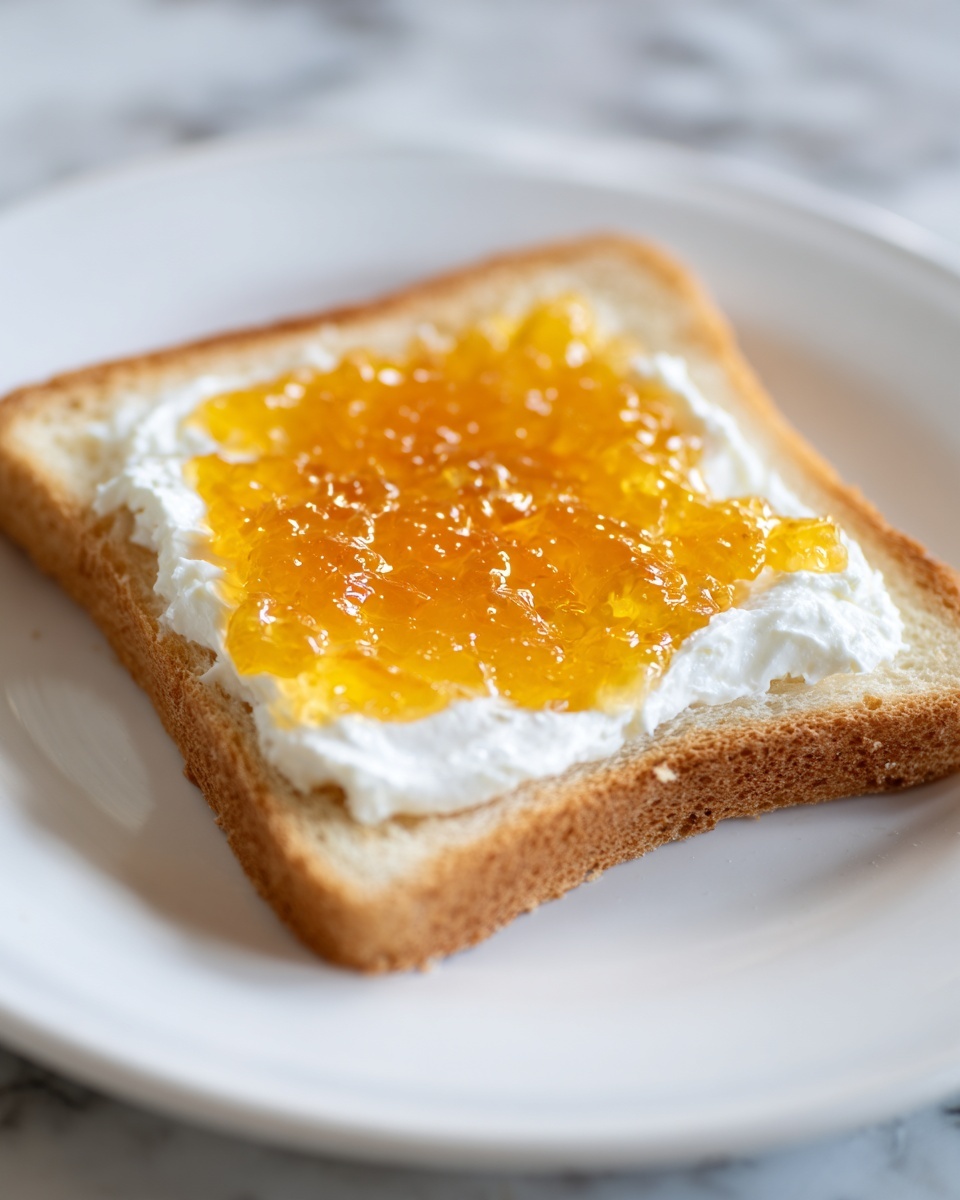
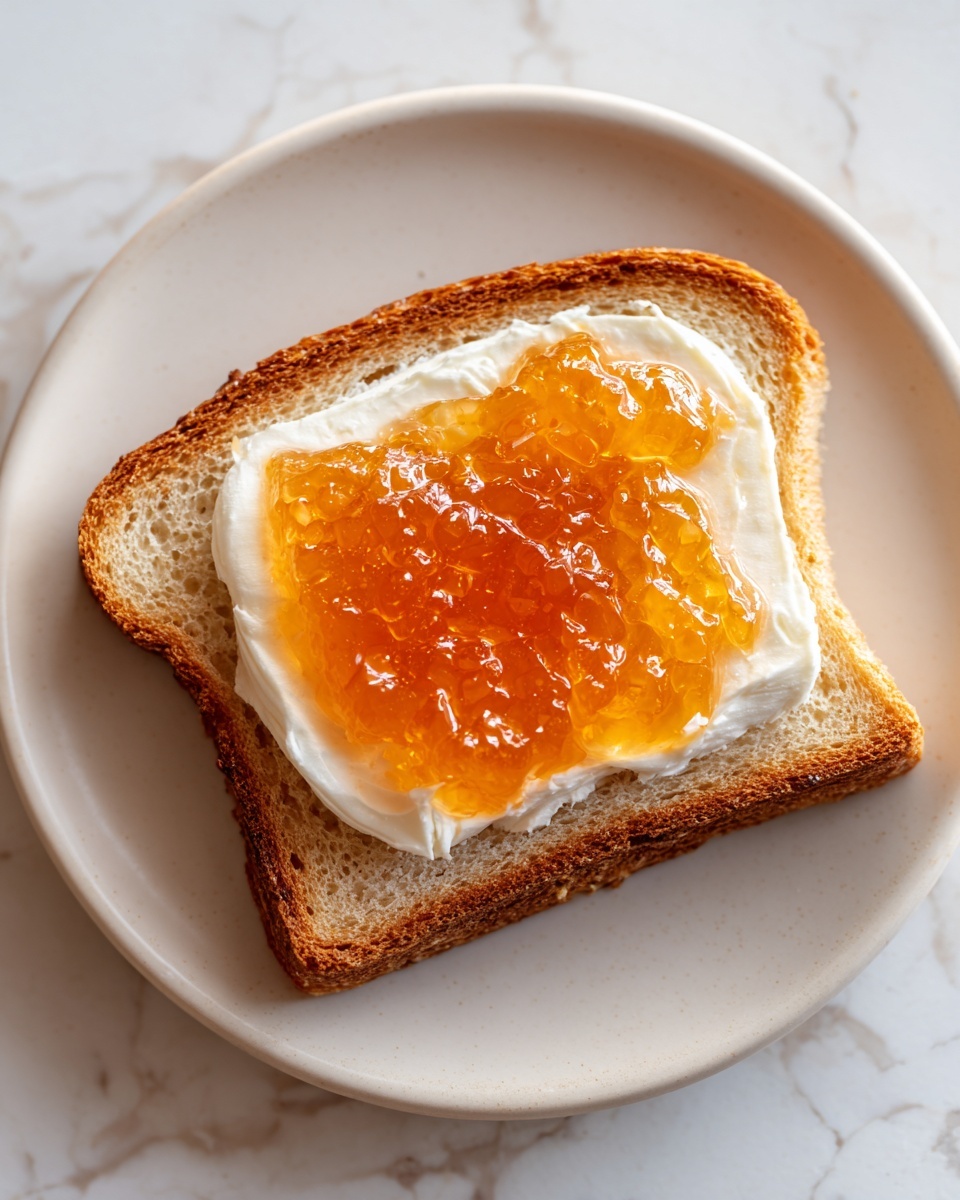
A little fresh mint or a thin slice of peach on top of your jam toast not only adds a lovely pop of color but also intensifies the fruity aroma. The contrast of green with the warm peach hue invites you to dive right in.
Side Dishes
This jam shines not only on bread but also complements creamy cheeses like brie or ricotta, making a delightful addition to a cheese board. Serve alongside buttery croissants or warm biscuits for a breakfast or tea-time treat that feels extra special.
Creative Ways to Present
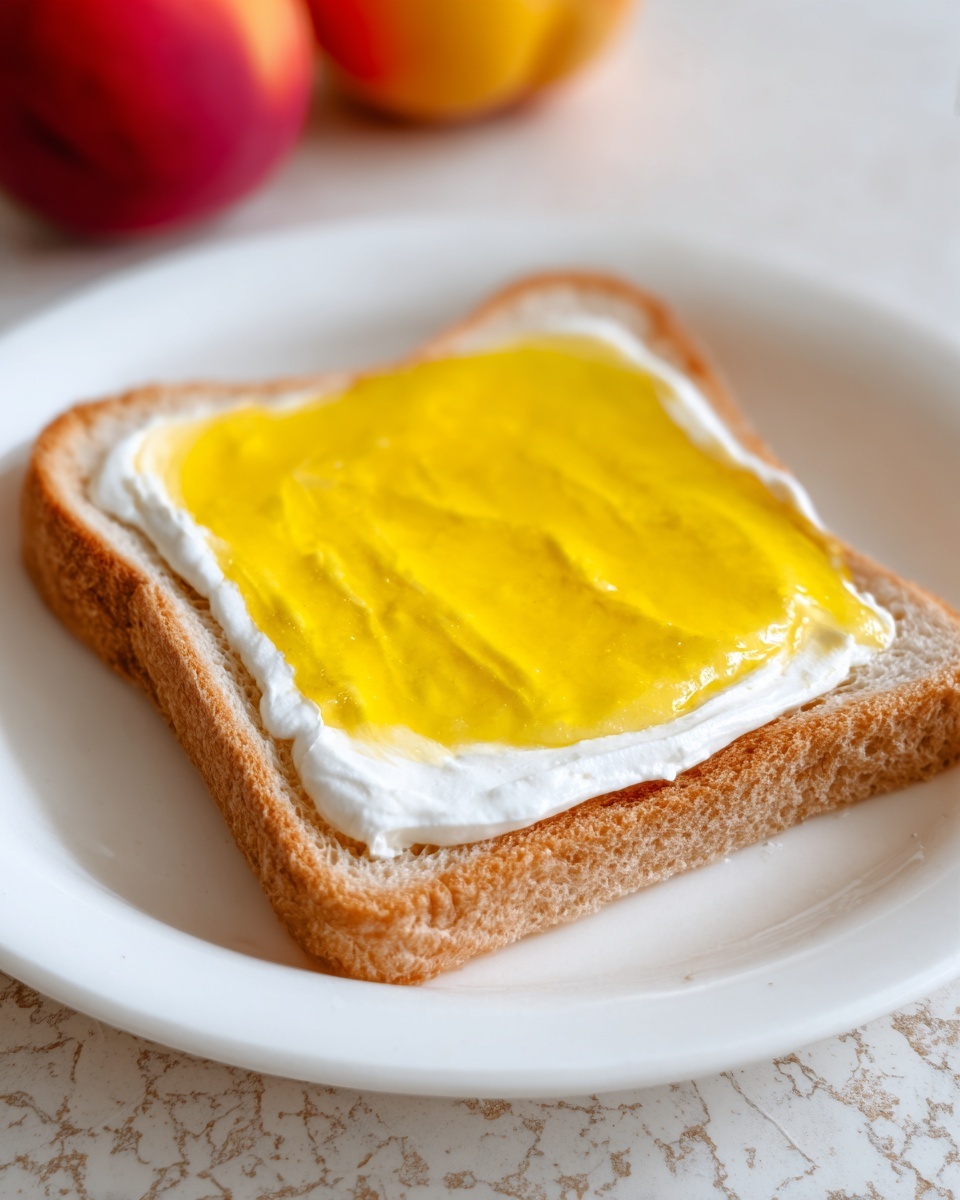
Try swirling the jam into plain yogurt or oatmeal for a natural fruity boost. It also works beautifully as a topping for ice cream, pancakes, or even grilled pork chops—its sweet and tangy notes bring unexpected depth and complexity to savory dishes.
Make Ahead and Storage
Storing Leftovers
Keep your leftover Easy Homemade Peach Jam Recipe in a clean, airtight container in the refrigerator. It will stay fresh for up to three weeks, making it easy to enjoy a spoonful whenever the mood strikes.
Freezing
If you want to save your jam for months, freezing is a wonderful option. Use freezer-safe containers, leaving some headspace as the jam expands. When properly sealed and frozen, the jam maintains its flavor and texture for up to six months.
Reheating
Thawed jam might separate slightly, but a gentle stir and a quick warm-up in a saucepan will bring it back to its luscious consistency. Just heat gently, stirring often, and enjoy as if freshly made.
FAQs
Can I use frozen peaches for this jam?
Yes! Frozen peaches can be used if fresh are unavailable, but drain any excess liquid before cooking to avoid overly watery jam.
Is it necessary to peel the peaches?
Peeling helps create a smoother texture and prevents pieces of skin in your jam, but if you prefer a more rustic style, leaving the skins on is okay.
How do I know when the jam is done?
The jam is ready when it sticks to a spoon and stays in place when you tilt it sideways, indicating it will spread nicely without running.
Can I reduce the sugar amount?
Absolutely! Depending on your peaches’ sweetness and preference, you can reduce sugar, but keep in mind it also helps preserve the jam.
Do I need to use lemon juice?
Yes, lemon juice adds acidity which balances sweetness, boosts flavor, and helps the jam set and last longer.
Final Thoughts
There is something truly magical about making your own jam, especially when the result is as heavenly as this Easy Homemade Peach Jam Recipe. It’s simple, satisfying, and full of that genuine peach flavor that brightens any meal. Give it a try—you’ll not only enjoy the process, but you’ll treasure the taste of summer long after the season ends.
Print
Easy Homemade Peach Jam Recipe
- Prep Time: 10 minutes
- Cook Time: 25 minutes
- Total Time: 35 minutes
- Yield: About 3 cups of peach jam
- Category: Jam
- Method: Stovetop
- Cuisine: American
Description
This easy homemade peach jam recipe captures the sweet and fresh flavors of ripe peaches, perfect for spreading on toast or adding to desserts. Made with just peaches, sugar, and lemon juice, it’s a simple and delicious way to preserve summer’s bounty with no special equipment needed.
Ingredients
Ingredients
- 3 1/2 pounds peaches, peeled, pitted, and cut into chunks (approximately 10 to 14 medium peaches)
- 2 1/2 cups sugar (adjust to taste)
- Juice from one lemon
Instructions
- Add peaches and lemon juice: In a medium saucepan, combine the peeled, pitted, and chopped peaches with the juice from one lemon. This combination will help brighten the flavor and preserve the fruit while cooking.
- Bring to a boil and crush peaches: Place the saucepan over medium-high heat and bring the mixture to a boil, crushing the peaches with a spoon or potato masher to create your preferred jam texture.
- Reduce heat and add sugar: Lower the heat to medium and stir in the sugar until fully incorporated. This sweetens the jam and helps it thicken.
- Boil and stir frequently: Bring the mixture back to a full rolling boil, stirring constantly to prevent sticking or burning. Continue to cook for 15 to 25 minutes until the peaches have broken down and the jam thickens.
- Test jam consistency: Check the jam by lifting a spoon and tilting it sideways; the jam should stick and not immediately run off. This indicates it is ready.
- Cool the jam: Remove the saucepan from heat and let the peach jam cool to room temperature. If the jam is too runny after cooling, you can return it to the heat and boil for an additional 10 minutes, then cool again to achieve the desired consistency.
Notes
- Adjust sugar amount based on the sweetness of your peaches and taste preference.
- Make sure to peel peaches thoroughly for a smooth texture.
- Use freshly squeezed lemon juice for best flavor and preservation quality.
- The jam will thicken further as it cools, so do not overcook initially.
- Store the cooled jam in sterilized jars and refrigerate for up to 3 weeks.


