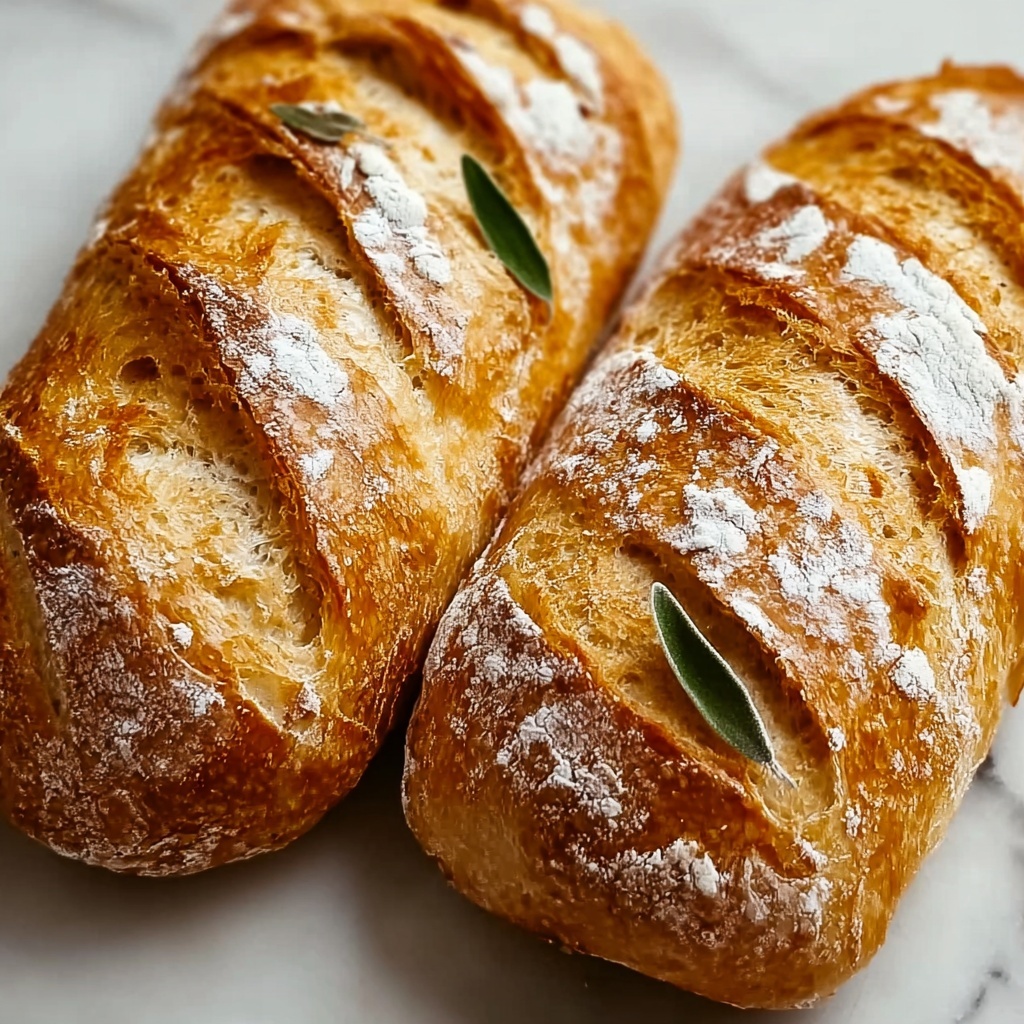
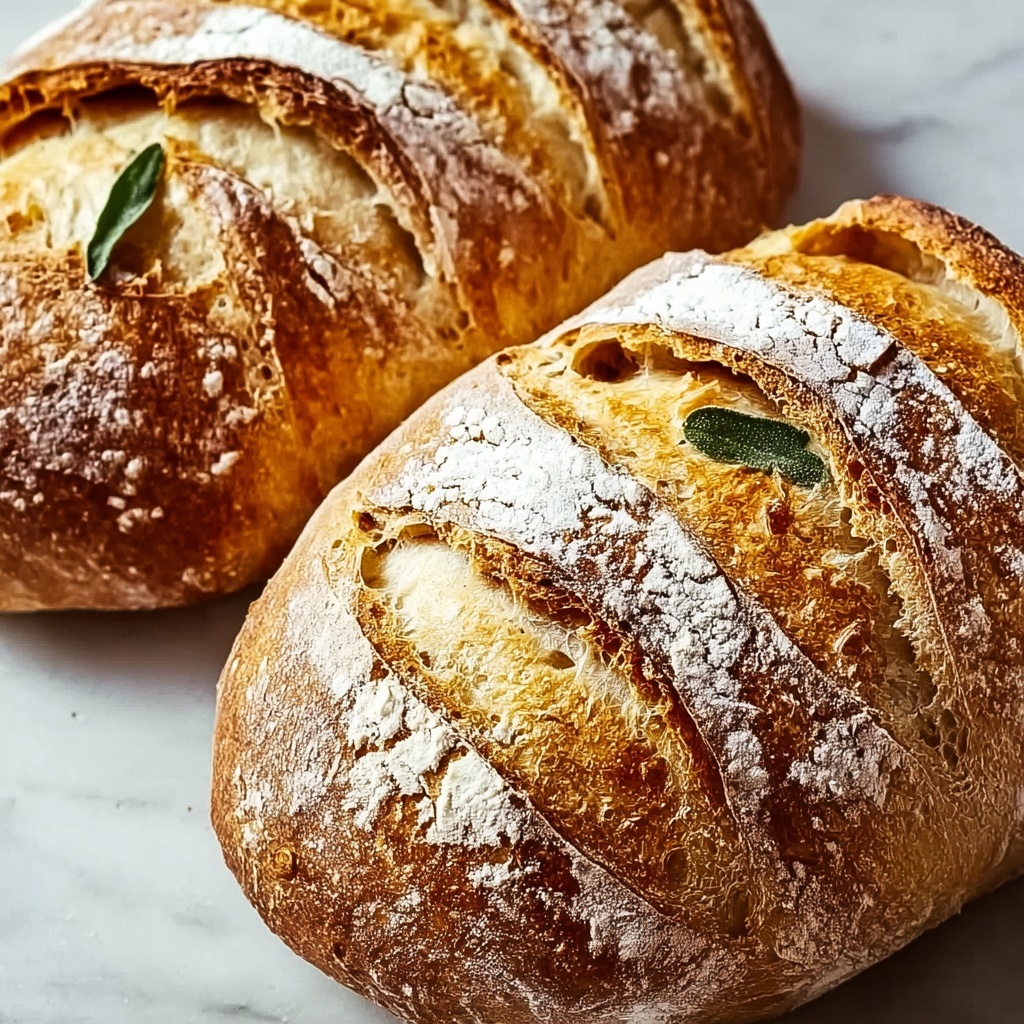
If you’ve ever dreamed of biting into a loaf that boasts a perfect golden crust with a soft, airy crumb inside, this Crusty Italian Bread Recipe is exactly what your kitchen needs. It’s a simple yet utterly satisfying bread that fills your home with warmth while transforming even the simplest meals into a memorable feast. Trust me, once you make this bread at home, you’ll never want to buy store-bought again. The incredible crust and authentic Italian flavor will quickly become a family favorite.
Ingredients You’ll Need
Creating a fantastic loaf from scratch starts with a handful of pantry staples. Each ingredient plays an essential role, from the flour’s structure to the yeast’s magic that makes the dough rise, all culminating in that alluring crust and tender interior.
- 4 cups all-purpose flour: The backbone of your bread, providing the structure and chew you desire.
- 1 1/2 teaspoons salt: Enhances the flavor and controls yeast activity for a balanced taste.
- 1 packet (2 1/4 teaspoons) active dry yeast: The living ingredient responsible for that beautiful rise and airy texture.
- 1 1/2 cups warm water (110°F): Activates the yeast and hydrates the flour for gluten development.
- 1 teaspoon sugar: A tiny energy boost for the yeast to get busy fermenting.
- 1 tablespoon olive oil (optional): Adds a subtle richness and softens the crust just a bit.
- Cornmeal for dusting baking sheet (optional): Prevents sticking while adding a lovely texture to the bread’s bottom.
How to Make Crusty Italian Bread Recipe
Step 1: Activate the Yeast
Begin by mixing warm water, sugar, and yeast in a small bowl. Let this sit undisturbed for 5 to 10 minutes until it becomes foamy and bubbly. This signals that the yeast is alive and kicking, ready to make your dough rise beautifully.
Step 2: Combine Dry Ingredients
In a large bowl, whisk together the flour and salt to ensure they’re evenly distributed. This simple step shapes the foundation of your bread’s flavor and texture.
Step 3: Mix the Dough
Pour in the foamy yeast mixture and olive oil (if you’ve chosen to add it) to the dry ingredients. Stir using a wooden spoon or your hands until a sticky dough forms, invitingly soft yet manageable.
Step 4: Knead to Perfection
Turn the dough onto a lightly floured surface and knead it for 8 to 10 minutes. This is where the magic happens—gluten strands develop, turning your dough smooth and elastic, ready to trap the air bubbles for that perfect crumb.
Step 5: First Rise
Place the dough in a greased bowl, cover it with a clean kitchen towel, and tuck it away in a warm spot. Rise time is about 1 to 1 1/2 hours, or until the dough doubles in size, showing it’s full of promise and air pockets.
Step 6: Shape and Prep for Baking
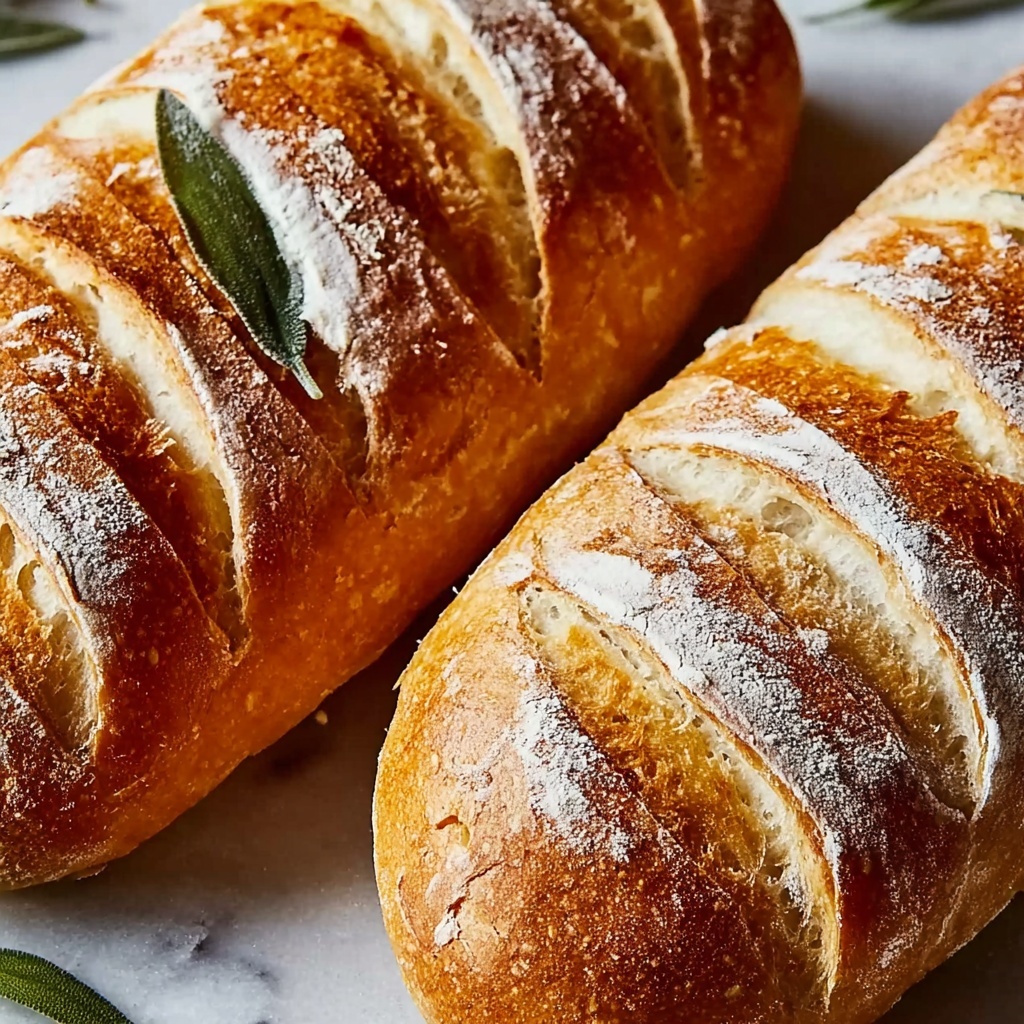
Gently punch down the dough to release excess air and shape it into a loaf or a round boule, depending on your preference. Sprinkle your baking sheet with cornmeal to keep the bread from sticking, then place your dough on it. Don’t forget to score the top with 2 to 3 diagonal slashes; these not only look professional but help your bread expand evenly as it bakes.
Step 7: Bake to Golden Perfection
Preheat your oven to 425°F, placing a baking stone or an inverted baking sheet inside to heat up as well. Pop your dough in and bake for 25 to 30 minutes until the crust turns a rich golden brown and sounds hollow when tapped. For an ultra-crispy crust, try placing a small oven-safe dish of water on the oven’s bottom rack to generate steam.
Step 8: Cool Before Enjoying
Remove your gorgeous loaf from the oven and let it cool on a wire rack. This cooling period is important—it allows the crumb to set perfectly, making slicing easier and the texture more delightful.
How to Serve Crusty Italian Bread Recipe
Garnishes
This crusty Italian bread is delicious on its own but shines brilliantly when garnished. Brush slices lightly with garlic-infused olive oil or sprinkle with fresh herbs like rosemary or thyme for a fragrant twist. A sprinkle of sea salt on top can also bring out the flavors beautifully.
Side Dishes
Whether you’re serving it with a hearty bowl of minestrone, a fresh Caprese salad, or rich pasta dishes, this bread is your perfect companion. It’s ideal for sopping up sauces, making your meals feel truly authentic and satisfying.
Creative Ways to Present
Turn your crusty Italian bread into an appetizer by slicing it thin and toasting pieces to make bruschetta topped with fresh tomatoes, basil, and mozzarella. Or become a sandwich artist—stuff thick slices with salami, provolone, and arugula for a marvelous Italian sub.
Make Ahead and Storage
Storing Leftovers
To keep your crusty Italian bread at its best, store leftover slices at room temperature in a paper bag or bread box for up to 2 days. Avoid airtight containers which can soften the crust, losing that precious crunch we love.
Freezing
If you want to enjoy this bread over time, slice it and freeze the portions in a resealable plastic bag. This way, you can take out exactly what you need without any waste, and still enjoy fresh-tasting bread whenever the craving strikes.
Reheating
Reheat slices in a toaster or warm the whole loaf in a 350°F oven for 10 minutes to revive that irresistible crustiness. Avoid the microwave, as it tends to make bread chewy or soggy.
FAQs
Can I use bread flour instead of all-purpose flour?
Absolutely! Bread flour has a higher protein content which can give your crust a slightly chewier texture and a better rise. It’s a great option if you want a more artisan-style crusty Italian bread result.
What if my dough doesn’t rise?
Check that your water temperature wasn’t too hot or too cold for the yeast; it should be warm (around 110°F). Also, ensure your yeast is fresh. If the dough still doesn’t rise, your yeast might be inactive and needs replacing.
Can I add herbs or other flavors to this recipe?
Yes! Adding rosemary, garlic powder, or even sun-dried tomatoes can create delicious variations. Just mix them in with the flour during the dry ingredient step to evenly distribute the flavors.
Why do we score the bread before baking?
Scoring allows the bread to expand without tearing unevenly. It creates a beautiful pattern while ensuring your bread bakes evenly and maintains a great shape.
How crispy will the crust be if I omit the olive oil?
Olive oil softens the crumb slightly but isn’t essential for crust crispiness. You’ll still get a fantastic, crisp crust without it, especially if you use steam in your oven during baking.
Final Thoughts
Making this Crusty Italian Bread Recipe at home is such a rewarding experience, filling your kitchen with the aroma of fresh-baked bread and delivering a loaf that everyone will adore. It’s straightforward, made with simple ingredients, and the taste is second to none. I encourage you to try it soon—you’ll be amazed how this humble bread elevates every meal and becomes a beloved staple at your table.
Print
Crusty Italian Bread Recipe
- Prep Time: 20 minutes
- Cook Time: 30 minutes
- Total Time: 1 hour 50 minutes
- Yield: 1 loaf (8 slices)
- Category: Bread
- Method: Baking
- Cuisine: Italian
- Diet: Vegetarian
Description
This Crusty Italian Bread recipe yields a golden, crunchy loaf with a soft, chewy interior, perfect for sandwiches or as a side accompaniment. Using simple ingredients like flour, yeast, salt, and water, it requires basic bread-making techniques to create an authentic artisan-style Italian bread with a delightful crust and airy crumb.
Ingredients
Dry Ingredients
- 4 cups all-purpose flour
- 1 1/2 teaspoons salt
- 1 packet (2 1/4 teaspoons) active dry yeast
- 1 teaspoon sugar
Wet Ingredients
- 1 1/2 cups warm water (110°F)
- 1 tablespoon olive oil (optional)
Additional
- Cornmeal for dusting baking sheet (optional)
Instructions
- Activate Yeast: In a small bowl, combine the warm water, sugar, and active dry yeast. Let the mixture sit for 5 to 10 minutes until it becomes foamy, indicating that the yeast is active.
- Mix Dry Ingredients: In a large mixing bowl, combine the all-purpose flour and salt, ensuring the salt is evenly distributed throughout the flour.
- Combine Ingredients: Pour the yeast mixture and optional olive oil into the flour mixture. Stir until a sticky dough forms that starts to come together.
- Knead the Dough: Transfer the dough onto a lightly floured surface and knead it for 8 to 10 minutes, or until the dough is smooth, elastic, and no longer sticky.
- First Rise: Place the dough in a greased bowl and cover it with a clean towel. Let it rise in a warm place for 1 to 1 1/2 hours until it doubles in size.
- Preheat Oven: About 20 minutes before baking, preheat the oven to 425°F (220°C). Place a baking stone or an inverted baking sheet inside to heat.
- Shape the Dough: Punch down the risen dough to release air. Shape it into a loaf or round boule and place onto a baking sheet dusted with cornmeal if desired.
- Score the Loaf: Using a sharp knife, make 2 to 3 diagonal slashes across the top of the dough to allow expansion during baking.
- Bake: Place the dough in the preheated oven and bake for 25 to 30 minutes until the crust is golden brown and the loaf sounds hollow when tapped on the bottom.
- Cool: Remove the bread from the oven and transfer it to a wire rack. Allow it to cool completely before slicing to preserve its texture.
Notes
- For extra crispiness, place a small oven-safe dish of water on the bottom rack during baking to create steam, enhancing the crust.
- Enhance flavor by adding herbs such as rosemary or garlic powder directly into the dough.
- Store leftover bread at room temperature for up to 2 days or freeze for longer storage.


