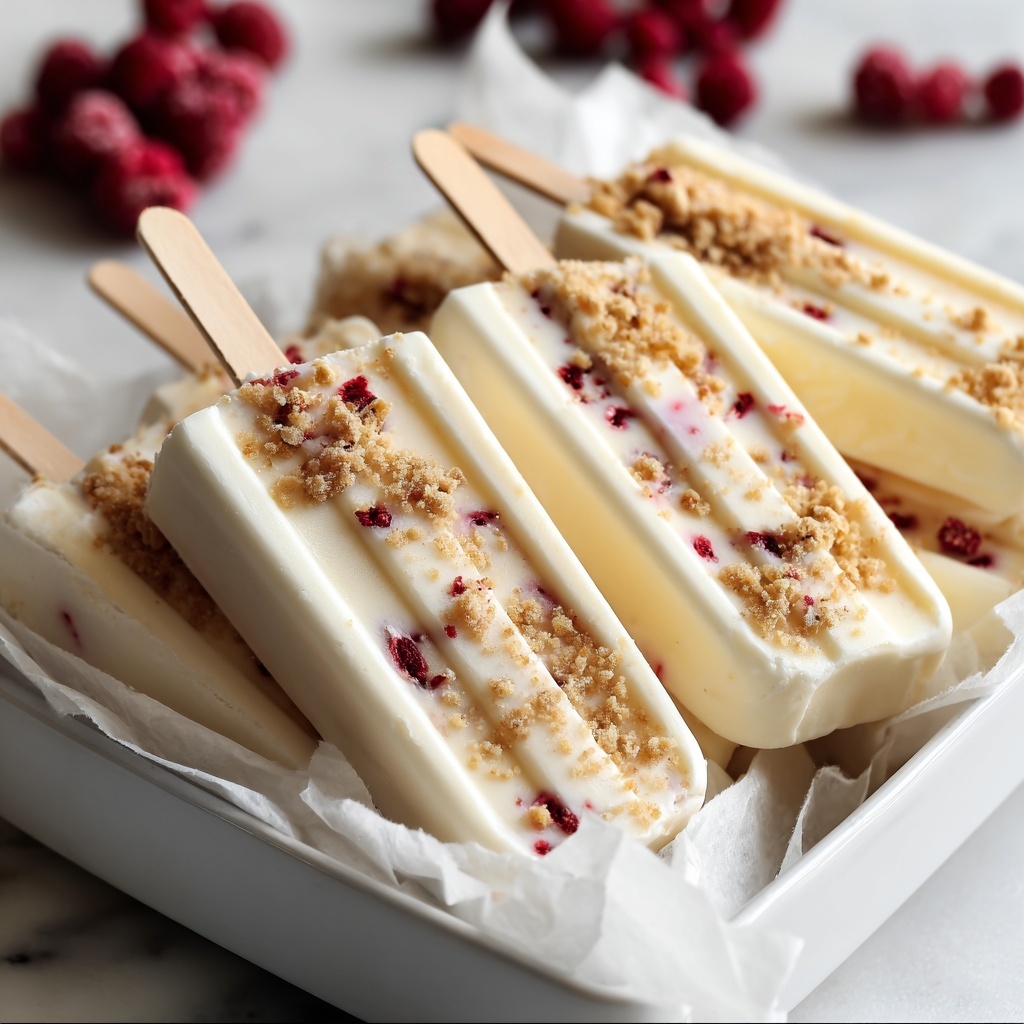
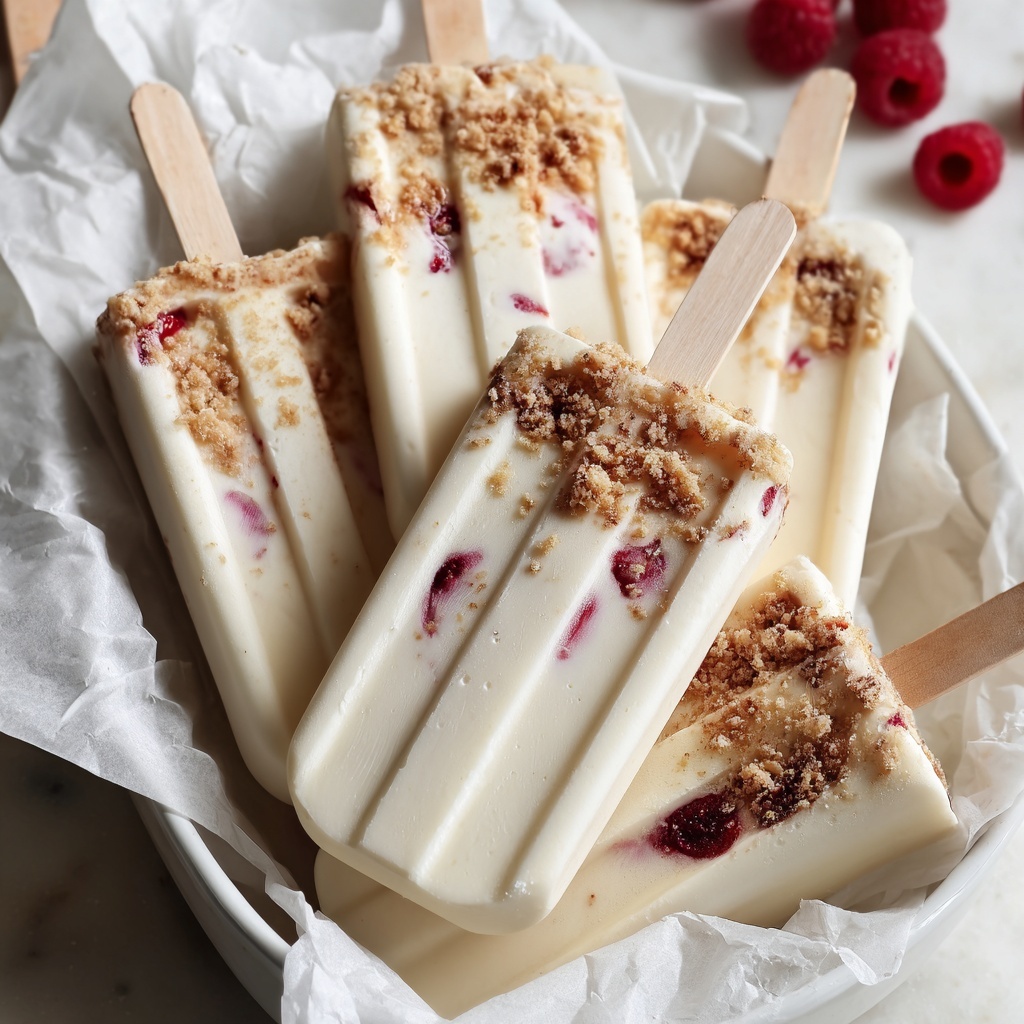
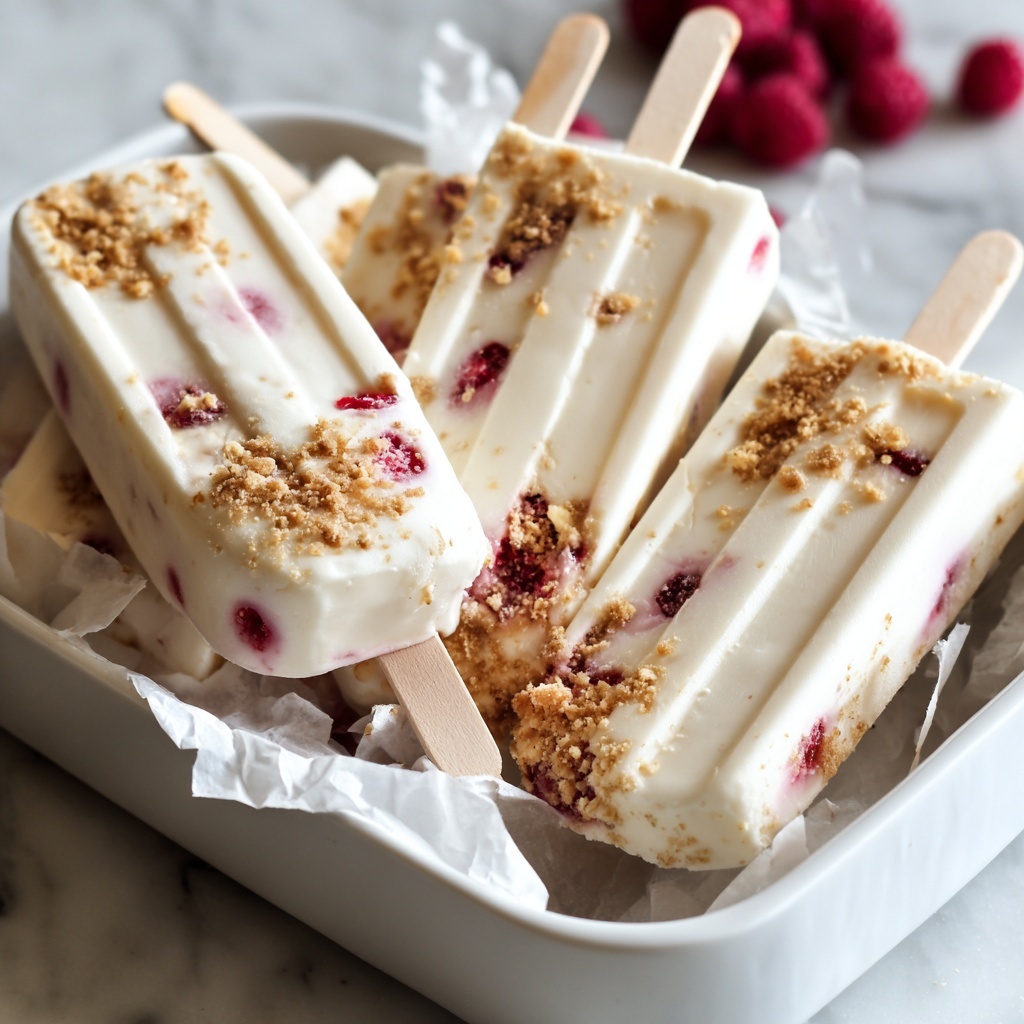
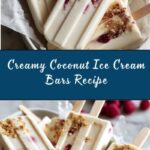
If you adore tropical flavors and dream of a treat that melts in your mouth with every bite, you are going to fall head over heels for this Creamy Coconut Ice Cream Bars Recipe. Imagine smooth, velvety coconut cream combined with just the right balance of sweetness, frozen into convenient bars that are perfect for cooling down on warm days or anytime you need a refreshing pick-me-up. This recipe makes the perfect summer indulgence with a texture so rich and creamy, it feels luxurious but is surprisingly simple to make at home. Let’s dive in and bring a taste of the tropics right to your freezer!
Ingredients You’ll Need
Getting your ingredients together for this recipe is a breeze, but each one plays a vital role in building that luscious, creamy texture and delightful flavor that makes these bars so irresistible. From the richness of coconut cream to the subtle sweetness of condensed milk, every element is essential to creating the perfect bite.
- Milk powder: Adds a creamy body and helps with the smooth, ice cream texture.
- Sugar: Balances the natural coconut flavors with just the right amount of sweetness.
- Condensed milk: Brings a rich, caramel-like sweetness and adds to the creamy mouthfeel.
- Coconut cream (or whipping cream): The star of the show, delivering that deep coconut flavor and richness.
- Coconut milk (or regular milk): Adds a smooth, silky base that combines beautifully with the cream.
- Cornstarch: Thickens the mixture for that perfect ice cream consistency, preventing icy crystals.
- Food flavoring (optional): Vanilla or fruit essences can personalize your bars with an extra flavor twist.
How to Make Creamy Coconut Ice Cream Bars Recipe
Step 1: Combine Ingredients
Start by measuring out your coconut cream, coconut milk, milk powder, sugar, and condensed milk. In a medium pot, mix all these ingredients thoroughly until they’re well blended, creating the delicious base for your ice cream bars.
Step 2: Cook Mixture
Place the pot over low heat and gently warm the mixture while stirring constantly. This step ensures that the sugar dissolves nicely and prevents any burning or lumpy bits from forming, which would affect the smoothness of your final product.
Step 3: Thicken
Once the mixture is warm and combined, slowly add the cornstarch while stirring continuously. This is the magic step that thickens your coconut ice cream base, giving it that rich, creamy body that will freeze beautifully without becoming icy.
Step 4: Flavor
After the mixture has thickened to your satisfaction, remove it from the heat. Now is the perfect moment to stir in your chosen flavoring—whether it’s vanilla for a classic touch or a tropical fruit essence to elevate the coconut’s natural sweetness.
Step 5: Fill Molds and Freeze
Pour this heavenly mixture into your ice cream bar molds, insert popsicle sticks, and place them in the freezer for at least 4 hours. This gives the bars enough time to freeze solid, locking in all those creamy, luscious flavors.
Step 6: Serve and Enjoy
When you’re ready for a sweet escape, simply remove the bars from their molds and enjoy. The rich coconut creaminess will instantly take you to a sunny beachside paradise with every bite!
How to Serve Creamy Coconut Ice Cream Bars Recipe
Garnishes
Enhance your ice cream bars with a sprinkle of toasted coconut flakes or a drizzle of dark chocolate. Both add a delightful contrast in texture and deepen the flavor profile, making your treat look as amazing as it tastes.
Side Dishes
Pair your creamy coconut bars with fresh tropical fruits like mango slices, pineapple chunks, or passion fruit pulp to create a refreshing, vibrant dessert plate that’s perfect for summer gatherings or simply treating yourself.
Creative Ways to Present
Serve your bars on a bed of crushed graham crackers or finely chopped nuts to introduce a satisfying crunch. You can also roll the edges of the bars in shredded coconut or colorful sprinkles before freezing for a fun, festive finish.
Make Ahead and Storage
Storing Leftovers
If you have any extra bars after your initial treat, store them in an airtight container in the freezer. This keeps them fresh and prevents them from picking up any unwanted freezer odors, ensuring each bite is as delicious as the first.
Freezing
These delightful Coconut Ice Cream Bars can be frozen for up to two weeks. Just make sure they are well-covered or sealed to avoid ice crystals forming, which can affect the creamy texture we worked so hard to achieve.
Reheating
Since these are frozen treats, reheating isn’t necessary, but if you want them slightly softened, simply leave them at room temperature for 5 to 10 minutes before serving. This allows the bars to soften just enough for the ultimate creamy mouthfeel without melting completely.
FAQs
Can I use regular milk instead of coconut milk?
Absolutely! Using regular milk will still yield creamy bars, but the coconut flavor will be milder. For the fullest coconut experience, stick with coconut milk and cream.
Is it possible to make these bars dairy-free?
Yes, by choosing coconut cream and coconut milk and skipping the condensed milk or replacing it with a dairy-free alternative, you can make these bars completely dairy-free while maintaining creaminess.
How long do these ice cream bars take to freeze completely?
For the best texture and firmness, freeze the bars for at least 4 hours. Overnight freezing works even better to ensure they set solidly.
Can I add mix-ins like nuts or chocolate chips?
Definitely! Adding chopped nuts, shredded coconut, or mini chocolate chips before freezing introduces exciting texture contrasts that make your bars even more delightful.
What’s the best way to remove the bars from the molds?
Run warm water briefly over the outside of the molds to loosen the bars, making them easier to pop out without breaking or sticking.
Final Thoughts
Making these Creamy Coconut Ice Cream Bars Recipe at home is such a rewarding experience. Not only do you get a delicious, tropical treat that’s perfect for any occasion, but you also have the satisfaction of creating something lovingly from scratch. I encourage you to gather your ingredients, try this recipe, and watch how quickly these bars become your new favorite frozen indulgence. Your taste buds will thank you!
Print
Creamy Coconut Ice Cream Bars Recipe
- Prep Time: 10 minutes
- Cook Time: 15 minutes
- Total Time: 4 hours 25 minutes
- Yield: 4 servings
- Category: Dessert
- Method: Stovetop
- Cuisine: International
- Diet: Vegetarian
Description
These Creamy Ice Cream Bars are a delightful frozen treat made with rich coconut cream and milk, blended with milk powder and condensed milk for extra creaminess. Slightly thickened with cornstarch and customizable with your favorite flavoring, these bars are easy to prepare and perfect for a refreshing dessert on a warm day.
Ingredients
Base Ingredients
- 35g milk powder
- 15g sugar
- 10g condensed milk
- 160g coconut cream (or whipping cream)
- 200g coconut milk (or regular milk)
- 10g cornstarch
- 2g food flavoring (optional, e.g., vanilla or fruit essence)
Instructions
- Combine Ingredients: In a medium pot, mix together the coconut cream, coconut milk, milk powder, sugar, and condensed milk until the mixture is smooth and well blended.
- Cook Mixture: Place the pot over low heat and stir constantly to prevent burning or lumps from forming in the mixture.
- Thicken: Gradually sprinkle in the cornstarch while continuously stirring, allowing the mixture to thicken to a creamy consistency.
- Flavor: Remove the pot from heat and gently stir in your chosen food flavoring, such as vanilla or fruit essence, if desired.
- Fill Molds: Pour the thickened mixture evenly into ice cream molds, insert popsicle sticks in the center of each, and place them in the freezer.
- Freeze: Freeze the molds for at least 4 hours or until the ice cream bars are fully set and firm.
- Serve: Once frozen, remove the ice cream bars from their molds and enjoy your creamy, homemade frozen treat!
Notes
- You can substitute coconut cream with whipping cream and coconut milk with regular milk if preferred.
- Use cornstarch gradually to avoid clumps when thickening the mixture.
- Add natural flavorings like vanilla extract or fruit essence for variety.
- Make sure to stir constantly during cooking to prevent burning and ensure a smooth texture.
- Freeze long enough for the mixture to fully set, ideally 4 hours or overnight for best texture.

