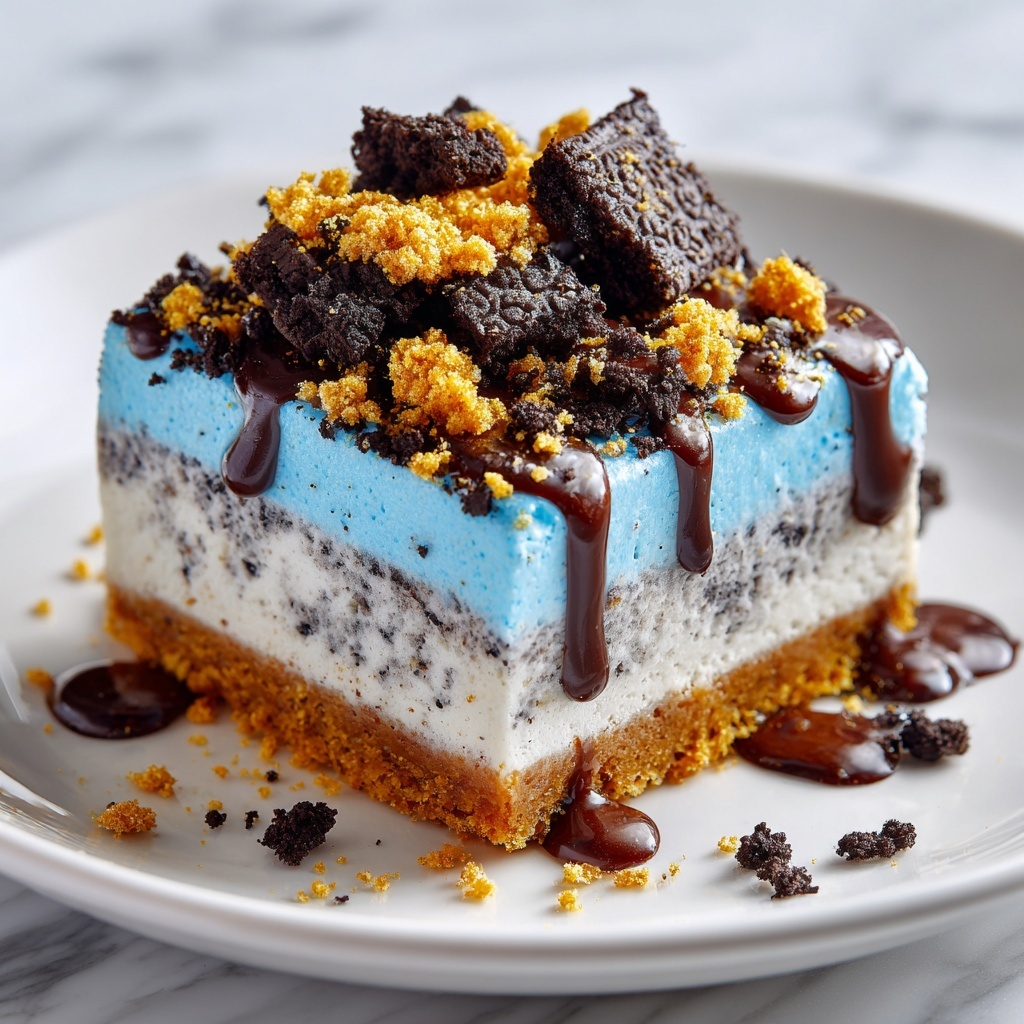
If you are a fan of cookies and cheesecake, then the Cookie Monster Cheesecake Recipe is about to become your new favorite dessert obsession. This vibrant blue cheesecake combines a rich, creamy filling with chunks of chocolate chip and sandwich cookies, all nestled on a buttery chocolate crust that makes each bite irresistibly decadent. It captures that nostalgic Cookie Monster vibe while delivering a grown-up twist that anyone at your table will adore. From its playful color to its perfectly balanced flavors, this cheesecake is as joyful to make as it is to eat.
Ingredients You’ll Need
Gathering a few straightforward ingredients is all it takes to whip up this eye-catching and delicious treat. Each component plays an essential role—whether it’s creating the sturdy crust, lending creaminess to the filling, or adding bursts of cookie crunch throughout.
- Chocolate sandwich cookie crumbs (2 cups): The base of your crust, giving it that classic Oreo flavor and firm texture.
- Unsalted butter (1/4 cup, melted): Binds the cookie crumbs together for a sturdy yet tender crust.
- Cream cheese (24 ounces, softened): The star of the cheesecake, providing a smooth and creamy foundation.
- Granulated sugar (1 cup): Sweetens the filling just right without overpowering the cookie flavors.
- Sour cream (1 cup): Adds subtle tanginess and ensures a silky texture in the cheesecake.
- Large eggs (3): Help set the cheesecake and keep it tender.
- Vanilla extract (1 tablespoon): Adds warmth and depth to the overall flavor.
- Blue gel food coloring: Gives the cheesecake its iconic Cookie Monster blue without thinning the batter.
- Mini chocolate chip cookies (1 cup): Bring delightful pockets of chocolatey crunch inside the filling.
- Chopped chocolate sandwich cookies (1 cup): Folded right into the batter for added texture and bursts of familiar cookie flavor.
- Mini chocolate chips (1/2 cup): Sprinkled throughout for extra chocolate decadence.
- Whipped cream (optional, for topping): Adds a light and airy finish if you want a little extra indulgence.
- Whole cookies and cookie crumbs (for garnish): For that fun, eye-catching Cookie Monster look when serving.
How to Make Cookie Monster Cheesecake Recipe
Step 1: Prepare the Crust
Begin by preheating your oven to 325°F (160°C). Mix the chocolate sandwich cookie crumbs and melted butter in a bowl until the mixture looks evenly moistened. Press this mixture firmly into the bottom of a 9-inch springform pan, creating an even crust layer. Bake it for 10 minutes, which helps set the crust and intensifies the chocolate flavor. Once done, set it aside to cool before adding the cheesecake filling.
Step 2: Mix the Creamy Filling
Using a large mixing bowl, beat together the softened cream cheese and granulated sugar until completely smooth and creamy. This ensures a luscious texture without lumps. Then, add in the sour cream, eggs, and vanilla extract, mixing gently until everything is just combined. Avoid overmixing to keep the cheesecake light and tender.
Step 3: Add the Cookie Monster Blue
Slowly add blue gel food coloring to the filling. Add a little at a time and stir until you achieve that perfect, vibrant “Cookie Monster” shade of blue. The gel coloring is key here—it keeps the filling thick and vibrant without affecting the texture.
Step 4: Fold in the Cookies and Chips
Gently fold in the mini chocolate chip cookies, chopped chocolate sandwich cookies, and mini chocolate chips. These add fun textural surprises and extra pockets of chocolate throughout the cheesecake. Be delicate to keep those mix-ins evenly distributed without deflating the batter.
Step 5: Bake the Cheesecake
Pour the blue, cookie-studded batter over the cooled crust, smoothing the top with a spatula. Bake the cheesecake for 55 to 65 minutes. When it’s done, the center will still jiggle just slightly—this is exactly how it should be for a perfectly creamy cheesecake.
Step 6: Cool and Chill
Once baked, turn off the oven and crack the door open. Let the cheesecake cool inside the oven for 1 hour to prevent cracks. Then, transfer it to the fridge and chill for at least 4 hours or overnight. Chilling ensures the flavors meld and the texture firms up beautifully.
How to Serve Cookie Monster Cheesecake Recipe
Garnishes
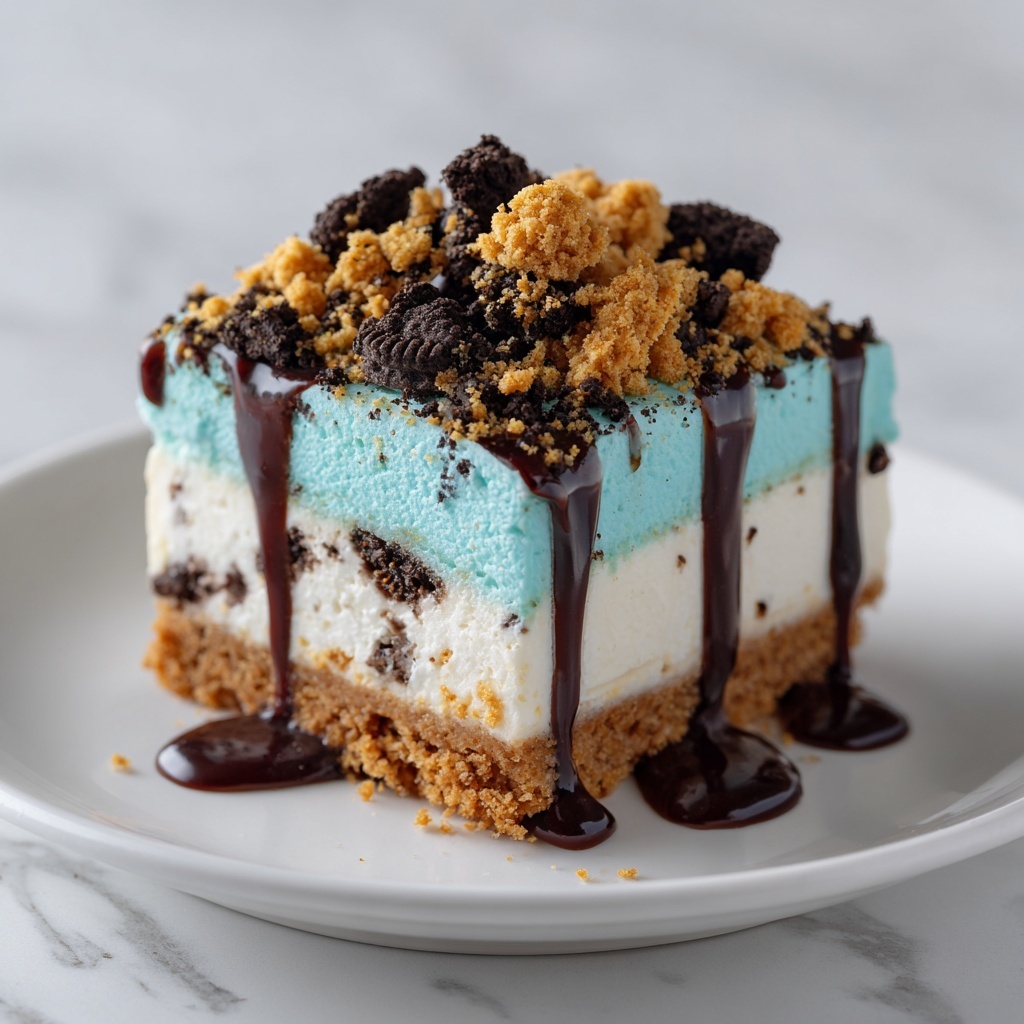
Top your cheesecake with a generous swirl of whipped cream for a light and creamy finish. Scatter whole cookies and cookie crumbs across the top to amp up the visual fun and cookie flavor. These garnishes make the cheesecake as stunning as it is scrumptious.
Side Dishes
Pair this dessert with fresh berries or a simple fruit compote to balance the richness. A cup of freshly brewed coffee or a glass of cold milk rounds out the experience perfectly, making every slice a well-rounded treat.
Creative Ways to Present
If you want to impress guests, serve individual portions in clear jars layered with extra cookie crumbs and whipped cream. Alternatively, use cookie-shaped cookie cutters to create fun-themed slices or arrange whole cookies artfully on each plate for a playful styling that celebrates the Cookie Monster spirit.
Make Ahead and Storage
Storing Leftovers
Keep any leftover cheesecake covered in plastic wrap or airtight containers in the refrigerator. It stays delicious for up to 4 days, and the flavors continue to deepen.
Freezing
You can freeze the cheesecake for up to 1 month. Wrap it tightly in plastic wrap and then foil to prevent freezer burn. Thaw overnight in the fridge before serving for the best texture.
Reheating
Since cheesecake is best enjoyed cold, reheating is not recommended. However, if you prefer it slightly warm, let it come to room temperature for 20 to 30 minutes before serving for that perfect creamy bite.
FAQs
Can I use regular food coloring instead of gel?
Regular food coloring can work, but gel food coloring is preferable because it provides vibrant color without thinning the batter, ensuring your Cookie Monster Cheesecake Recipe keeps the perfect texture and bright blue hue.
What if I don’t have mini chocolate chip cookies?
You can substitute with any small chocolate chip cookies or even break up regular-sized cookies into smaller pieces. Just be mindful to keep them bite-sized so they mix evenly in the batter.
How do I prevent cracks in my cheesecake?
Cooling the cheesecake slowly by leaving it in the turned-off, slightly open oven helps prevent cracks. Also, avoid overmixing the batter and don’t overbake it—the center should still jiggle a bit when done.
Can I make this cheesecake gluten-free?
Yes! Use gluten-free chocolate sandwich cookies and mini chocolate chip cookies for the crust and mix-ins to make a gluten-free version that’s just as tasty.
How long does the cheesecake need to chill before serving?
For the best flavor and texture, chill the cheesecake for at least 4 hours. Overnight chilling is ideal as it allows the cheesecake to set completely and the flavors to develop fully.
Final Thoughts
The Cookie Monster Cheesecake Recipe is an absolute joy to make and share, bringing smiles with its fun color, impressive cookie chunks, and luscious cheesecake texture. It’s a dessert that feels festive but is surprisingly simple, perfect for kids and grown-ups alike. Give this recipe a try and watch it become the star of your dessert table and the favorite recipe everyone asks for again and again!
Print
Cookie Monster Cheesecake Recipe
- Prep Time: 25 minutes
- Cook Time: 1 hour
- Total Time: 6 hours
- Yield: 12 servings
- Category: Dessert
- Method: Baking
- Cuisine: American
- Diet: Vegetarian
Description
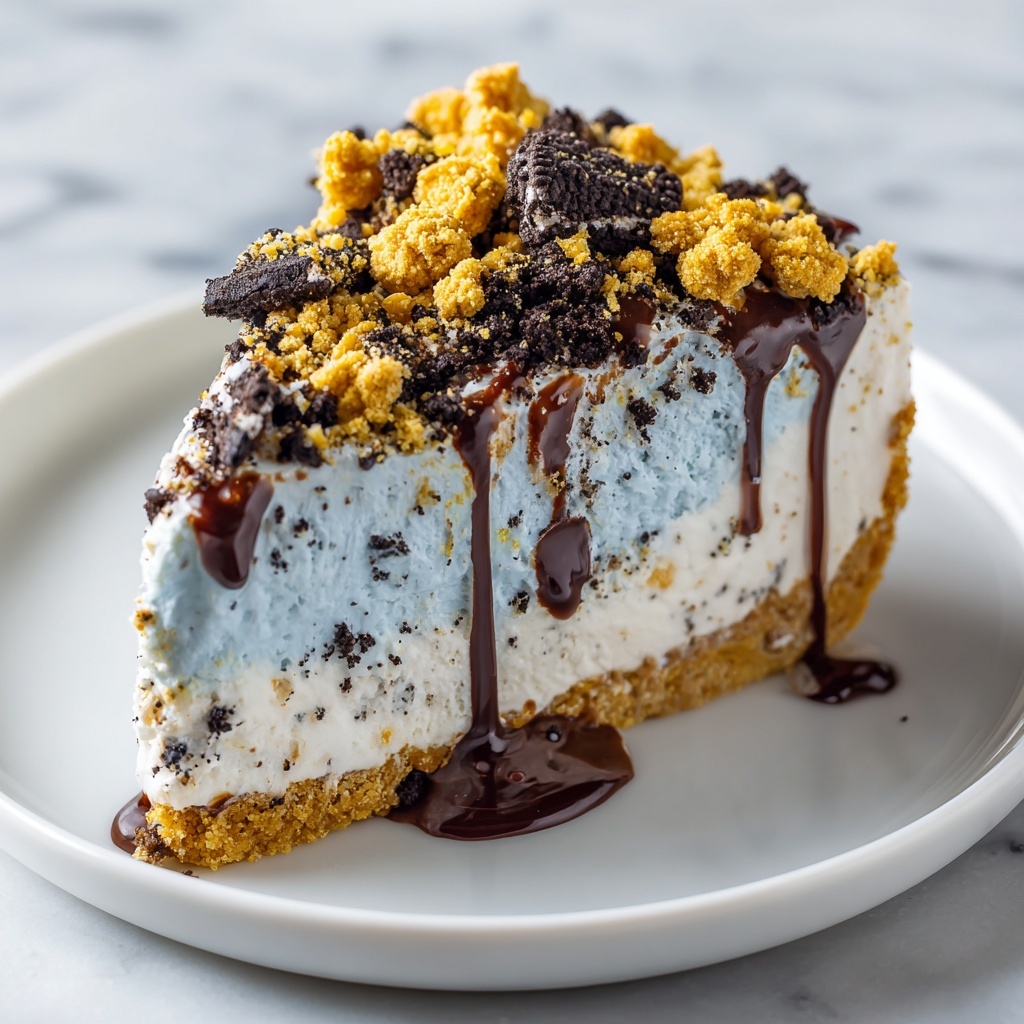
Cookie Monster Cheesecake is a fun and vibrant dessert featuring a rich and creamy blue cheesecake loaded with chocolate sandwich cookie crumbs, mini chocolate chips, and cookie chunks. Perfect for kids and adults alike, this American classic combines a buttery cookie crust with a colorful, smooth filling, topped with whipped cream and extra cookies for a delightful presentation.
Ingredients
Crust
- 2 cups chocolate sandwich cookie crumbs (like Oreos)
- 1/4 cup unsalted butter, melted
Cheesecake Filling
- 24 ounces cream cheese, softened
- 1 cup granulated sugar
- 1 cup sour cream
- 3 large eggs
- 1 tablespoon vanilla extract
- Blue gel food coloring (amount as needed)
- 1 cup mini chocolate chip cookies
- 1 cup chopped chocolate sandwich cookies
- 1/2 cup mini chocolate chips
Toppings
- Whipped cream, for topping (optional)
- Whole cookies and cookie crumbs, for garnish
Instructions
- Prepare the crust: Preheat the oven to 325°F (160°C). In a bowl, combine the chocolate sandwich cookie crumbs with melted butter until evenly mixed. Press this mixture firmly into the bottom of a 9-inch springform pan to form an even crust layer. Bake for 10 minutes, then remove and set aside to cool.
- Mix cheesecake filling: In a large mixing bowl, beat the softened cream cheese and granulated sugar until smooth and creamy. Add sour cream, eggs, and vanilla extract, mixing just until combined to avoid overbeating.
- Add color and mix-ins: Gradually stir in blue gel food coloring a little at a time until you reach the desired vivid blue color reminiscent of the Cookie Monster. Gently fold in the mini chocolate chip cookies, chopped chocolate sandwich cookies, and mini chocolate chips to evenly distribute them within the batter.
- Bake the cheesecake: Pour the cheesecake batter over the cooled crust, smoothing the top with a spatula. Bake in the preheated oven for 55 to 65 minutes, or until the edges are set and the center is slightly jiggly but not liquid.
- Cool the cheesecake: Turn off the oven and crack the oven door open. Let the cheesecake cool inside the oven for 1 hour; this slow cooling helps prevent cracking.
- Chill before serving: Remove the cheesecake from the oven and refrigerate for at least 4 hours or overnight to fully set and develop flavor.
- Garnish and serve: Before serving, top the cheesecake with whipped cream if desired, along with whole cookies and cookie crumbs for a fun and decorative finish. Let the cheesecake sit at room temperature for 10 minutes before slicing for the best texture.
Notes
- For best texture, let the cheesecake sit at room temperature for 10 minutes before slicing.
- Use gel food coloring for vibrant color without thinning the batter, which helps maintain the perfect consistency.


