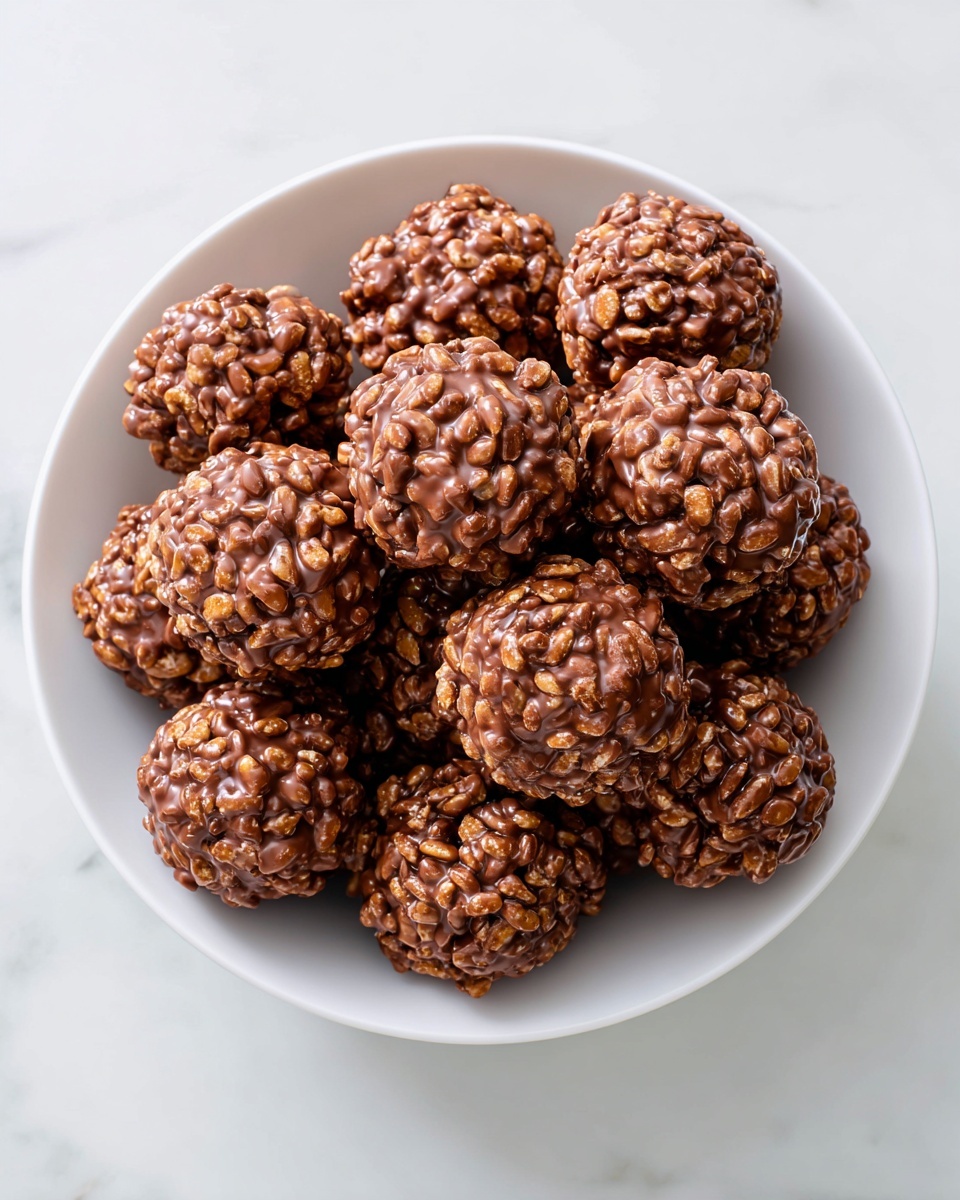
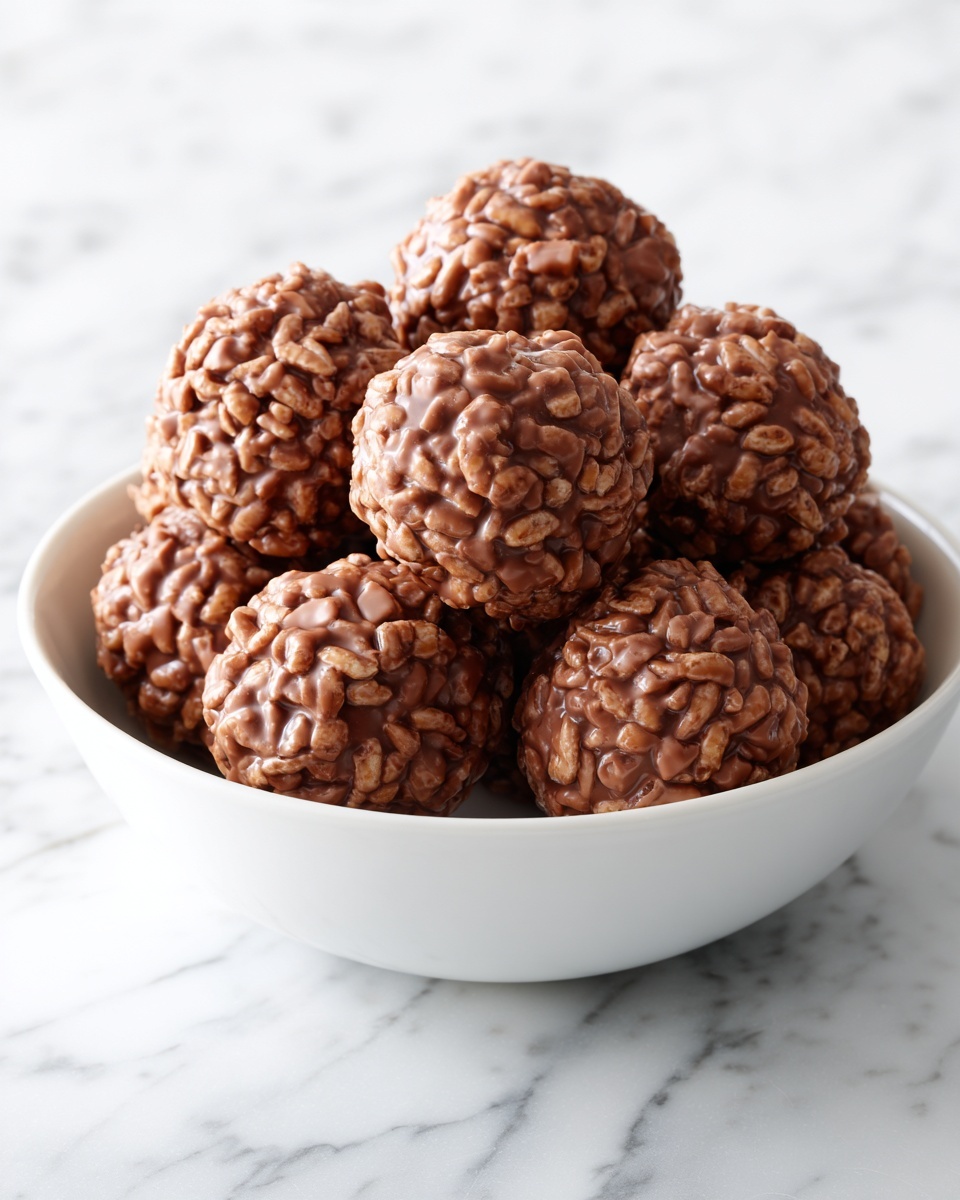
If you’ve ever wanted a nostalgic treat that’s both delightfully crunchy and decadently chocolatey, then this Chocolate Rice Krispie Balls Recipe is about to become your new go-to dessert. Packed with the irresistible combination of peanut butter and semi-sweet chocolate, these little bites are perfect for satisfying your sweet tooth without the fuss of baking. They’re fun to make, easy to customize, and wonderfully shareable—trust me, once you try making these, you’ll wonder how you ever lived without them!
Ingredients You’ll Need
Gathering simple, quality ingredients is the first step to making these irresistible Chocolate Rice Krispie Balls Recipe come to life. Each one plays a key role in creating the perfect balance of flavor, texture, and richness you’ll adore.
- 3 cups Rice Krispies cereal: Provides that classic, light, and crispy texture every bite should have.
- 1/2 cup creamy peanut butter: Adds smoothness and a rich nutty flavor that complements the chocolate beautifully.
- 1/2 cup powdered sugar: Sweetens the mix and helps bind the ingredients for easy rolling.
- 1/4 cup unsalted butter (softened): Enhances creaminess and contributes to a luscious mouthfeel.
- 1/2 teaspoon vanilla extract: Brings warmth and depth, rounding out the flavors perfectly.
- 1 1/2 cups semi-sweet chocolate chips: The star coating that gives these balls their decadent finish.
- 1 tablespoon coconut oil or shortening (optional): Helps create a smooth, shiny chocolate coating for easy dipping.
How to Make Chocolate Rice Krispie Balls Recipe
Step 1: Prepare the Peanut Butter Mixture
Start by mixing together the creamy peanut butter, powdered sugar, softened butter, and vanilla extract in a large bowl until everything is perfectly smooth and combined. This creates the flavorful, slightly sweet base that will hold your Rice Krispies together, making it easy to shape into balls later.
Step 2: Incorporate the Rice Krispies
Gently fold in the Rice Krispies cereal, making sure every crispy piece is well coated with the peanut butter mixture. The goal here is an even coating, so your balls hold their shape and deliver that signature crunch in every bite.
Step 3: Form the Balls
Using your hands, roll the mixture into 1-inch balls. Don’t worry about perfect shapes—each one has its own charm! Place them on a parchment-lined baking sheet, making sure they’re spaced apart, then pop the tray into the freezer for 20 to 30 minutes so the balls firm up nicely for dipping.
Step 4: Melt the Chocolate
While the balls chill, melt your semi-sweet chocolate chips in a microwave-safe bowl. Heat in 30-second bursts, stirring in between until the chocolate is silky smooth. If you want an easier dipping experience and a shinier finish, stir in a tablespoon of coconut oil or shortening now.
Step 5: Dip the Balls in Chocolate
Remove the chilled Rice Krispie balls from the freezer, then dip each one into the melted chocolate using a fork or toothpick. Let the excess chocolate drip off before returning the balls to the parchment-lined sheet. The chocolate coating is what elevates these bites from simple snacks to irresistible treats.
Step 6: Chill Until Set
Place the chocolate-coated balls into the refrigerator for about 15 minutes until the chocolate hardens. Once set, they’re ready to be enjoyed chilled or at room temperature, perfect for sharing at parties or simply indulging at home.
How to Serve Chocolate Rice Krispie Balls Recipe
Garnishes
Add a personal touch by sprinkling your Chocolate Rice Krispie Balls with crushed nuts, colorful sprinkles, or a light dusting of sea salt before the chocolate sets. These simple garnishes enhance both the look and flavor, delighting your senses before the first bite.
Side Dishes
Pair these sweet little treats with a cold glass of milk, hot coffee, or even a creamy vanilla ice cream. They provide a lovely contrast to each other and make for a well-rounded dessert experience that’s sure to impress.
Creative Ways to Present
Arrange the balls on a decorative platter lined with parchment paper and add edible flowers or fresh fruit slices on the side. You can also serve them in festive mini cupcake liners for an easy grab-and-go option that kids and guests will love.
Make Ahead and Storage
Storing Leftovers
Keep your Chocolate Rice Krispie Balls fresh by storing them in an airtight container in the refrigerator. They’ll stay perfect for up to one week, making it easy to enjoy them a little at a time without sacrificing quality.
Freezing
For longer storage, freeze the balls in a single layer on a baking sheet until solid, then transfer them to a freezer-safe container or bag. They’ll keep for up to 3 months and thaw quickly when you’re ready for a sweet treat.
Reheating
Since these are no-bake treats, you don’t need to reheat them. Just let frozen balls thaw at room temperature for about 15 minutes or in the fridge for an hour to bring back that perfect chewy crunch wrapped in chocolate.
FAQs
Can I use crunchy peanut butter instead of creamy?
Absolutely! Crunchy peanut butter adds a delightful texture variation and a bit of extra nutty flavor. Feel free to experiment to find your favorite version of the Chocolate Rice Krispie Balls Recipe.
What if I’m allergic to nuts?
No worries at all. You can substitute the peanut butter with sunflower seed butter or almond butter to keep the same creamy consistency and delicious taste while accommodating nut allergies.
Do I have to use chocolate chips, or can I use another coating?
While semi-sweet chocolate chips work beautifully, you can also try white chocolate, dark chocolate, or even candy melts to switch up the flavor and appearance. Just make sure to choose coatings that melt smoothly for dipping.
How long do these treats last?
Stored properly in the refrigerator, your Chocolate Rice Krispie Balls will stay fresh for up to a week. Freezing them extends that to about three months, so you always have a sweet snack on hand.
Is this recipe suitable for kids to help with?
Definitely! Kids will love rolling the balls and dipping them in chocolate. It’s a safe and fun activity that can turn into a sweet bonding experience, perfect for holiday baking or weekend treats.
Final Thoughts
This Chocolate Rice Krispie Balls Recipe is a little treasure that brings joy with every bite. It’s straightforward, crowd-pleasing, and totally customizable, making it perfect for any occasion or whenever you need a quick, homemade treat. Give it a try, and I promise you’ll find yourself reaching for the ingredients again and again!
Print
Chocolate Rice Krispie Balls Recipe
- Prep Time: 15 minutes
- Cook Time: 0 minutes
- Total Time: 45 minutes (including chilling)
- Yield: 24 balls
- Category: Dessert
- Method: No-Cook
- Cuisine: American
- Diet: Vegetarian
Description
Delicious and easy-to-make Chocolate Rice Krispie Balls, combining crunchy cereal with a creamy peanut butter mixture, all coated in smooth melted chocolate. These no-bake treats are perfect for any occasion, offering a delightful mix of textures and flavors that both kids and adults will love.
Ingredients
Base Mixture
- 3 cups Rice Krispies cereal
- 1/2 cup creamy peanut butter
- 1/2 cup powdered sugar
- 1/4 cup unsalted butter, softened
- 1/2 teaspoon vanilla extract
Chocolate Coating
- 1 1/2 cups semi-sweet chocolate chips
- 1 tablespoon coconut oil or shortening (optional, for smoother coating)
Instructions
- Prepare the base mixture: In a large bowl, mix together the peanut butter, powdered sugar, softened butter, and vanilla extract until the mixture is smooth and well combined.
- Add the cereal: Stir in the Rice Krispies cereal until every piece is fully coated with the peanut butter mixture and combined evenly.
- Form the balls: Roll the mixture into 1-inch balls using your hands, then place them on a parchment-lined baking sheet to prevent sticking.
- Freeze the balls: Freeze the rolled balls for 20 to 30 minutes or until they are firm enough to handle for dipping.
- Melt the chocolate: While the balls are chilling, melt the chocolate chips in a microwave-safe bowl by heating in 30-second intervals, stirring between each, until the chocolate is smooth. Add coconut oil or shortening if desired to thin the chocolate for easier dipping.
- Coat the balls with chocolate: Dip each chilled Rice Krispie ball into the melted chocolate using a fork or toothpick, allowing any excess chocolate to drip off before placing them back onto the parchment-lined sheet.
- Set the chocolate coating: Chill the chocolate-coated balls in the refrigerator for about 15 minutes or until the chocolate is fully set.
- Serve and enjoy: Serve these treats chilled or at room temperature for a delightful snack or dessert.
Notes
- Use crunchy peanut butter instead of creamy for added texture.
- Swap peanut butter with almond or sunflower butter for a nut-free alternative.
- Store treats in the refrigerator for up to 1 week or freeze them for longer storage.
- Adding coconut oil or shortening to the melted chocolate helps achieve a smoother, shinier coating.

