
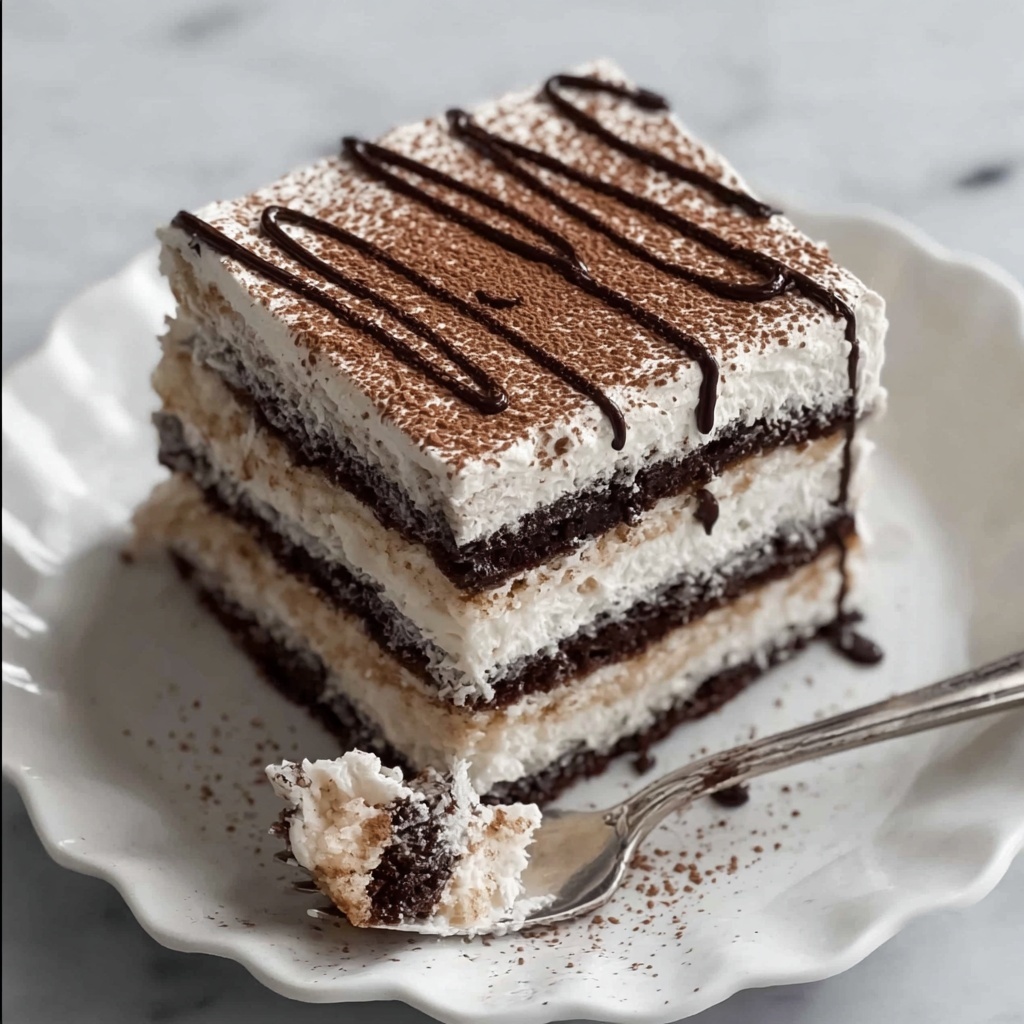
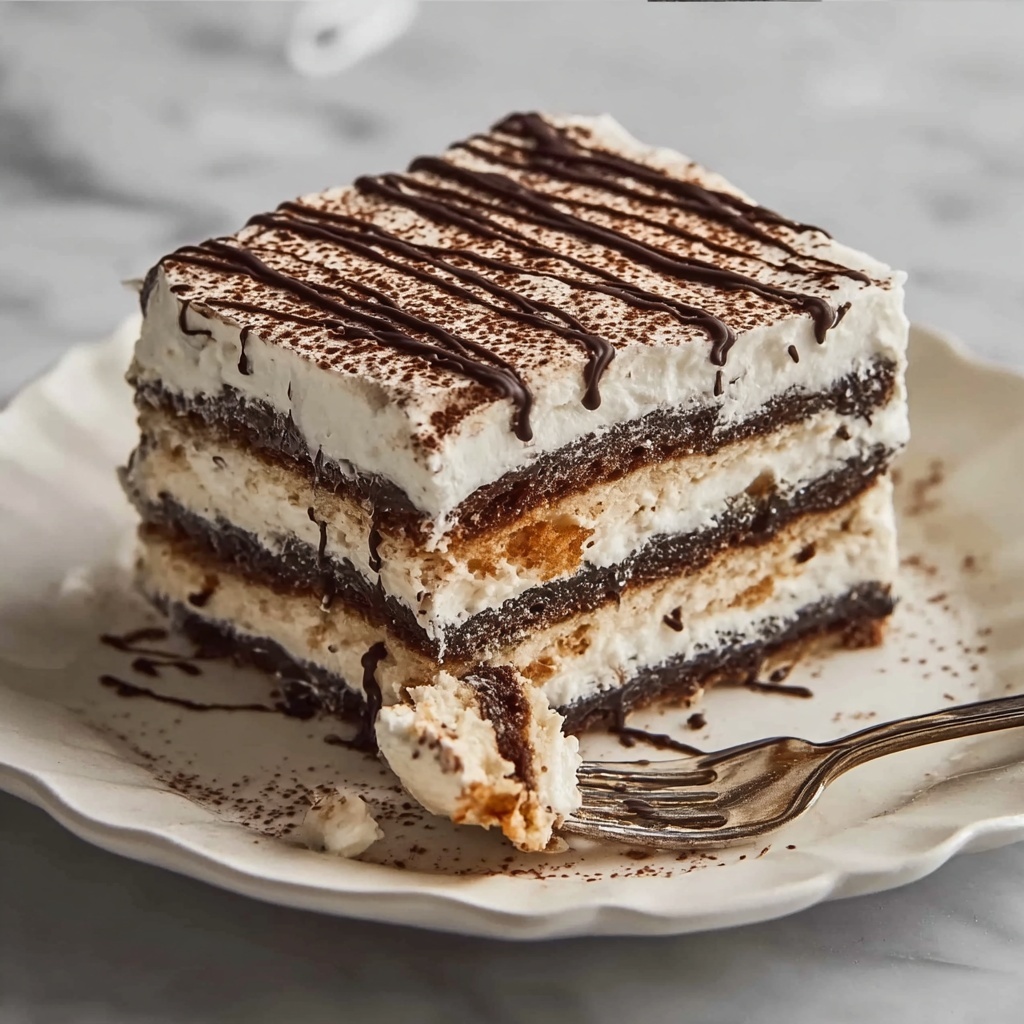
If you’ve ever wanted a dessert that feels both elegant and effortlessly simple, the Chocolate Icebox Cake with Whipped Cream and Chocolate Shavings Recipe is an absolute must-try. Imagine layers of delicate chocolate icebox cookies softened by luscious whipped cream, all topped off with decadent chocolate shavings. This cake isn’t baked but chilled, allowing the cookies to transform into tender, cake-like layers that melt in your mouth. It’s the ideal treat for warm days or whenever you’re craving a rich, no-fuss dessert that feels like a hug in every bite.
Ingredients You’ll Need
The charm of this dessert lies in its simplicity—just a handful of quality ingredients that come together to create a show-stopping flavor and texture combination. Each component plays a vital role, from the crisp chocolate wafers to the airy whipped cream that binds everything with sweetness and creaminess.
- Chocolate icebox cookies: Choose a recipe that yields crisp wafers that soften perfectly when chilled.
- Full-fat heavy cream: Using cold, rich cream is key for a perfect whipped texture that’s stable and velvety.
- Confectioners’ sugar: This fine sugar sweetens the cream smoothly without graininess.
- Pure vanilla extract: Adds warmth and depth, elevating the whipped cream beyond plain sweetness.
- Chocolate shavings: These create a lovely decorative finish and add an extra layer of chocolate flavor.
How to Make Chocolate Icebox Cake with Whipped Cream and Chocolate Shavings Recipe
Step 1: Chill your equipment
Begin by chilling your mixing bowl and beaters in the freezer for about 10 to 15 minutes. Cold tools ensure your heavy cream whips up faster and holds its shape beautifully, which is essential for the airy texture of this cake.
Step 2: Whip the cream
Pour the cold heavy cream into your chilled bowl, add the confectioners’ sugar and vanilla extract, then whip until soft peaks form. Stop here if you like a lighter finish, or whip a bit further for firmer peaks to help your cake hold its structure.
Step 3: Assemble cookie stacks
Take two chocolate icebox cookies and spread a spoonful of whipped cream between them, pressing gently to stick them together. Continue stacking like this until you have about 12 cookies in a column, creating three separate stacks in total. This layering technique is what gives the cake its distinct, elegant look.
Step 4: Form the cake log
Lay the cookie stacks on their sides, close together, on a serving platter pressing gently so they stick like a log. This unusual orientation helps the cookies soften uniformly while chilling.
Step 5: Cover with whipped cream
Smother the entire cake log with the remaining whipped cream, smoothing it out evenly with a spatula. This creamy envelope keeps the cake moist and holds the layers together for that gorgeous slice.
Step 6: Add chocolate shavings and chill
Sprinkle chocolate shavings generously over the whipped cream for a visually stunning garnish and an extra touch of chocolate indulgence. Cover loosely with plastic wrap and refrigerate for at least six hours, or ideally overnight, so the cookies soften into luscious cake-like layers.
How to Serve Chocolate Icebox Cake with Whipped Cream and Chocolate Shavings Recipe
Garnishes
While the chocolate shavings on top provide an elegant finish, you can play with additional garnishes like fresh berries or a dusting of cocoa powder for contrast. Mint leaves add a lovely pop of color and a fresh note to balance the creaminess.
Side Dishes
This icebox cake pairs beautifully with fresh fruit salads, a scoop of vanilla or salted caramel ice cream, or a simple espresso. These sides complement the rich flavors without overpowering the dessert’s delicate texture.
Creative Ways to Present
Serve the cake as individual slices or try slicing it into mini portions presented in elegant glassware. You can also layer the components in a trifle dish to offer a rustic yet charming twist on the classic presentation of the Chocolate Icebox Cake with Whipped Cream and Chocolate Shavings Recipe.
Make Ahead and Storage
Storing Leftovers
Any leftover cake should be covered tightly with plastic wrap and stored in the refrigerator. It keeps beautifully for up to three days and actually tastes even better as the flavors meld further, though the cookies may soften more with time.
Freezing
While this cake is best enjoyed fresh, you can freeze individual slices wrapped tightly in plastic wrap and foil. Thaw them overnight in the fridge for a softer texture. Avoid freezing the whole cake at once to maintain the best texture.
Reheating
This dessert is meant to be served chilled, so reheating isn’t recommended. For the best experience, always enjoy it cold, straight from the fridge.
FAQs
Can I use store-bought chocolate wafers instead of homemade?
Absolutely! Store-bought wafers work fine, just make sure they are thin, crisp, and not too sweet so they soften properly and balance well with the whipped cream.
How long does the cake need to chill?
At minimum, six hours to let the cookies soften sufficiently; overnight chilling is best for the ideal taste and texture.
Can I make this cake dairy-free?
Yes, substitute the heavy cream and whipped cream with high-quality coconut cream or another dairy-free whipping alternative, and ensure your cookies are dairy-free as well.
Can I add other flavors to the whipped cream?
Definitely! A touch of coffee extract, almond essence, or even a splash of liqueur can add a lovely twist to the classic whipped cream flavor.
What is the best way to get chocolate shavings?
Use a vegetable peeler on a good quality chocolate bar to create delicate curls or use a grater for finer shavings—it adds both texture and elegance to the cake.
Final Thoughts
Making the Chocolate Icebox Cake with Whipped Cream and Chocolate Shavings Recipe is like gifting yourself a moment of pure indulgence without the stress of baking. It’s simple, stunning, and satisfies chocolate cravings with a light, creamy touch. Trust me, once you try it, this dessert will become one of your favorite go-to recipes to share with friends and family. So, grab your ingredients and dive into this delightful treat—you won’t be sorry!
Print
Chocolate Icebox Cake with Whipped Cream and Chocolate Shavings Recipe
- Prep Time: 15 minutes
- Cook Time: 0 minutes
- Total Time: 6 hours 15 minutes
- Yield: 8 servings
- Category: Dessert
- Method: No-Cook
- Cuisine: American
Description
This classic Icebox Cake is an elegant, no-bake dessert featuring layers of chocolate wafer cookies and whipped cream. The cookies soften after chilling, creating a luscious, cake-like texture perfect for any special occasion or a simple indulgent treat.
Ingredients
Cookies
- 1 recipe chocolate icebox cookies (about 36 wafers)
Whipped Cream
- 3 cups full-fat heavy cream, cold
- 3 tablespoons confectioners’ sugar
- 1 teaspoon pure vanilla extract
Garnish
- Chocolate shavings, for garnish
Instructions
- Chill Equipment: Place a mixing bowl and beaters in the freezer for 10–15 minutes to ensure your whipped cream whips up light and fluffy.
- Whip Cream: Remove the chilled bowl and beaters from the freezer. Pour the cold heavy cream into the bowl and add the confectioners’ sugar and vanilla extract. Whip the mixture until soft peaks form, meaning the cream holds its shape but is still smooth.
- Assemble Stacks: Take two chocolate wafer cookies and spread a spoonful of whipped cream between them. Press gently to stick them together. Repeat this layering to build stacks of about 12 cookies each. Make three such stacks in total.
- Form Cake Log: Lay the three stacks on their sides on a serving platter. Press them together gently so they form one cohesive log-shaped cake.
- Cover with Cream: Spread the remaining whipped cream all over the cake log, smoothing the surface evenly to create a beautiful finish.
- Garnish and Chill: Sprinkle chocolate shavings over the top for decoration. Cover the cake loosely with plastic wrap and refrigerate for at least 6 hours or overnight. This resting time softens the cookies, transforming the dessert into tender, cake-like layers.
Notes
- Ensure the heavy cream and mixing equipment are cold to achieve better whipping results.
- If you don’t have chocolate icebox cookies, substitute with thin chocolate wafers or crisp chocolate cookies.
- You can prepare the cake a day ahead, making it convenient for entertaining.
- For variation, add a layer of fresh berries or a drizzle of chocolate syrup between cookie stacks.


