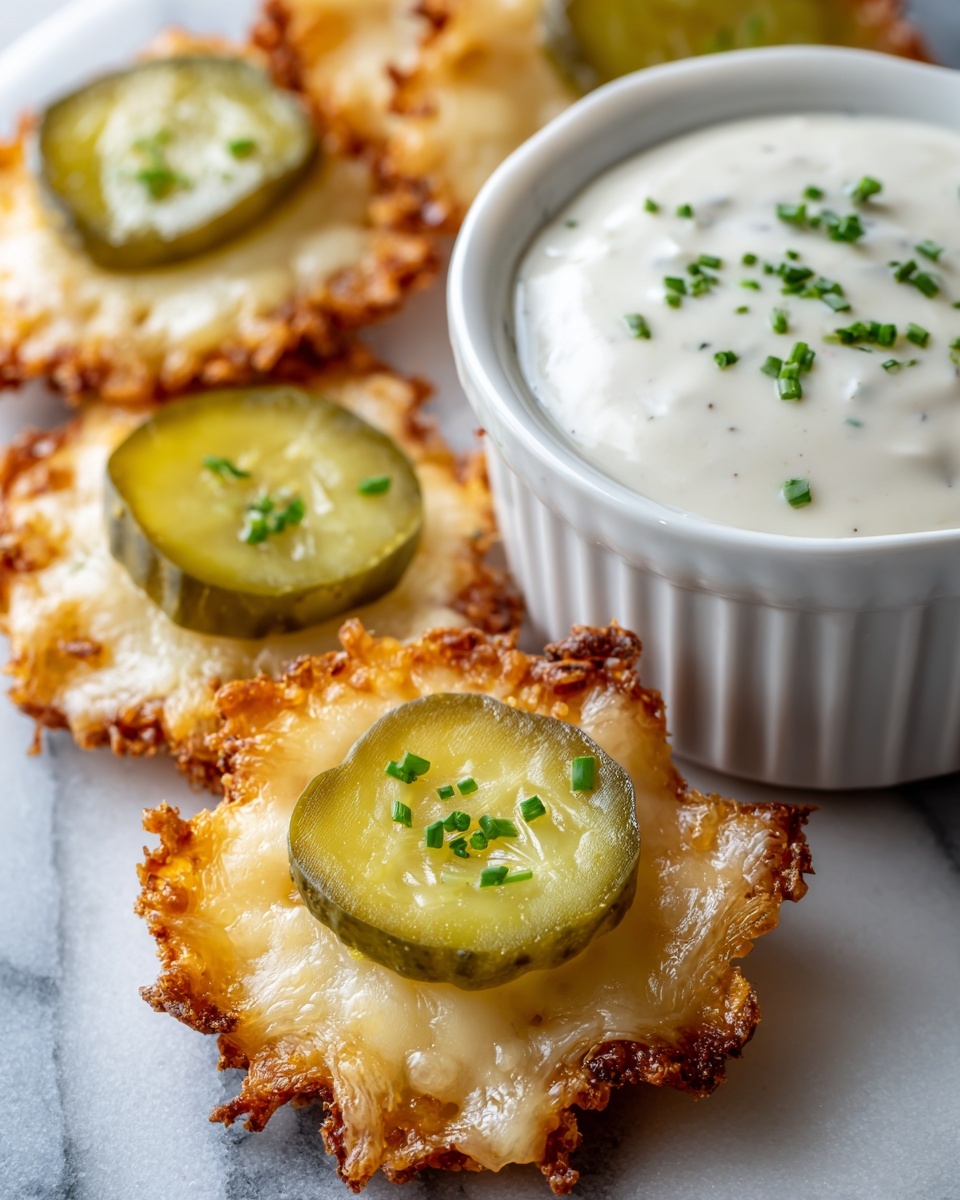
If you’re on the hunt for a snack that combines tangy, crunchy pickles with ooey-gooey melted cheese, look no further than this irresistible Cheesy Pickle Chips Recipe. It’s a playful twist on classic pickle chips that are baked to golden perfection with just the right amount of ranch seasoning to elevate every bite. Whether you’re serving them up for a party, movie night, or just craving something uniquely delicious, these cheesy pickle chips are guaranteed to become your new favorite snack obsession.
Ingredients You’ll Need
Gathering the right ingredients for this Cheesy Pickle Chips Recipe is refreshingly straightforward. Each component plays a key role: the dill pickle chips bring the crunch and tang, the shredded cheese adds creaminess and richness, and the ranch seasoning delivers that perfect punch of savory herb flavor.
- Pickle Chips: 24 dill pickle hamburger chips, the star of the dish that provide crisp texture and bright flavor.
- Cheese: 2 cups shredded cheese, cheddar or a blend, which melts beautifully to create that irresistible gooey coating.
- Seasoning: 3 tablespoons dry ranch seasoning from a packet, offering a zesty boost that perfectly complements the pickles and cheese.
How to Make Cheesy Pickle Chips Recipe
Step 1: Preheat Oven
Start by preheating your oven to 350 degrees Fahrenheit (175°C). This ensures it’s at the perfect temperature to melt the cheese and crisp up your pickle chips without burning them.
Step 2: Prepare Pickles
Drain the dill pickle chips thoroughly and wipe them dry with paper towels. Removing excess moisture is essential; it prevents sogginess and helps the cheese crisp up nicely as it bakes.
Step 3: Layer Cheese
Grab a mini muffin pan and sprinkle about one tablespoon of shredded cheese into each tin. This cheese base is crucial because it acts like a crispy, cheesy platform for your pickle chips to rest on.
Step 4: Add Pickles
Place one pickle chip carefully on top of the cheese layer in each muffin cup. This keeps the chips perfectly nestled and ready to soak up cheesy goodness.
Step 5: Season & Top with Cheese
Sprinkle the dry ranch seasoning evenly over every pickle chip. Follow this by adding about half a teaspoon more cheese on top to ensure extra cheesy flavor and an appealing golden finish.
Step 6: Bake
Slide the mini muffin pan into your preheated oven and bake for approximately 6 minutes. Keep an eye out for the cheese to bubble and turn a gorgeous golden brown, marking the perfect cheese melt and crispy edges.
Step 7: Cool & Crisp
Once baked, remove the pan from the oven and allow the pickle chips to cool for a few minutes. Transfer them to a paper towel-lined plate to help them crisp up further while cooling, giving you that satisfying crunch.
Step 8: Serve
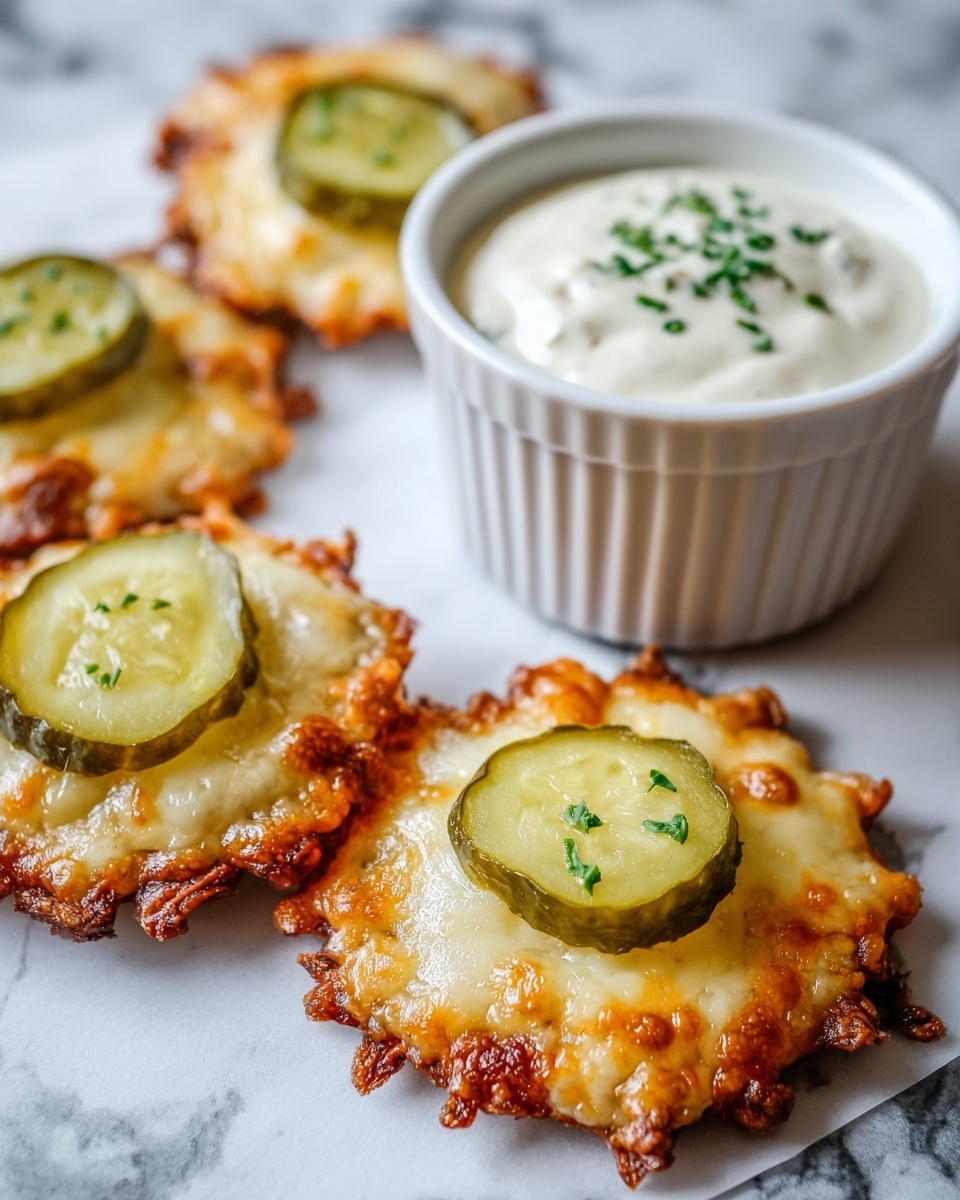
Your Cheesy Pickle Chips Recipe is now ready to enjoy! Serve them up plain or alongside a favorite dip to add even more flavor and fun.
How to Serve Cheesy Pickle Chips Recipe
Garnishes
Add a sprinkle of freshly chopped chives or parsley on top of the chips to introduce a fresh green color and mild oniony brightness, perfectly balancing the richness of the cheese.
Side Dishes
Pair these cheesy pickle chips with creamy dips like ranch, blue cheese, or even a spicy sriracha mayo. They also make a fantastic crunchy side for burgers, sandwiches, or even a casual charcuterie board.
Creative Ways to Present
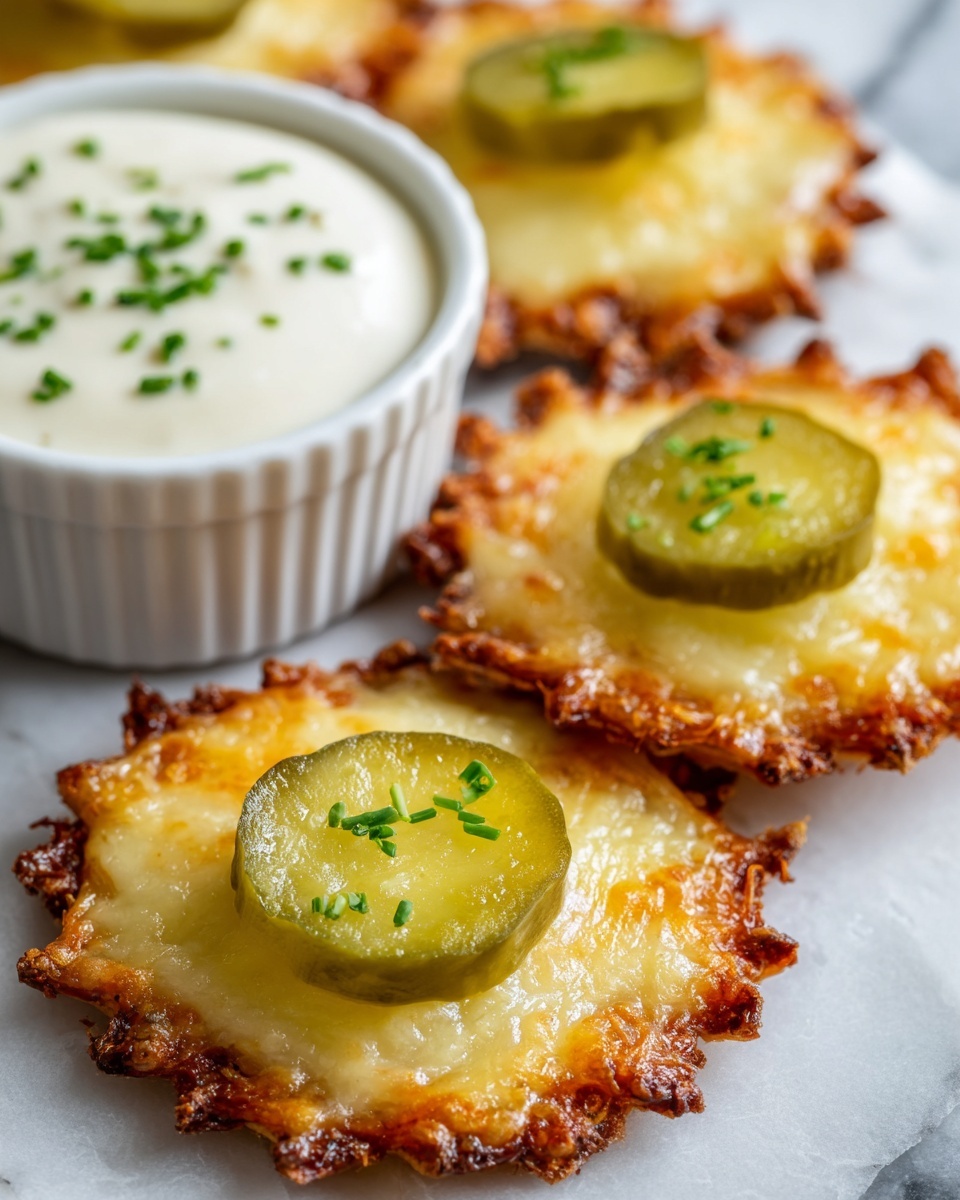
For a party, arrange these cheesy pickle chips on a large platter with small bowls of different dips around them. You can even skewer a few together with toothpicks for bite-sized finger food that’s both charming and convenient.
Make Ahead and Storage
Storing Leftovers
If you have any leftover cheesy pickle chips, store them in an airtight container in the refrigerator. This will keep them fresh for up to 3 days, although they’re best enjoyed the same day for optimal crispness.
Freezing
Freezing is not recommended for this Cheesy Pickle Chips Recipe because the pickles tend to release water upon thawing, which can make the chips soggy and the cheese lose its crisp texture.
Reheating
To revive leftover cheesy pickle chips, place them on a baking sheet and warm them in a 350°F oven for about 5 minutes. This will help restore their crispy texture without melting the cheese too much again.
FAQs
Can I use different types of cheese for this recipe?
Absolutely! While cheddar or a cheese blend works wonderfully, feel free to experiment with mozzarella for extra stretchiness or pepper jack if you want a little spicy kick.
Is it necessary to dry the pickle chips before baking?
Yes, drying the pickle chips thoroughly is essential to avoid sogginess and to ensure the cheese crisps up perfectly around the pickles.
Can I make this recipe gluten-free?
This recipe is naturally gluten-free as long as your ranch seasoning packet does not contain gluten, so always double-check the seasoning ingredients.
How long do the cheesy pickle chips stay crispy?
They are at their crispiest right after baking and cooling, but chilling them in the fridge can cause some loss of crispness. Reheating briefly in the oven is a great way to bring back that crunch.
Are there any dipping sauces that pair best with cheesy pickle chips?
Ranch dressing or blue cheese dip is classic, but honey mustard, garlic aioli, or spicy sriracha mayo can all be fantastic companions to enhance flavors.
Final Thoughts
This Cheesy Pickle Chips Recipe is an absolute game-changer when you want a quick, fun snack that wows with minimal effort. Its perfect balance of tangy pickles, melted cheese, and savory ranch seasoning makes it impossible not to reach for seconds. Trust me, once you try these, you’ll be dreaming up new chances to share and enjoy this crunchy, melty delight with everyone you know!
Print
Cheesy Pickle Chips Recipe
- Prep Time: 5 minutes
- Cook Time: 6 minutes
- Total Time: 11 minutes
- Yield: 24 servings
- Category: Snack
- Method: Baking
- Cuisine: American
Description
Crispy, cheesy pickle chips baked to perfection with a savory ranch seasoning for a delightful snack or appetizer.
Ingredients
Pickle Chips
- 24 dill pickle hamburger chips
Cheese
- 2 cups shredded cheese (such as cheddar or a blend)
Seasoning
- 3 tbsp dry ranch seasoning (from a packet)
Instructions
- Preheat Oven: Preheat your oven to 350 degrees F (175°C) to prepare for baking the chips.
- Prepare Pickles: Drain the dill pickle chips and pat them dry thoroughly with paper towels. This will help the cheese crisp up and prevent sogginess.
- Layer Cheese: Using a mini muffin pan, sprinkle about 1 tablespoon of shredded cheese into each tin, creating a base for the chips.
- Add Pickles: Place one dill pickle chip on top of the shredded cheese in each muffin tin.
- Season & Top with Cheese: Evenly sprinkle dry ranch seasoning over each pickle. Then add about ½ teaspoon more shredded cheese on top of each chip, ensuring extra cheesy flavor.
- Bake: Place the mini muffin pan in the preheated oven and bake for about 6 minutes or until the cheese turns brown and begins to bubble.
- Cool & Crisp: Remove the pan from the oven and let the chips cool for a few minutes. Then transfer each chip onto a paper towel to allow them to crisp up further as they cool.
- Serve: Enjoy the Cheesy Pickle Chips plain or paired with your favorite dip for added flavor.
Notes
- Make sure to dry the pickle chips thoroughly to avoid sogginess.
- You can use a cheese blend or cheddar cheese according to your preference.
- Serve with ranch dressing or your favorite dipping sauce for extra taste.
- Use a mini muffin pan for even size and baking consistency.
- Watch carefully while baking as cheese can brown quickly.

