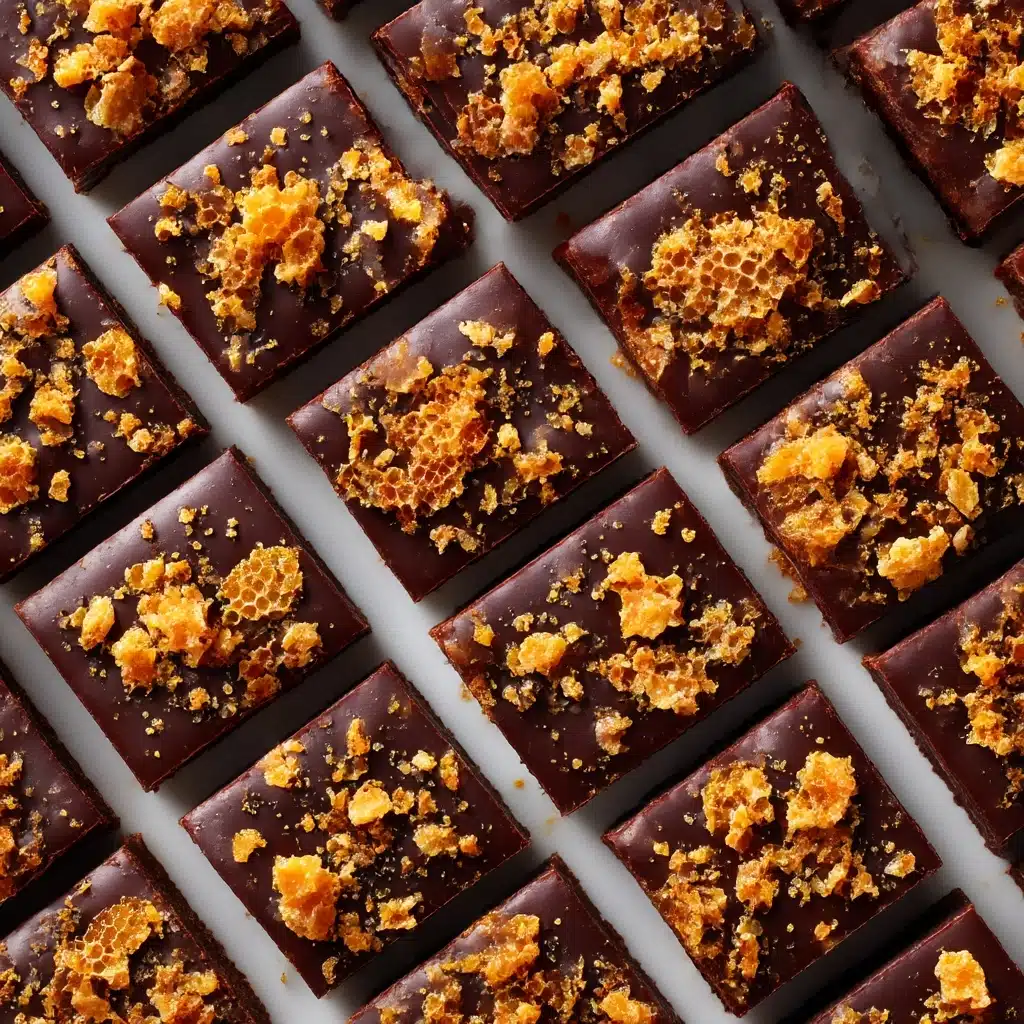
Butterfinger Fudge Recipe
Butterfinger Fudge is the ultimate treat for anyone craving sweet nostalgia with a perfectly decadent twist. This irresistible dessert combines silky white chocolate, creamy sweetened condensed milk, and crunchy, peanut buttery Butterfinger candy bars for a fudgy masterpiece that looks beautiful and tastes even better. Every bite is a little celebration, whether you’re looking to wow at a potluck, assemble a quick holiday platter, or just treat yourself to a moment of pure joy. With minimal prep and no tricky candy thermometers, Butterfinger Fudge will become your new go-to for gifting, sharing, or sneaking bites straight from the fridge.
Ingredients You’ll Need
Making Butterfinger Fudge only calls for a handful of easy-to-find ingredients, but each one plays a key role in every luscious square. From the creamy base to the crispy candy bar crunch, these elements come together for that signature flavor and melt-in-your-mouth texture.
- White chocolate chips: These give the fudge its ultra-creamy base and lovely vanilla notes. Choose a good quality brand for the smoothest texture.
- Sweetened condensed milk: The secret to a rich, dense, and perfectly sweet fudge without any tricky techniques. It also keeps everything extra moist.
- Salt: Just a pinch helps balance out the sweetness and makes those buttery, nutty flavors pop.
- Vanilla extract: A little vanilla turns every bite into something aromatic and homey.
- Chopped Butterfinger candy bars: The star of the show! Their crunchy, peanut buttery shards create irresistible texture and a nostalgic candy bar bite.
- Additional chopped Butterfinger (optional): For an eye-catching finish and extra crunch on top—totally worth that little bit of extra effort!
How to Make Butterfinger Fudge
Step 1: Prep Your Pan
Start by lining an 8×8-inch baking dish with parchment paper. Leave enough paper hanging over the edges to create “handles”—this makes it a breeze to lift the fudge out later. A snug fit is best: it helps the mixture spread evenly, prevents sticking, and makes for the prettiest squares when you slice.
Step 2: Melt the Base
In a medium saucepan over low heat, combine your white chocolate chips and sweetened condensed milk. Stir constantly with a heat-safe spatula or wooden spoon. The mixture should melt together slowly and evenly—don’t rush this part or use high heat, to avoid scorching the chocolate. You’re looking for a silky, lump-free mixture.
Step 3: Add the Flavor Twists
Remove the saucepan from the heat, and quickly stir in the salt and vanilla extract. You’ll immediately catch those warm, fragrant notes starting to waft up! Mixing these in now ensures that the flavors are evenly distributed throughout your Butterfinger Fudge.
Step 4: Fold in Butterfinger Candy
Gently fold in the chopped Butterfinger candy bars. Work quickly but carefully, so the pieces stay distinct and don’t fully melt into the hot base. Every bite should have a fair dose of those crunchy, peanut buttery shards mixed with the creamy fudge.
Step 5: Shape and Finish the Fudge
Pour the fudge mixture into your prepared pan and use a spatula to spread it into an even layer. If you’re as much a Butterfinger enthusiast as I am, now’s the time to scatter extra chopped candy bars over the top. Press them in lightly so they set with the fudge rather than fall off later.
Step 6: Chill and Set
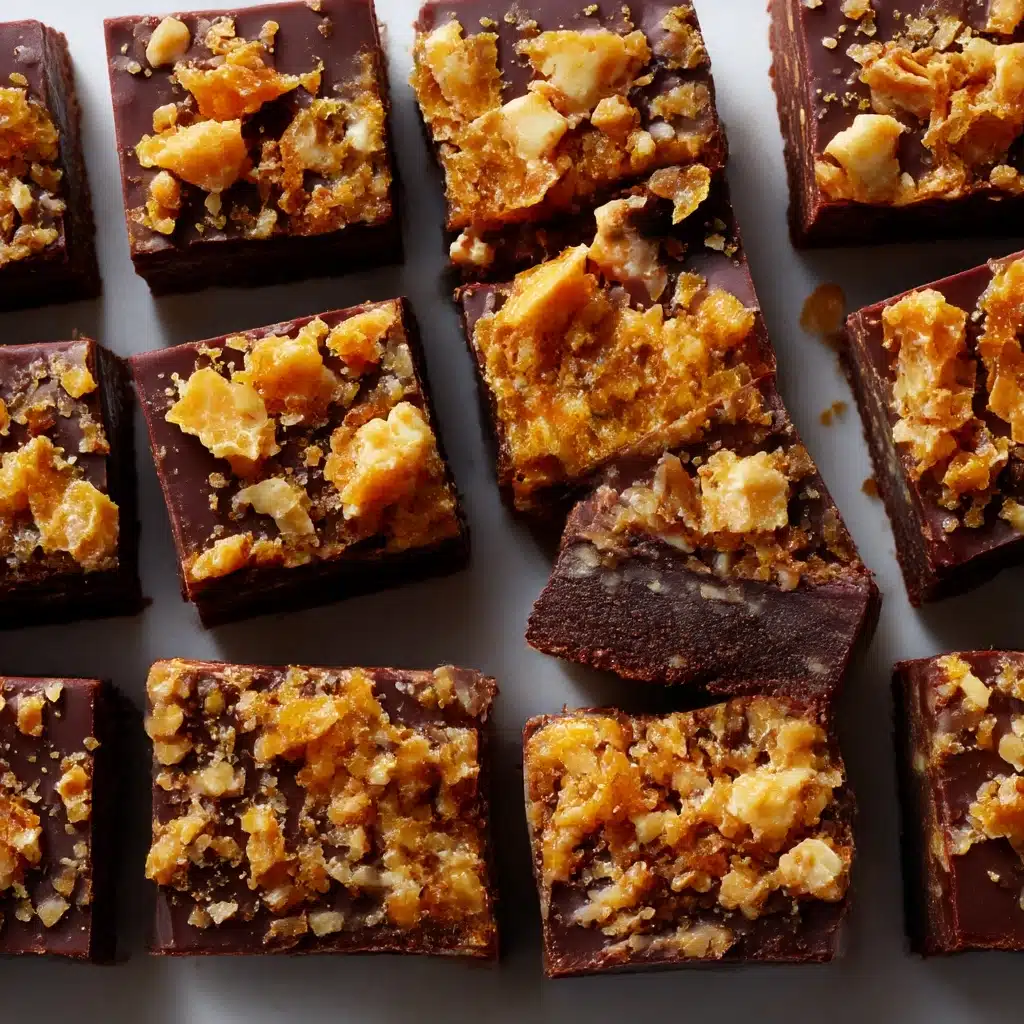
Pop the pan into the refrigerator for at least 2 hours, or until the Butterfinger Fudge is firm to the touch and holds its shape. Patience is key! Once set, simply grab those parchment overhang handles to lift the fudge from the pan, then use a sharp knife to slice it into perfect, bite-sized squares.
How to Serve Butterfinger Fudge
Garnishes
Sprinkle a final flourish of finely chopped Butterfinger pieces on top for show-stopping visual appeal and irresistible crunch. A dusting of powdered sugar or a gentle drizzle of melted chocolate also looks gorgeous and adds a playful touch.
Side Dishes
Butterfinger Fudge is absolutely dreamy alongside a cup of dark coffee or hot chocolate, as the bittersweet notes help balance the fudge’s sweetness. For something lighter, pair with a bowl of fresh berries—their tartness creates a lovely contrast and keeps things feeling special.
Creative Ways to Present
Dress up your Butterfinger Fudge for gifting by stacking squares in a festive candy box or wrapping them in parchment and tying with pretty ribbon. For parties, arrange the squares on a platter in a checkerboard pattern with other types of fudge, or insert a stick into each piece for adorable fudge pops.
Make Ahead and Storage
Storing Leftovers
Keep any leftover Butterfinger Fudge in an airtight container in the refrigerator. The fudge stays fresh and perfectly creamy for up to a week. For the best texture, layer parchment paper between pieces so they don’t stick together, and always seal tightly to protect from fridge odors.
Freezing
If you want to make a batch ahead of time, Butterfinger Fudge freezes beautifully. Wrap individual squares or the entire slab tightly in plastic wrap, then place in a freezer-safe bag or container. Thaw in the fridge overnight when ready to serve, and enjoy for up to three months without losing any of that dreamy texture.
Reheating
There’s usually no need to reheat Butterfinger Fudge, as it’s meant to be enjoyed cold or at room temperature. However, if you like an extra-melty bite, a quick 5 to 10 second zap in the microwave will soften without making it gooey—just don’t overdo it!
FAQs
Can I use milk chocolate instead of white chocolate chips?
Absolutely! Milk chocolate will give a more traditional chocolate fudge flavor, but keep in mind it will change both the color and sweetness of your Butterfinger Fudge. If you love white chocolate’s vanilla notes, stick with the original, but experimenting is part of the fun.
Do I need a candy thermometer for this recipe?
Not at all! The beauty of Butterfinger Fudge is its simplicity—no thermometers or tricky sugar stages required. This is a true no-fuss, no-fail fudge that anyone can whip up with confidence.
Can I double the recipe for a larger crowd?
Yes! Just use a 9×13-inch pan instead of an 8×8, and your Butterfinger Fudge will come out just as delicious. Make sure to allow a little extra time for the fudge to chill and fully set.
What’s the best way to cut clean, neat squares?
For the sharpest, most beautiful slices, run your knife under hot water, wipe it dry, then cut while the fudge is cold from the fridge. Clean the knife between slices if needed to keep those edges picture-perfect.
Can I make Butterfinger Fudge gluten-free?
The base of the fudge is naturally gluten-free, but be sure to check the labels on both your white chocolate chips and Butterfinger candy bars—brands can vary, and it’s always best to confirm if you’re cooking for someone with allergies or sensitivities.
Final Thoughts
There’s something undeniably joyful about sharing a plate of Butterfinger Fudge with friends and loved ones, or sneaking a midnight square for yourself. It’s simple, indulgent, and guaranteed to spark smiles every single time. If you’ve never tried making fudge at home, this recipe is the perfect starting point—just be warned, it’s delightfully habit-forming!
Print
Butterfinger Fudge Recipe
- Total Time: 2 hours 15 minutes (including chilling)
- Yield: 25 pieces 1x
- Diet: Vegetarian
Description
Indulge in the creamy, decadent goodness of Butterfinger Fudge with this easy no-bake recipe. A perfect blend of white chocolate, sweetened condensed milk, and crunchy Butterfinger candy bars, this fudge is sure to satisfy any sweet tooth.
Ingredients
Ingredients:
- 3 cups white chocolate chips
- 1 (14-ounce) can sweetened condensed milk
- 1/4 teaspoon salt
- 1 teaspoon vanilla extract
- 1 1/2 cups chopped Butterfinger candy bars (about 6 fun-size bars)
- additional chopped Butterfinger for topping (optional)
Instructions
- Line the Baking Dish: Line an 8×8-inch baking dish with parchment paper, leaving a slight overhang for easy removal.
- Melt Ingredients: In a medium saucepan over low heat, combine the white chocolate chips and sweetened condensed milk. Stir constantly until smooth and fully melted. Remove from heat and stir in the salt and vanilla extract.
- Add Butterfinger: Gently fold in the chopped Butterfinger pieces. Pour the mixture into the prepared pan and spread evenly with a spatula.
- Top with Butterfinger: Sprinkle additional Butterfinger pieces on top, pressing them lightly into the fudge.
- Chill: Refrigerate for at least 2 hours, or until firm.
- Serve: Once set, lift the fudge out using the parchment overhang and cut into squares.
Notes
- Store fudge in an airtight container in the refrigerator for up to 1 week.
- For easier slicing, warm a sharp knife under hot water and wipe dry before cutting.
- Prep Time: 10 minutes
- Cook Time: 5 minutes
- Category: Dessert
- Method: No-Bake
- Cuisine: American
Nutrition
- Serving Size: 1 piece
- Calories: 160
- Sugar: 17g
- Sodium: 55mg
- Fat: 8g
- Saturated Fat: 5g
- Unsaturated Fat: 2g
- Trans Fat: 0g
- Carbohydrates: 22g
- Fiber: 0g
- Protein: 2g
- Cholesterol: 5mg


