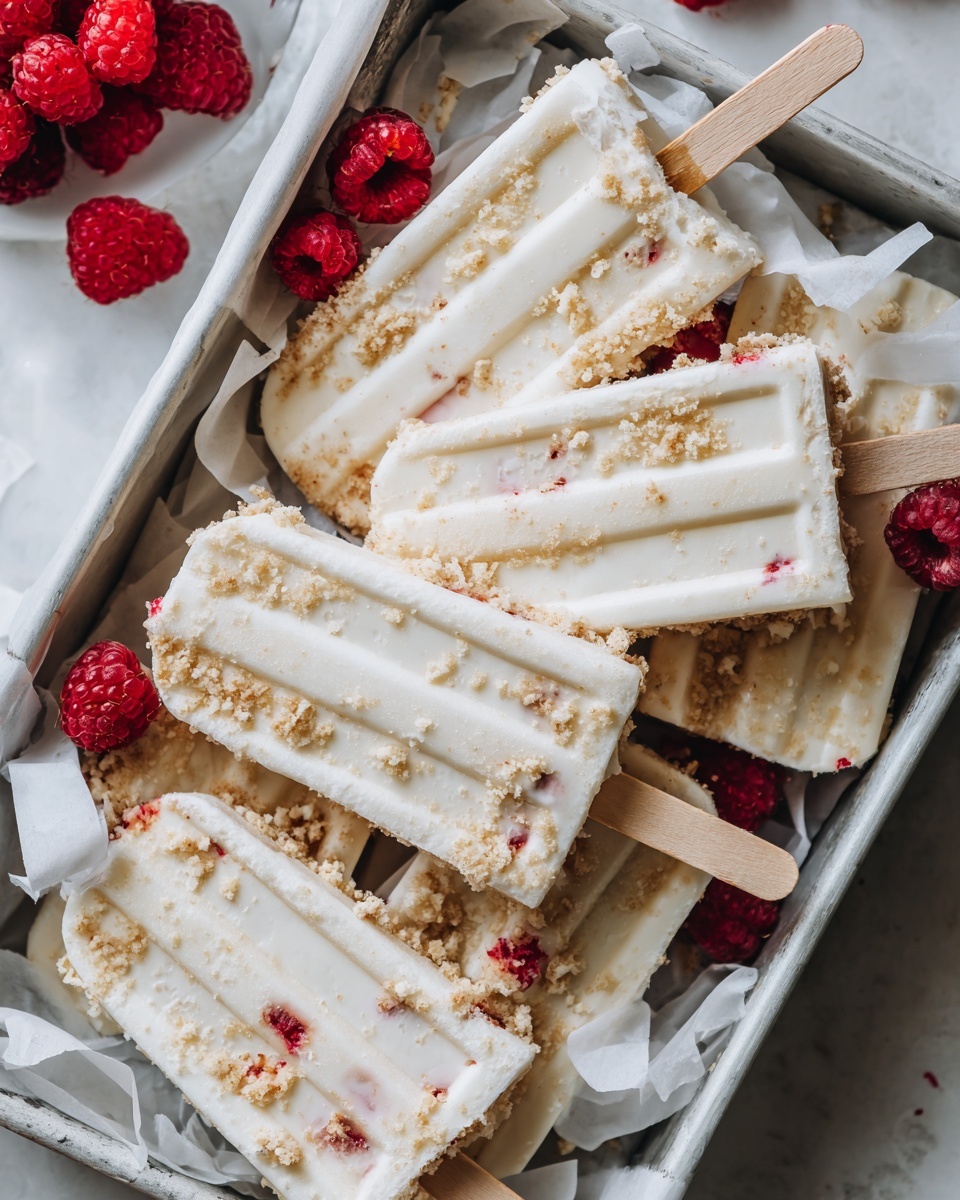
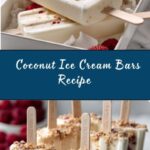
If you have been dreaming of a cool, refreshing treat that’s both luscious and simple to make, you are in for a real delight with this Creamy Coconut Ice Cream Bars Recipe. It’s a perfect blend of rich coconut cream and silky texture that melts perfectly on your tongue, delivering a tropical burst of flavor with every bite. Whether you want a quick homemade dessert or a show-stopping snack for summer days, these bars will quickly become your new favorite indulgence. No fancy tools or complicated steps required—just pure coconut goodness in a delicately creamy bar form.
Ingredients You’ll Need
This Creamy Coconut Ice Cream Bars Recipe shines because of its straightforward but essential ingredients. Each one plays a vital role in crafting the creamy texture and smooth flavor that make this dessert so irresistible.
- Milk powder: Adds creaminess and helps improve the ice cream’s smooth texture without extra liquid.
- Sugar: Balances the natural richness with the perfect amount of sweetness.
- Condensed milk: Gives a dense sweetness and helps bind the ingredients for creamy consistency.
- Coconut cream: The star ingredient that imparts the deep, rich coconut flavor and silky mouthfeel.
- Coconut milk: Lightens the mixture just enough while enhancing the coconut essence.
- Cornstarch: Acts as a gentle thickener to ensure that perfect, scoopable texture.
- Food flavoring (optional): Customize with vanilla or your favorite fruit essence for a unique twist.
How to Make Creamy Coconut Ice Cream Bars Recipe
Step 1: Combine Ingredients
Start by grabbing a medium pot and combining the coconut cream, coconut milk, milk powder, sugar, and condensed milk. Stir these together until everything is well blended. This combination creates the foundation of your creamy bars, balancing richness and sweetness perfectly.
Step 2: Cook Mixture
Place the pot over low heat and gently warm the mixture. Stir constantly to prevent any burning or lumps from forming. Slow cooking helps all the flavors meld together, setting the stage for that velvety texture.
Step 3: Thicken
Now, gradually sprinkle in the cornstarch while continuously stirring. This step is key to thickening the mixture so your ice cream bars hold that perfect creamy texture without being icy or crumbly. Keep stirring until you notice the mixture noticeably thickening.
Step 4: Flavor
Once thickened, remove the pot from heat. If you love a hint of vanilla or a fruity note, now’s the time to gently stir in your chosen food flavoring. This personal touch will elevate the bars from fantastic to unforgettable.
Step 5: Fill Molds and Freeze
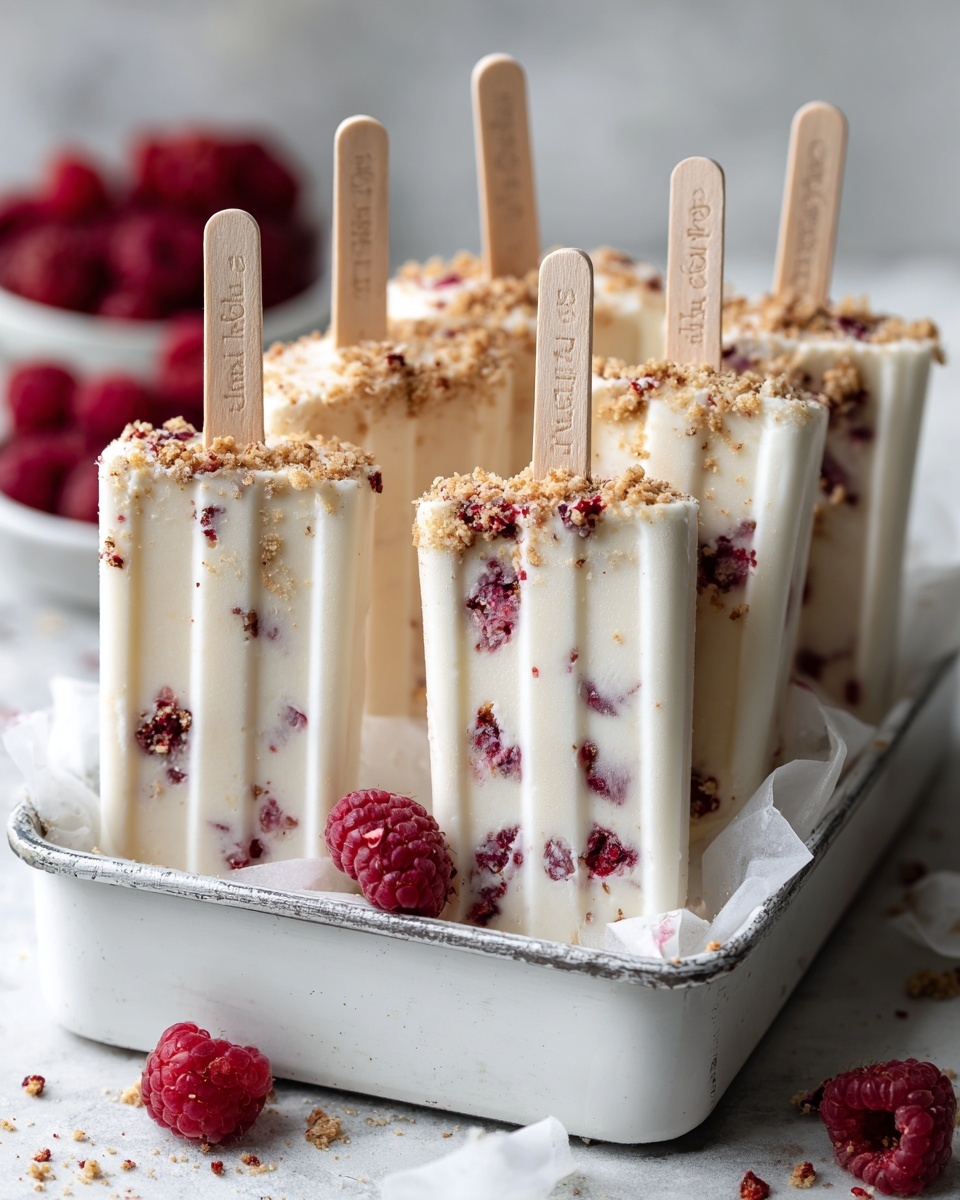
Pour the luscious mixture into ice cream molds and insert popsicle sticks. Place the molds in the freezer and let the bars harden for at least 4 hours. The waiting might be tough, but the creamy reward will be so worth it!
Step 6: Serve and Enjoy
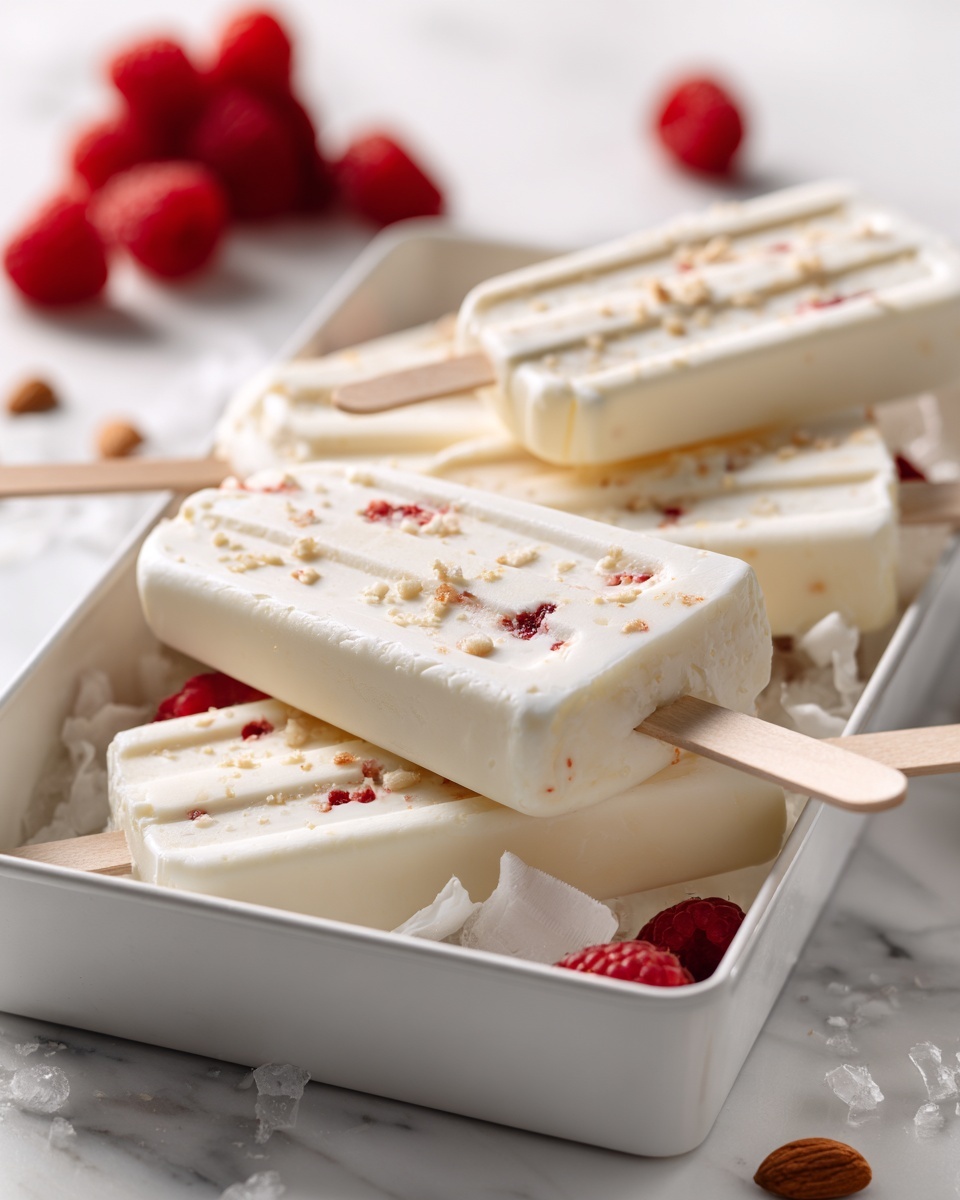
After freezing, carefully remove the bars from their molds and prepare yourself for that first delightfully creamy bite. These bars are ready to refresh and satisfy your sweet tooth anytime.
How to Serve Creamy Coconut Ice Cream Bars Recipe
Garnishes
For an extra special touch, consider topping your ice cream bars with toasted coconut flakes or a drizzle of dark chocolate. These garnishes add a lovely crunch and contrasting flavors that complement the creamy coconut bliss beautifully.
Side Dishes
These bars pair wonderfully with tropical fruit salads, fresh mango slices, or a light coconut sorbet for an all-out coconut-themed feast. The brightness and natural sweetness of fresh fruits enhance the creamy richness without overwhelming it.
Creative Ways to Present
Serve these bars on bamboo skewers placed on a bed of crushed ice for a festive look at gatherings. You can also roll the edges in finely chopped nuts or toasted coconut right after unmolding to add texture and eye appeal. Presentation is half the joy of eating!
Make Ahead and Storage
Storing Leftovers
If you happen to have leftovers (which is rare!), keep your creamy coconut ice cream bars in an airtight container or sealed mold in the freezer. This prevents ice crystals from forming, preserving that smooth, creamy texture perfectly.
Freezing
These bars freeze beautifully, so making them ahead for parties or warm days is a fantastic idea. Just ensure they are well covered to keep out unwanted freezer odors. Pop them straight from the freezer when you want to enjoy that tropical treat.
Reheating
Since these are ice cream bars, reheating isn’t necessary or recommended. Instead, let them sit at room temperature for a few minutes if they are too firm to bite, allowing the perfect creamy softness to return.
FAQs
Can I use regular milk instead of coconut milk?
Absolutely! While coconut milk enriches the coconut flavor, regular milk works just fine too, though it will create a slightly less intense coconut taste.
Is it necessary to use cornstarch?
Cornstarch helps thicken the mixture to achieve the creamy texture that makes this recipe special. Skipping it might result in icier, less smooth bars.
Can I add different flavors to this recipe?
Yes, food flavorings like vanilla or fruit essences can be mixed in during the final step to create delicious variations on the classic coconut flavor.
How long should I freeze the bars?
Freeze them for at least 4 hours or until completely set to ensure they hold their shape and creamy texture.
Are these ice cream bars suitable for vegans?
You can make a vegan-friendly version by using plant-based condensed milk alternatives and ensuring your flavorings are vegan. Coconut cream and coconut milk are naturally vegan and perfect for this.
Final Thoughts
Making and enjoying this Creamy Coconut Ice Cream Bars Recipe is like capturing a little slice of paradise in your own kitchen. It’s easy enough for any home cook and special enough to impress friends and family. So go ahead, treat yourself to this dreamy coconut delight—you won’t regret it!
Print
Creamy Coconut Ice Cream Bars Recipe
- Prep Time: 15 minutes
- Cook Time: 15 minutes
- Total Time: 4 hours 30 minutes
- Yield: 4 servings
- Category: Dessert
- Method: Stovetop
- Cuisine: International
- Diet: Vegetarian
Description
Delight in these creamy, homemade ice cream bars made with a rich blend of coconut cream, milk powder, and a touch of sweetness. This easy-to-make frozen treat combines the luscious textures of coconut milk and cream with a smooth, thickened base perfect for popsicle molds. Ideal for warm days or a refreshing dessert, these ice cream bars are customizable with your favorite natural flavorings such as vanilla or fruit essences.
Ingredients
Main Ingredients
- 35g milk powder
- 15g sugar
- 10g condensed milk
- 160g coconut cream (or whipping cream)
- 200g coconut milk (or regular milk)
- 10g cornstarch
- 2g food flavoring (optional, e.g., vanilla or fruit essence)
Instructions
- Combine Ingredients: In a medium saucepan, blend the coconut cream, coconut milk, milk powder, sugar, and condensed milk thoroughly until the mixture is smooth and evenly combined.
- Cook Mixture: Place the saucepan over low heat. Stir constantly to prevent the mixture from burning or forming lumps. This process helps to gently heat and integrate the ingredients.
- Thicken: Gradually sprinkle in the cornstarch while continuously stirring. Continue to cook and stir until the mixture thickens to a creamy consistency, similar to a pudding.
- Flavor: Remove the thickened mixture from heat and stir in your chosen food flavoring, such as vanilla or fruit essence, if desired. This adds a customized taste to your ice cream bars.
- Fill Molds: Pour the creamy mixture evenly into ice cream molds. Insert popsicle sticks into each mold to prepare for freezing.
- Freeze: Place the molds in the freezer and allow the mixture to freeze solid for at least 4 hours, ensuring the bars are fully set and ready to enjoy.
- Serve: Once frozen, carefully remove the ice cream bars from the molds and serve immediately for a delicious, creamy frozen treat.
Notes
- Use coconut cream and coconut milk for a rich, dairy-free option, or substitute whipping cream and regular milk for a creamier traditional ice cream flavor.
- Adjust the sugar quantity to your taste preference or dietary needs.
- Stirring constantly while cooking is essential to prevent lumps and sticking.
- If cornstarch is unavailable, tapioca starch or arrowroot powder can be used as alternatives.
- Ensure the mixture is fully cooled before freezing to avoid ice crystals forming in the bars.
- For extra texture, try adding chopped nuts or chocolate chips before freezing.