Easy Easter Fudge Recipe
If you’re looking for a show-stopping dessert that’s as effortless as it is festive, this Easy Easter Fudge Recipe is your new go-to! With creamy white chocolate, pops of pastel candies, and a shower of cheerful sprinkles, each bite feels like a little celebration. Whether you’re hosting a springtime brunch or just want to add some colorful joy to your week, this no-bake treat is guaranteed to become a sweet tradition.
Ingredients You’ll Need
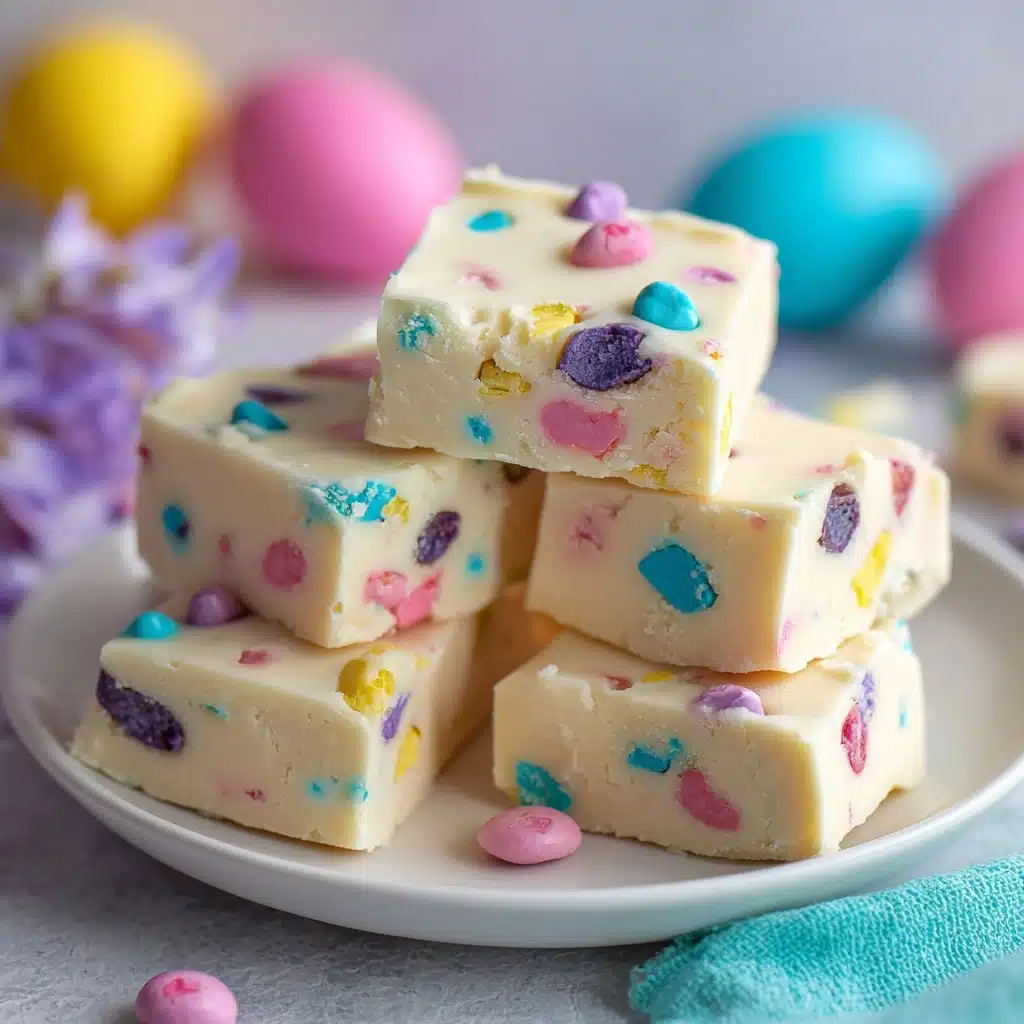
One of the best things about this Easy Easter Fudge Recipe is that you only need a handful of staple ingredients, each playing an important role in creating that signature creamy, dreamy texture and eye-catching appearance. Let’s take a closer look at why these ingredients work so well together:
- White chocolate chips: The star of the show! These melt into a luscious, sweet base that lets all the other flavors shine while delivering that classic fudge consistency.
- Sweetened condensed milk (1 can, 14 oz): This magic ingredient adds richness and a silky-smooth texture that makes each square decadently creamy.
- Salt (1/4 teaspoon): Just a pinch brings balance, cutting the sweetness and subtly enhancing all the flavors.
- Vanilla extract (1 teaspoon): For that warm, comforting aroma and depth of flavor that takes the fudge from good to irresistible.
- Pastel-colored candy-coated chocolates (1/2 cup): Think Easter M&M’s! These add colorful crunch, festive flair, and a playful surprise in every bite.
- Pastel sprinkles (1/4 cup): The finishing touch for maximum whimsy and a little crunch, making your fudge look like it came straight from a bakery window.
How to Make Easy Easter Fudge Recipe
Step 1: Prepare Your Pan
Start by lining an 8×8-inch baking pan with parchment paper, making sure to leave some extra hanging over the edges. This will be your fudge’s magic carpet ride out of the pan later, ensuring perfectly neat squares and zero sticking or frustration.
Step 2: Melt and Mix the Base
In a medium saucepan over low heat, combine your white chocolate chips, sweetened condensed milk, and salt. Stir continuously and patiently; this helps everything melt together evenly without scorching. Once the mixture is velvety smooth and glossy, you’re ready for the next step!
Step 3: Add a Pop of Vanilla
Remove the saucepan from the heat and stir in the vanilla extract. This little splash instantly fills your kitchen with the most inviting aroma and gives the fudge its signature cozy flavor.
Step 4: Fold in the Festivity
Gently fold in half of your candy-coated chocolates. Be careful not to overmix—just a few gentle turns with your spatula to keep those candies intact and evenly distributed throughout the fudge.
Step 5: Pour and Decorate
Pour the fudge mixture into your prepared pan, spreading it out into an even layer. Right away, sprinkle the rest of your candy-coated chocolates and all those pastel sprinkles across the top, pressing them down ever so gently so they stick. The more colorful, the better!
Step 6: Chill Until Set
Pop the pan into the refrigerator for at least 2 hours, or until the fudge is firm to the touch. This is when all the magic happens, so let patience be your sous chef for now!
Step 7: Slice and Enjoy
Once your fudge is chilled and set, lift it out of the pan using the parchment paper overhang. Slice into neat squares and get ready to watch eyes light up when you serve this Easy Easter Fudge Recipe.
How to Serve Easy Easter Fudge Recipe
Garnishes
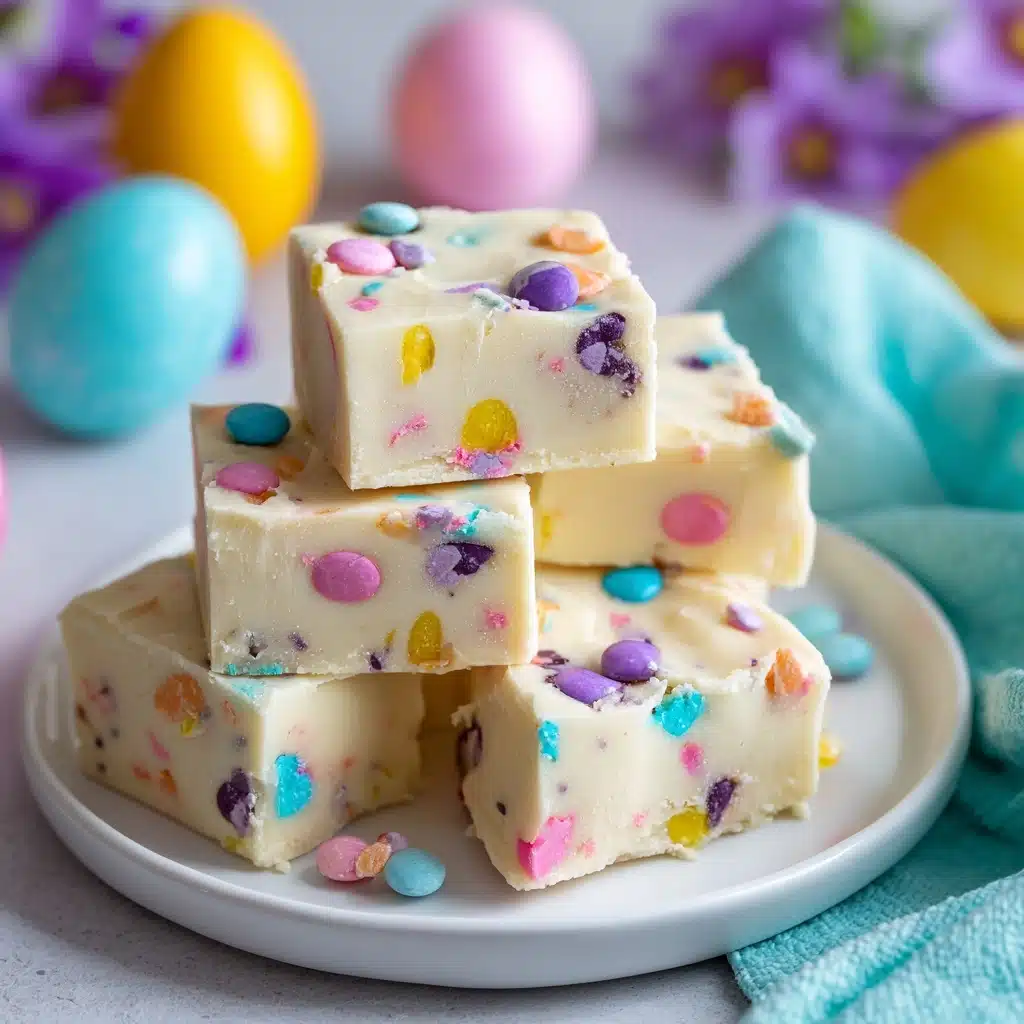
For an extra-special touch, try drizzling your fudge squares with a little melted white or pastel-colored chocolate before serving. Edible glitter or a sprinkle of sea salt can also add a grown-up twist, making your Easy Easter Fudge Recipe as beautiful as it is delicious.
Side Dishes
Pair your fudge with a platter of fresh berries or a light fruit salad for a refreshing contrast to its creamy richness. A cup of coffee, tea, or even a spring-inspired mocktail makes the whole treat feel like a celebration.
Creative Ways to Present
Arrange your fudge pieces in mini cupcake liners for a playful, party-ready presentation, or stack them in a decorative tin lined with parchment for a charming homemade gift. For Easter gatherings, nestle them around pastel eggs or bunny-shaped cookies to create a whimsical dessert spread.
Make Ahead and Storage
Storing Leftovers
Store any leftover Easy Easter Fudge Recipe squares in an airtight container in the fridge, where they’ll stay fresh and creamy for up to one week. Layer parchment paper between the pieces to prevent them from sticking, and you’ll always have a sweet treat ready for a little afternoon pick-me-up.
Freezing
Fudge freezes beautifully! Wrap individual squares tightly in plastic wrap and place them in a freezer-safe bag or container. They’ll keep for up to two months—just thaw in the fridge overnight when you’re ready to enjoy.
Reheating
You won’t need to reheat this fudge, but if you prefer it a little softer, simply let it sit at room temperature for 10–15 minutes before serving. This takes the chill off and brings back that perfect melt-in-your-mouth texture.
FAQs
Can I use different types of chocolate?
Absolutely! While white chocolate gives this Easy Easter Fudge Recipe its classic look and creamy flavor, you can swap in milk or dark chocolate chips for a richer twist. Just keep in mind that the color and taste will change.
What if I don’t have Easter M&M’s?
No problem—use any pastel candy-coated chocolates you love, or even try chopped mini chocolate eggs or colorful jellybeans for a fun variation that still celebrates the season.
Is this fudge gluten-free?
The core ingredients in this Easy Easter Fudge Recipe are gluten-free, but always double-check your candy-coated chocolates and sprinkles, as some brands may include gluten-containing additives.
Can I add extra mix-ins?
Definitely! Feel free to fold in mini marshmallows, crushed cookies, or chopped nuts along with the candy for extra flavor and texture. This recipe is super flexible, so make it your own!
Why didn’t my fudge set properly?
If your fudge turned out too soft, it may not have chilled long enough or the ratio of chocolate to condensed milk was off. Make sure to measure carefully and give it plenty of time in the fridge until it’s fully firm.
Final Thoughts
This Easy Easter Fudge Recipe is pure springtime joy in every bite—simple, festive, and irresistibly creamy. Whether you’re making it for a family gathering or just because, I hope it brings as much delight to your table as it does to mine. Give it a try and let your kitchen fill with color, sweetness, and happy memories!
Print
Easy Easter Fudge Recipe
- Total Time: 2 hours 15 minutes
- Yield: 25 pieces 1x
- Diet: Vegetarian
Description
This Easy Easter Fudge Recipe is a delightful and colorful no-bake treat perfect for celebrating the holiday. Made with creamy white chocolate, sweetened condensed milk, and pastel-colored candy-coated chocolates, this fudge is smooth, sweet, and festive. Quick to prepare and simply chilled to set, it makes an ideal dessert or gift during Easter celebrations.
Ingredients
Fudge Base
- 3 cups white chocolate chips
- 1 can (14 oz) sweetened condensed milk
- 1/4 teaspoon salt
- 1 teaspoon vanilla extract
Toppings
- 1/2 cup pastel-colored candy-coated chocolates (such as Easter M&M’s)
- 1/4 cup pastel sprinkles
Instructions
- Prepare the Pan: Line an 8×8-inch baking pan with parchment paper, ensuring there is some overhang on the sides to allow for easy removal of the fudge once it is set.
- Melt the Fudge Base: In a medium saucepan over low heat, combine the white chocolate chips, sweetened condensed milk, and salt. Stir continuously to prevent burning until the chocolate is completely melted and the mixture is smooth and glossy.
- Add Flavoring: Remove the saucepan from heat and stir in the vanilla extract thoroughly to incorporate the flavor evenly into the fudge base.
- Mix in Candy: Gently fold in half of the pastel-colored candy-coated chocolates, distributing them evenly throughout the fudge mixture without crushing.
- Pour into Pan: Pour the fudge mixture into the prepared baking pan, spreading it out evenly with a spatula to create a smooth surface.
- Add Toppings: Sprinkle the remaining candy-coated chocolates and pastel sprinkles evenly over the top of the fudge, gently pressing them into the surface so they stick.
- Chill: Refrigerate the fudge for at least 2 hours or until it is fully set and firm to the touch.
- Serve: Once firm, lift the fudge out of the pan using the parchment paper overhang, cut into 25 squares, and serve immediately or store for later enjoyment.
Notes
- Store the fudge in an airtight container in the refrigerator for up to one week to maintain freshness.
- For a fun variation, try mixing in mini marshmallows, crushed cookies, or chopped nuts into the fudge base before setting.
- Prep Time: 10 minutes
- Cook Time: 5 minutes
- Category: Dessert
- Method: No-Bake
- Cuisine: American
Nutrition
- Serving Size: 1 piece
- Calories: 150
- Sugar: 17g
- Sodium: 35mg
- Fat: 7g
- Saturated Fat: 4g
- Unsaturated Fat: 2g
- Trans Fat: 0g
- Carbohydrates: 20g
- Fiber: 0g
- Protein: 2g
- Cholesterol: 5mg
