Samoa Cookie Bars Recipe
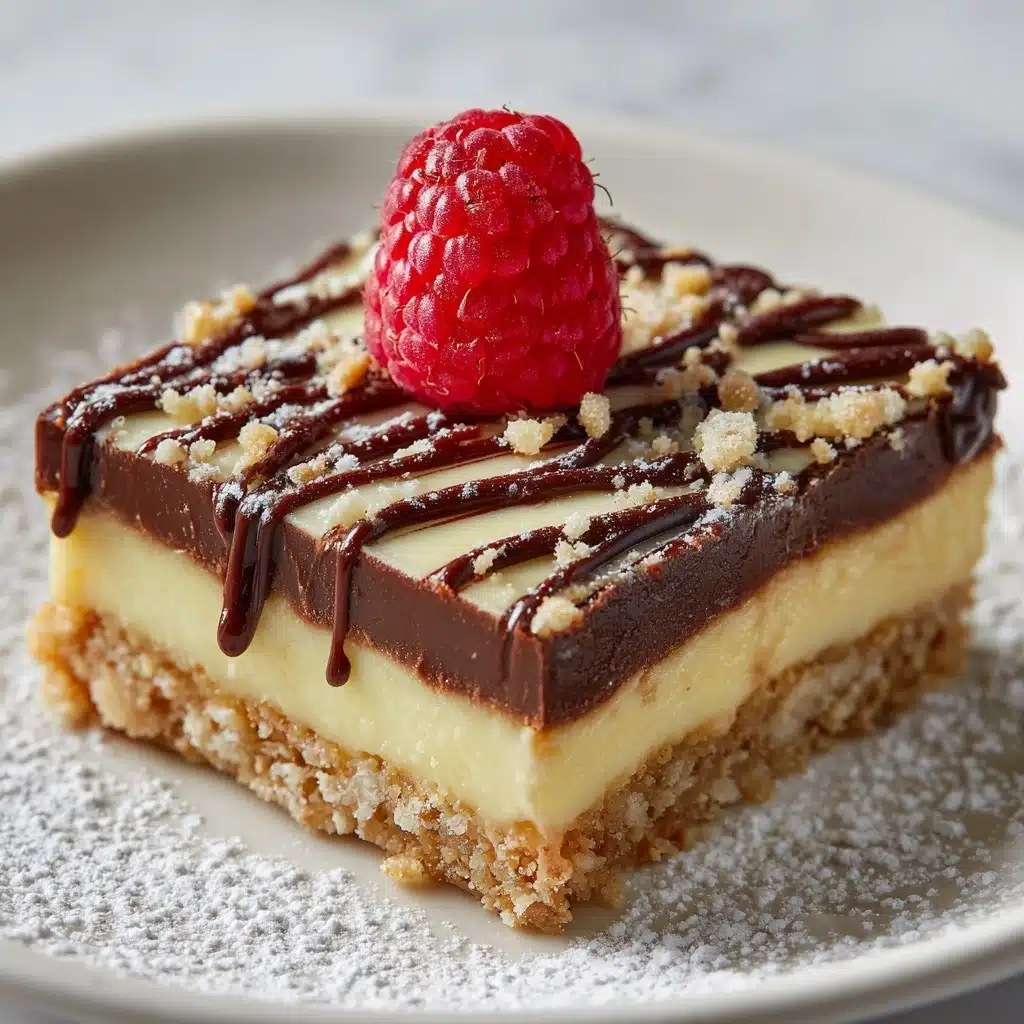
If you’ve ever dreamed of transforming your favorite Girl Scout cookie into an irresistibly easy dessert for a crowd, these Samoa Cookie Bars are about to become your new obsession. This gorgeous pan of sweet, caramel-kissed, coconut-and-chocolate delight layers all the iconic Samoa flavors you love into soft, chewy bar form—perfect for bake sales, potlucks, or just a cozy night in. Imagine buttery shortbread crust, toasted coconut enveloped in gooey caramel, and ribbons of rich chocolate. These bars deliver sheer bliss in every bite, with just the right touch of nostalgia and a whole lot of homemade charm.
Ingredients You’ll Need
Gathering a handful of classic ingredients is all it takes to create that signature Samoa Cookie Bars experience. Each component brings something special, whether it’s rich flavor, irresistible texture, or that beautiful golden color that makes these bars stand out on any dessert table.
- Unsalted butter: Ensure your butter is softened to create a melt-in-your-mouth shortbread crust as the foundation for your bars.
- Granulated sugar: Adds structure and subtle sweetness to balance the richness of the buttery base.
- All-purpose flour: Provides the essential body for the crust, so your bars have structure without being dense.
- Salt (for crust): A pinch enhances all the flavors and keeps the sweetness in check.
- Sweetened shredded coconut: The heart of every Samoa Cookie Bar—the coconut not only brings chewiness and toasty flavor, it creates that classic look and texture.
- Chewy caramels: Melting these into the coconut mixture delivers that luxurious, sticky-sweet layer everyone loves.
- Heavy cream: Makes your caramel coconut filling extra smooth and helps everything melt together beautifully.
- Vanilla extract: Just a touch brings warmth and ties the flavors together seamlessly.
- Salt (for filling): This second dose of salt punches up the caramel and balances out the sweetness of the bars.
- Semisweet chocolate chips: Choosing semisweet provides just enough richness and a touch of contrast so each bar pops with indulgence.
How to Make Samoa Cookie Bars
Step 1: Prepare the Shortbread Crust
Preheat your oven to 350°F and line a 9×13-inch baking pan with parchment paper, leaving a bit of overhang for easy removal. In a large mixing bowl, beat together the softened butter and sugar until the mixture is pale, light, and fluffy—that airiness gives your crust a tender bite. Mix in the flour and salt until a crumbly dough comes together. Press the dough evenly into your prepared pan, smoothing it out for an even base. Bake the crust for 20 to 22 minutes, or until it’s lightly golden, then allow it to cool while you prepare the toppings.
Step 2: Toast the Coconut
For that signature nutty flavor, spread your shredded coconut on a baking sheet and pop it in the oven. Toast for 8 to 10 minutes, stirring halfway through, until it’s perfectly golden and fragrant. Keep a watchful eye—the coconut can go from golden to burnt in the blink of an eye! Set it aside to cool slightly, breathing in that amazing aroma that will soon infuse your Samoa Cookie Bars.
Step 3: Make the Caramel-Coconut Layer
Place your unwrapped caramels and heavy cream in a microwave-safe bowl. Heat in 30-second bursts, stirring well between each, until the caramels are fully melted and the mixture is smooth. Stir in the vanilla extract and a pinch of salt, then fold in that gorgeous toasted coconut, making sure every shred is luxuriously coated. Spread the warm caramel-coconut mixture evenly over your cooled shortbread base, pressing gently so it nestles into every corner.
Step 4: Melt and Drizzle Chocolate
In a clean bowl, melt the semisweet chocolate chips either in the microwave (in 20-second intervals, stirring often) or using a double boiler. Drizzle half of this glossy, warm chocolate over the caramel-coconut layer. Take a moment to admire the ribbons—this is what will set your Samoa Cookie Bars apart! Refrigerate for about 15 minutes to set the layers, making slicing a breeze later.
Step 5: Slice, Decorate, and Serve
Once the bars are firm, lift them out of the pan using the parchment “handles” and place on a cutting board. Using a sharp knife (lightly coated with nonstick spray for cleaner edges), slice into even bars. Now, take the rest of your melted chocolate and drizzle generously over the tops for that irresistible, professional look. Let the chocolate set, or dig in right away—either way, these Samoa Cookie Bars will wow anyone lucky enough to snag a piece.
How to Serve Samoa Cookie Bars
Garnishes
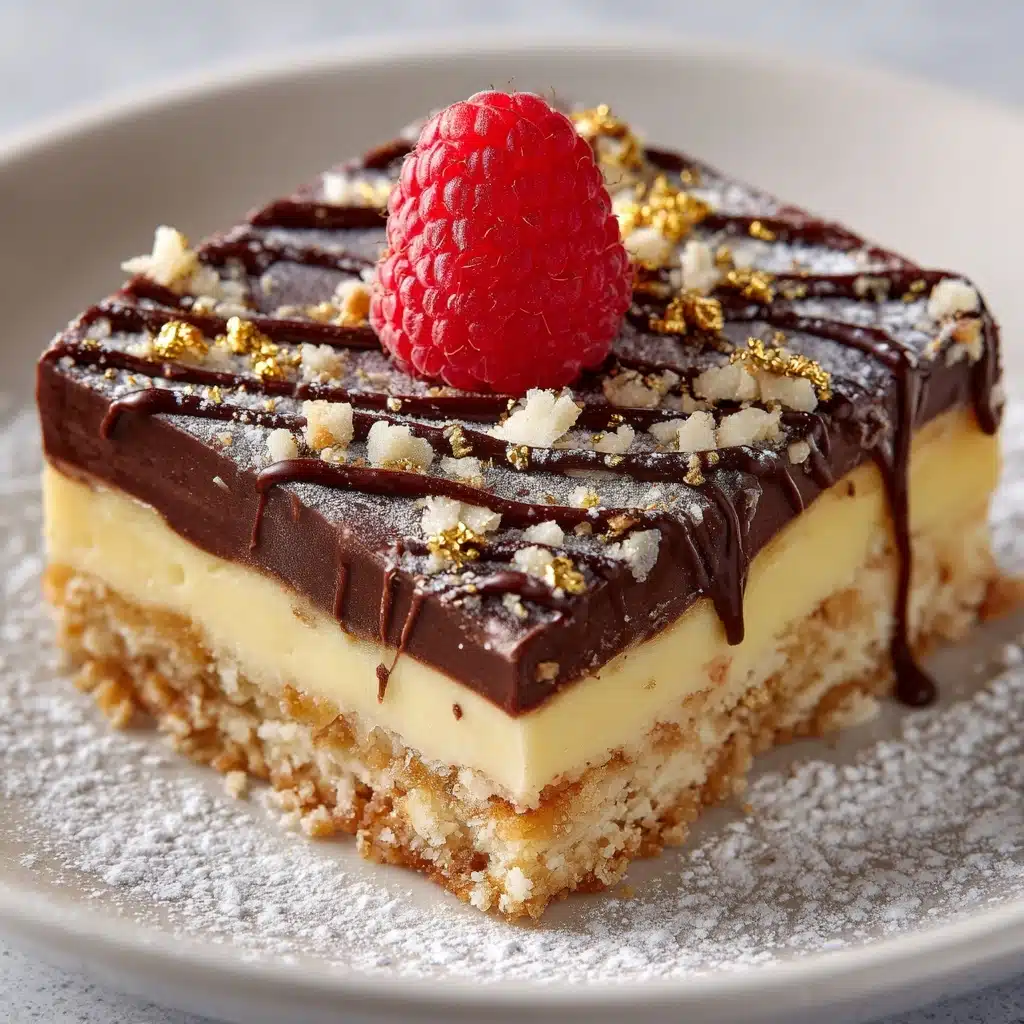
To make your bars truly shine, consider a playful finish: sprinkle with a little extra toasted coconut, add a tiny pinch of flaky sea salt, or drizzle with white chocolate for some gorgeous contrast. These touches make each bar feel a little more special and highlight the flavors inside.
Side Dishes
These rich and chewy bars are pretty spectacular on their own, but they pair exquisitely with cool sides like a scoop of vanilla bean ice cream, a bowl of fresh berries, or icy cold milk. If you’re feeling festive, serve alongside a platter of other homemade cookies for a showstopping dessert spread.
Creative Ways to Present
Cut your Samoa Cookie Bars into fun shapes using cookie cutters, or stack them high on a cake stand for dramatic effect. For parties, wrap individual bars in parchment and tie with baker’s twine—perfect for edible gifts or grab-and-go treats at a potluck!
Make Ahead and Storage
Storing Leftovers
Store any leftover Samoa Cookie Bars in an airtight container at room temperature for up to three days. If your kitchen is warm, the fridge will keep them fresher even longer—up to one week. The butter and caramel ensure they stay soft and chewy without losing their signature texture.
Freezing
These bars freeze beautifully! Once the chocolate is fully set, wrap each bar tightly in plastic wrap, then place in a freezer-safe bag or container. They’ll keep their flavor and texture for up to three months. Just thaw at room temperature whenever the craving strikes.
Reheating
If you prefer your Samoa Cookie Bars a little gooier, warm individual bars in the microwave for about 10 seconds. This softens the caramel and intensifies that homemade bakery aroma with every bite. Just don’t overdo it—short bursts work best for that just-baked magic!
FAQs
Can I use a different type Dessert
Absolutely! While semisweet chocolate delivers authentic Samoa Cookie Bars flavor, you can easily use dark chocolate for a richer bite or milk chocolate if you like things extra sweet. Swirling in white chocolate or adding chocolate chunks can also elevate the visual and taste experience.
Is it possible to make these bars gluten-free?
Yes! Substitute your favorite gluten-free all-purpose flour blend for the regular flour. Make sure your other ingredients are certified gluten-free, and you’ll get a delicious gluten-free version with all the classic flavor and chew you love.
Can I make Samoa Cookie Bars ahead of time?
They are a fantastic make-ahead dessert—the flavors meld and improve as they sit. Prepare the bars fully, let them cool, and store tightly covered in the refrigerator. Slice and drizzle with chocolate just before serving for the freshest finish.
What if I don’t have caramels on hand?
If you’re out of store-bought caramels, you can substitute thick homemade caramel sauce (use just enough to coat the coconut evenly so your filling isn’t runny). Alternatively, melt together sweetened condensed milk and a bit of butter for a similar effect in a pinch.
How do I keep the bars from sticking when slicing?
The secret is chilling the bars thoroughly and using a sharp knife lightly coated with nonstick spray or oil. Wipe the blade clean between cuts for the neatest slices and the prettiest presentation.
Final Thoughts
There’s something magic about how Samoa Cookie Bars bring together coconut, caramel, chocolate, and buttery crust in perfect harmony—and how easily they disappear at any gathering! Whether you’re reliving childhood memories or simply in search of your next crowd-pleasing treat, give these bars a try. Your kitchen will smell incredible, and your friends and family will thank you for every decadent bite!
Print
Samoa Cookie Bars Recipe
- Total Time: 50 minutes
- Yield: 24 bars 1x
- Diet: Vegetarian
Description
Indulge in the rich flavors of these Samoa Cookie Bars that combine buttery shortbread crust, chewy caramel-coconut filling, and a decadent chocolate drizzle. A delightful twist on the classic Girl Scout cookie!
Ingredients
Shortbread Crust:
- 1 cup unsalted butter, softened
- 1/2 cup granulated sugar
- 2 cups all-purpose flour
- 1/4 teaspoon salt
Caramel-Coconut Filling:
- 3 cups sweetened shredded coconut
- 12 ounces chewy caramels, unwrapped
- 3 tablespoons heavy cream
- 1/2 teaspoon vanilla extract
- 1/4 teaspoon salt
Chocolate Drizzle:
- 1 1/2 cups semisweet chocolate chips
Instructions
- Preheat and Prepare: Preheat oven to 350°F and line a 9×13-inch baking pan with parchment paper.
- Make the Crust: Beat butter and sugar until fluffy, then mix in flour and salt. Press into pan and bake until golden.
- Toast Coconut: Spread coconut on a baking sheet and toast until golden.
- Prepare Caramel: Melt caramels with cream, vanilla, and salt, then mix in toasted coconut.
- Assemble: Spread caramel-coconut mixture over crust.
- Add Chocolate: Melt chocolate and drizzle over bars. Chill to set, then slice and serve.
Notes
- For easier slicing, chill bars until firm and use a sharp, nonstick-coated knife.
- Store in an airtight container at room temperature for up to 3 days or in the refrigerator for up to 1 week.
- Prep Time: 20 minutes
- Cook Time: 30 minutes
- Category: Dessert
- Method: Baking
- Cuisine: American
Nutrition
- Serving Size: 1 bar
- Calories: 250
- Sugar: 20 g
- Sodium: 105 mg
- Fat: 14 g
- Saturated Fat: 9 g
- Unsaturated Fat: 4 g
- Trans Fat: 0 g
- Carbohydrates: 30 g
- Fiber: 2 g
- Protein: 2 g
- Cholesterol: 20 mg


