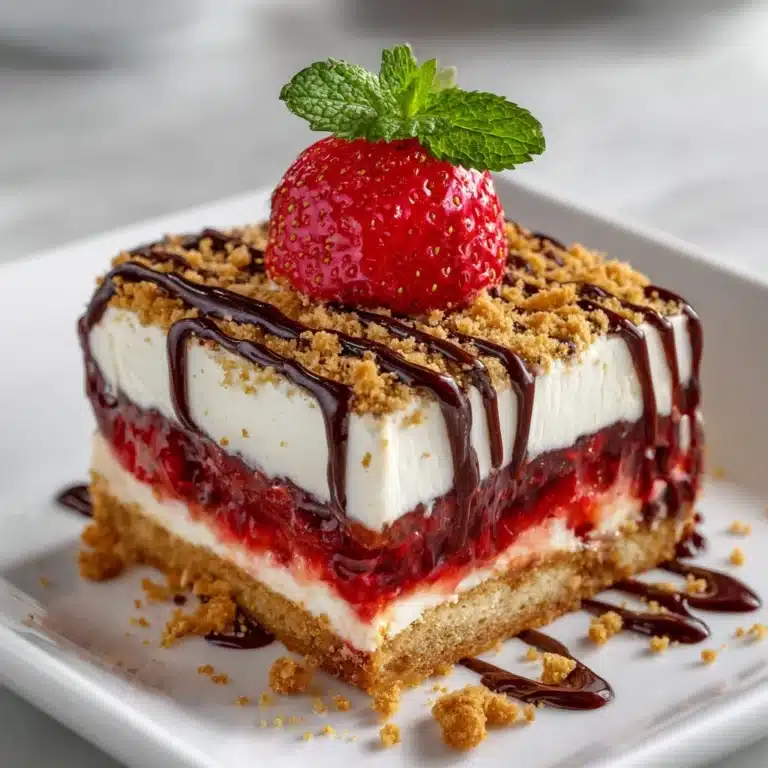
Cherry Hand Pies Recipe
If you’re longing for a dessert that’s charming, portable, and absolutely packed with fruity flavor, meet your new go-to treat: Cherry Hand Pies. These irresistible little pastries are the perfect marriage of flaky crust and a bursting, jammy cherry filling. Whether you’re baking for a summer picnic, a cozy gathering, or just treating yourself, Cherry Hand Pies always deliver a bite-sized moment of pure joy you’ll want to savor again and again.

Ingredients You’ll Need
-
For the Cherry Filling:
- 2 cups fresh or frozen cherries, pitted and halved
- 1/3 cup granulated sugar
- 1 tablespoon cornstarch
- 1 tablespoon lemon juice
- 1/2 teaspoon vanilla extract
For the Hand Pies:
- 1 package (2 sheets) refrigerated or homemade pie dough
- 1 egg (beaten, for egg wash)
- 1 tablespoon coarse sugar (optional, for topping)
How to Make Cherry Hand Pies
Step 1: Prepare the Cherry Filling
Start by combining your cherries, sugar, cornstarch, lemon juice, and vanilla extract in a saucepan. Cook this mixture over medium heat, stirring frequently, for about 5 to 7 minutes. You’ll notice the fruit breaking down, the liquid turning beautifully glossy, and the scent becoming irresistible. Once the filling thickens and the cherries just begin to soften, take the pan off the heat and let it cool—this helps the filling set, preventing leaking later.
Step 2: Shape the Dough
On a lightly floured surface, roll out your pie dough until it’s even and smooth. Use a biscuit cutter, glass, or sharp knife to cut out rounds or rectangles, about 4 to 5 inches across. Try to keep them uniform so your Cherry Hand Pies will bake up evenly and look extra tempting together.
Step 3: Assemble the Hand Pies
Spoon a heaping tablespoon of that luscious cherry filling onto the center of each dough piece, being careful not to overfill. Fold the dough over the filling to create a compact pocket, then press the edges with a fork to seal tightly—this keeps all that cherry goodness locked inside. Arrange your pies on a lined baking sheet as you go.
Step 4: Finish and Bake
Brush the tops generously with the beaten egg for a glossy, golden finish. If you love a little crunch and sparkle, sprinkle coarse sugar over each pie. Don’t forget to cut a small slit or two in the tops—this helps steam escape and ensures your crust turns out flaky, not soggy. Bake at 375°F for 20 to 25 minutes, until your Cherry Hand Pies are deeply golden and crisp.
Step 5: Cool and Enjoy
Once they’re done, let the hand pies cool on the baking sheet for a few minutes. The filling will be piping hot, and giving them a little time means you’ll enjoy the perfect texture and flavor with every bite. Serve them slightly warm, and get ready for oohs and aahs!
How to Serve Cherry Hand Pies

Garnishes
You can elevate every bite by dusting your Cherry Hand Pies with powdered sugar or drizzling a simple vanilla glaze over the tops. For an extra special finishing touch, I love to add a scoop of vanilla ice cream on the side—the combination of cold and warm is pure happiness.
Side Dishes
Pair your Cherry Hand Pies with a handful of fresh summer berries, a dollop of whipped cream, or even a bowl of tangy Greek yogurt for a playful contrast to the sweet, buttery pies. If you’re serving a crowd, an assortment of mini hand pies with different fillings can be a show-stopping dessert platter.
Creative Ways to Present
Cherry Hand Pies are made for creativity! Tuck them into waxed paper for a nostalgic bake sale feel, stack them in a basket for a rustic picnic, or even package them up as sweet party favors. For brunch, try serving hand pies on a wooden board with coffee and fruit—don’t be surprised if they steal the spotlight.
Make Ahead and Storage
Storing Leftovers
If you have a few Cherry Hand Pies left (which is saying something!), keep them fresh by storing in an airtight container at room temperature for up to two days. To extend freshness, you can also refrigerate them—just allow them to come to room temperature or gently reheat before enjoying.
Freezing
To freeze, let the hand pies cool completely first. Stack them between layers of parchment in an airtight container or freezer-safe bag. They’ll keep beautifully for up to two months. When cherry cravings strike, just remove as many as you’d like and reheat as needed.
Reheating
To bring back that fresh-baked magic, warm your Cherry Hand Pies in a 300°F oven for about 8 to 10 minutes. This revives the flaky crust and makes the filling wonderfully gooey again. Microwaving works in a pinch, though the crust will be less crisp.
FAQs
Can I use canned cherry pie filling instead of making the filling from scratch?
Absolutely! If you’re short on time, canned or store-bought cherry pie filling makes a super easy shortcut. The taste won’t be quite as vibrant as homemade, but the end result is still a batch of delicious Cherry Hand Pies.
What’s the secret to flaky hand pie crust?
Whether you’re using store-bought or homemade dough, the trick is to keep everything as cold as possible. If your kitchen is warm, chill the dough between steps, and don’t overwork it so you get those layers of flakiness every time.
Can I make other flavors with this recipe?
Yes! This base recipe is a springboard for creativity—try blueberries, apples, or even peach as the filling to create different hand pie variations. Just be mindful to adjust sugar and thickener amounts as needed for each fruit.
Do Cherry Hand Pies have to be served warm?
They are lovely warm, but just as tasty at room temperature. The crust stays crisp and the filling still delivers that irresistible cherry flavor, making them perfect for potlucks, lunchboxes, or anytime snacking.
Can I freeze unbaked hand pies?
You sure can! Assemble your Cherry Hand Pies, freeze them on a tray until solid, then store in a freezer bag. Bake straight from frozen, adding a few extra minutes to the baking time—you’ll get fresh pies with zero last-minute fuss.
Final Thoughts
There’s nothing quite like the simple, nostalgic pleasure of Cherry Hand Pies. Every batch is a celebration of classic flavors, gorgeous colors, and the pure fun of eating with your hands. I can’t wait for you to try these—get ready for a new favorite treat that will charm absolutely everyone who takes a bite!
Print
Cherry Hand Pies Recipe
- Total Time: 45 minutes
- Yield: 8 hand pies 1x
- Diet: Vegetarian
Description
These Cherry Hand Pies are a delightful treat that combines the sweet-tart flavor of cherries with buttery, flaky pastry. Perfect for a portable dessert or snack!
Ingredients
For the Cherry Filling:
- 2 cups fresh or frozen cherries, pitted and halved
- 1/3 cup granulated sugar
- 1 tablespoon cornstarch
- 1 tablespoon lemon juice
- 1/2 teaspoon vanilla extract
For the Hand Pies:
- 1 package (2 sheets) refrigerated or homemade pie dough
- 1 egg (beaten, for egg wash)
- 1 tablespoon coarse sugar (optional, for topping)
Instructions
- Preheat the oven and prepare the cherry filling: In a saucepan, cook cherries, sugar, cornstarch, lemon juice, and vanilla until thickened. Let cool.
- Prepare the dough and assemble the hand pies: Roll out the pie dough, cut into rounds, add cherry filling, fold, seal, and place on a baking sheet.
- Bake the hand pies: Brush with egg wash, sprinkle with sugar, and bake until golden brown and crisp.
- Serve: Let cool slightly before enjoying!
Notes
- You can use store-bought cherry pie filling as a shortcut.
- These pies are delicious served warm with a scoop of vanilla ice cream.
- Store leftovers in an airtight container at room temperature for 2 days or refrigerate for longer freshness.
- Prep Time: 20 minutes
- Cook Time: 25 minutes
- Category: Dessert
- Method: Baking
- Cuisine: American
Nutrition
- Serving Size: 1 hand pie
- Calories: 210
- Sugar: 11g
- Sodium: 160mg
- Fat: 11g
- Saturated Fat: 4g
- Unsaturated Fat: 6g
- Trans Fat: 0g
- Carbohydrates: 26g
- Fiber: 1g
- Protein: 2g
- Cholesterol: 25mg


