Twinkie Cake Recipe
Twinkie Cake is the nostalgic, crowd-pleasing dessert that brings all the joy and whimsy of your favorite snack cakes into a sweet, sky-high treat. Each luscious layer—pillowy Twinkies, velvety cream cheese, bright crushed pineapple, and jewel-like cherry pie filling—melds together into a slice of pure happiness. This no-bake Twinkie Cake is effortless to whip up, perfect for potlucks or birthday parties, and just downright irresistible from the first dreamy bite to the last crumb.
Ingredients You’ll Need
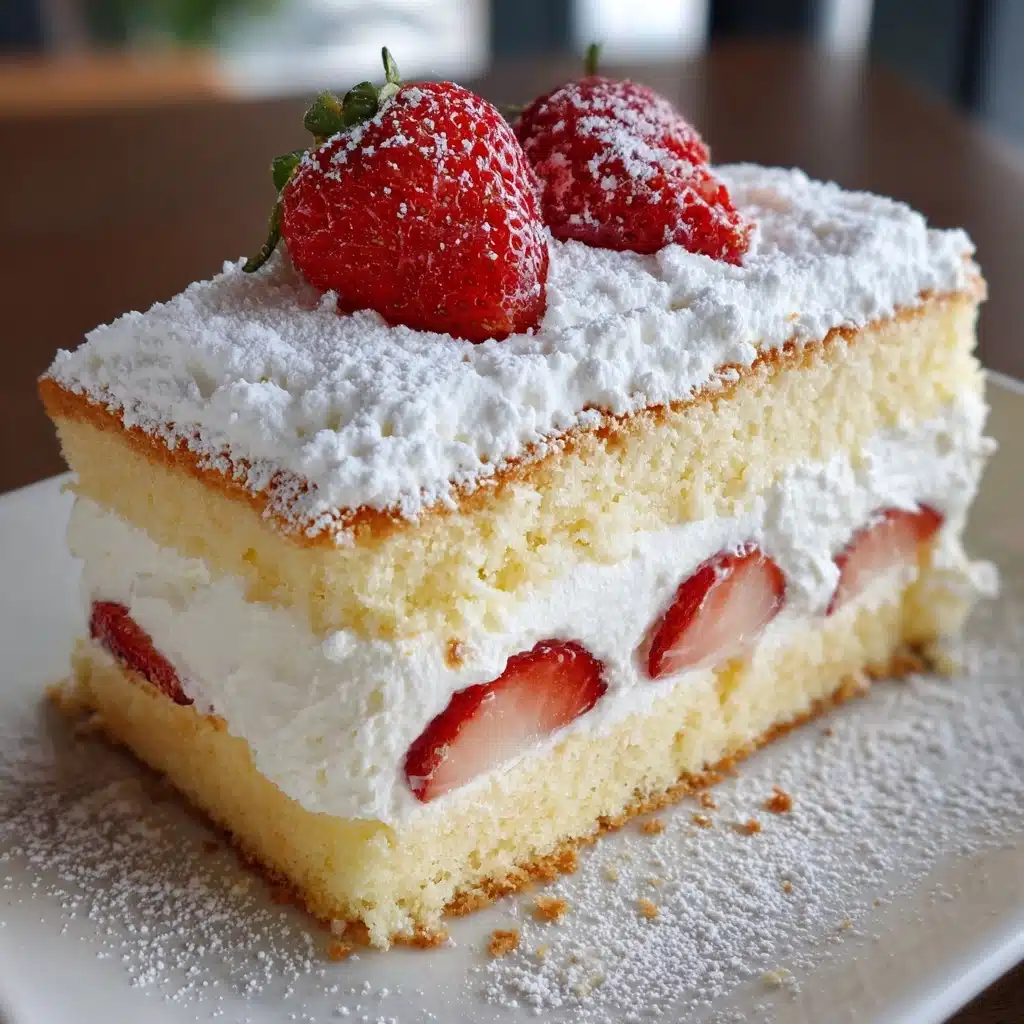
Ingredients You’ll Need
You only need a handful of ingredients to pull off this showstopper, and each one plays a starring role in the overall flavor and texture. The ingredients are simple enough to keep things easy, but when layered together, they create a dessert with creaminess, tang, and a punch of sweet fruitiness.
- Twinkies: These classic snack cakes form the fluffy, buttery base and give the cake its signature taste.
- Cream cheese (softened): Offers essential tang and creaminess that balances all the sweetness beautifully.
- Sweetened condensed milk: Brings a silky texture and lovely, caramelly sweetness to the creamy layer.
- Frozen whipped topping (thawed): Lightens the cream cheese mixture for a mousse-like consistency that’s so satisfying.
- Crushed pineapple (drained): Adds juicy, bright, tropical flavor that keeps things from being cloying.
- Cherry pie filling: Makes a glossy, ruby-red top layer to finish the Twinkie Cake with just the right tart note and lots of visual flair.
How to Make Twinkie Cake
Step 1: Prepare the Twinkie Layer
Start by carefully slicing each Twinkie in half lengthwise. Arrange the halved Twinkies, cream-side up, in a single snug layer on the bottom of your 9×13-inch baking dish. This creates a sweet, spongy foundation for the whole dessert and lets every slice showcase that familiar golden cake.
Step 2: Make the Creamy Filling
In a large mixing bowl, beat the softened cream cheese until it’s completely smooth and lump-free. Pour in the sweetened condensed milk, blending until the mixture is glossy, creamy, and well-combined. Finally, gently fold in the thawed whipped topping, lifting and swirling until everything is fluffy and fully incorporated.
Step 3: Layer the Cream Over the Twinkies
Once your dreamy cream filling is ready, smooth it evenly over your Twinkie base. Aim for an even layer that covers every bit of cake—this ensures each forkful gets the full Twinkie Cake experience with a hit of luscious filling in every bite.
Step 4: Add the Pineapple Layer
Spoon the well-drained crushed pineapple across the cream layer, spreading it out to the edges. The fruit brings a juicy, slightly tart burst that keeps the cake bright and all the more crave-worthy, not to mention adding a sunny flash of color.
Step 5: Finish with Cherry Pie Filling
Carefully dollop and spread the cherry pie filling over the pineapple layer. Work with a gentle hand so each layer stays defined, creating a beautiful, sweet-tart topping that completely transforms the look (and the taste) of your Twinkie Cake.
Step 6: Chill to Perfection
Cover the pan with plastic wrap and refrigerate your Twinkie Cake for at least 4 hours—overnight is even better. The chilling time is key for setting the layers, melding flavors, and making slicing a total breeze.
How to Serve Twinkie Cake
Garnishes
If you’re feeling a little extra, try topping your Twinkie Cake slices with a dollop of whipped cream, a few maraschino cherries, or a scattering of toasted coconut. The extra flourishes make each piece feel like a celebration and add a playful flair that everyone will love.
Side Dishes
While Twinkie Cake is a statement all on its own, pairing it with a fresh fruit salad or a scoop of vanilla ice cream is a match made in dessert heaven. The cool, creamy texture pairs well with tangy fruits, or you can keep things classic with a simple latte or cup of coffee on the side.
Creative Ways to Present
For an eye-catching presentation, layer the ingredients in individual mason jars or parfait glasses—perfect for parties or picnics! You can also cut the finished cake into mini squares for a finger-food dessert platter, or try swapping in different pie fillings, like blueberry or strawberry, for a new color palette at every gathering.
Make Ahead and Storage
Storing Leftovers
Twinkie Cake keeps best when stored covered in the refrigerator. Simply wrap the baking dish tightly with plastic wrap or transfer slices to an airtight container. It will stay fresh, flavorful, and most delicious for up to 2-3 days. Beyond that, the cake layers may start to soften a little too much, but the flavors will still be delightful.
Freezing
Freezing Twinkie Cake isn’t generally recommended, as the creamy and fruity layers can separate and affect the texture once thawed. If you do need to freeze it, place individual, well-wrapped portions in a freezer-safe container and eat within a month, allowing slices to fully thaw in the refrigerator before enjoying.
Reheating
No reheating is needed (or recommended!) for this chilled dessert. Twinkie Cake is best served straight from the fridge, icy cold and firm—just slice and enjoy. If it’s been frozen, let it thaw gently in the refrigerator before serving to maintain its luscious, layered texture.
FAQs
Can I use homemade whipped cream instead of frozen whipped topping?
Absolutely! Homemade whipped cream makes this Twinkie Cake even lighter and less sweet. Just whip about 1 1/2 cups heavy cream with a tablespoon or two of sugar until soft peaks form, then fold it into the cream cheese mixture.
Is there a good substitute for Twinkies?
If you can’t find Twinkies where you are, yellow sponge cakes or ladyfingers will work in a pinch. You lose a bit of the signature Twinkie flavor, but the cake still ends up fluffy, moist, and deliciously layered.
Can I swap out the cherry pie filling?
Definitely! Blueberry pie filling or strawberry pie filling both add beautiful color and delicious variations. Feel free to tailor the top layer to your own fruit preferences or what’s in your pantry.
How long does it take for the layers to set?
Twinkie Cake should chill for at least 4 hours, though overnight gives even better results. The extra time allows the layers to meld and stiffen, making it easier to slice and serve clean pieces.
Is Twinkie Cake suitable for a make-ahead dessert?
Yes, it’s a superstar for making ahead! You can assemble the cake a day before your party or family dinner, pop it in the fridge overnight, and it will be at its best and ready to enjoy the next day.
Final Thoughts
If you’re searching for a no-fuss, smile-inducing treat, you absolutely have to try making Twinkie Cake. It’s pure dessert nostalgia layered with joy, perfect for sharing with friends and family, and almost guaranteed to become a new favorite. Don’t be surprised if you find yourself going back for seconds!
Print
Twinkie Cake Recipe
- Total Time: 4 hours 15 minutes (includes chilling)
- Yield: 12 servings 1x
- Diet: Vegetarian
Description
Indulge in the nostalgia of a beloved childhood treat with this Twinkie Cake recipe. Layers of creamy goodness atop sliced Twinkies, topped with fruity delights, make for a dessert that’s sure to impress at any gathering.
Ingredients
Twinkie Layer:
- 10 Twinkies
Cream Mixture:
- 1 (8-ounce) package cream cheese (softened)
- 1 (14-ounce) can sweetened condensed milk
- 1 (12-ounce) container frozen whipped topping (thawed)
Fruit Layers:
- 1 (20-ounce) can crushed pineapple (drained)
- 1 (21-ounce) can cherry pie filling
Instructions
- Prepare Twinkie Layer: Slice Twinkies in half lengthwise and arrange them cream-side up in a 9×13-inch baking dish.
- Make Cream Mixture: Beat softened cream cheese until smooth. Add sweetened condensed milk, mix well. Fold in whipped topping until fully incorporated.
- Layer the Cake: Spread cream mixture over Twinkie layer. Spoon drained pineapple evenly, then top with cherry pie filling.
- Chill and Serve: Refrigerate covered for at least 4 hours before serving. Best enjoyed chilled.
Notes
- You can use fresh whipped cream instead of frozen topping for a less sweet version.
- Try blueberry or strawberry pie filling for a fruity twist.
- Best consumed within 2–3 days.
- Prep Time: 15 minutes
- Cook Time: 0 minutes
- Category: Dessert
- Method: No-Bake
- Cuisine: American
Nutrition
- Serving Size: 1 slice
- Calories: 340
- Sugar: 30g
- Sodium: 220mg
- Fat: 16g
- Saturated Fat: 9g
- Unsaturated Fat: 5g
- Trans Fat: 0g
- Carbohydrates: 45g
- Fiber: 1g
- Protein: 4g
- Cholesterol: 25mg
