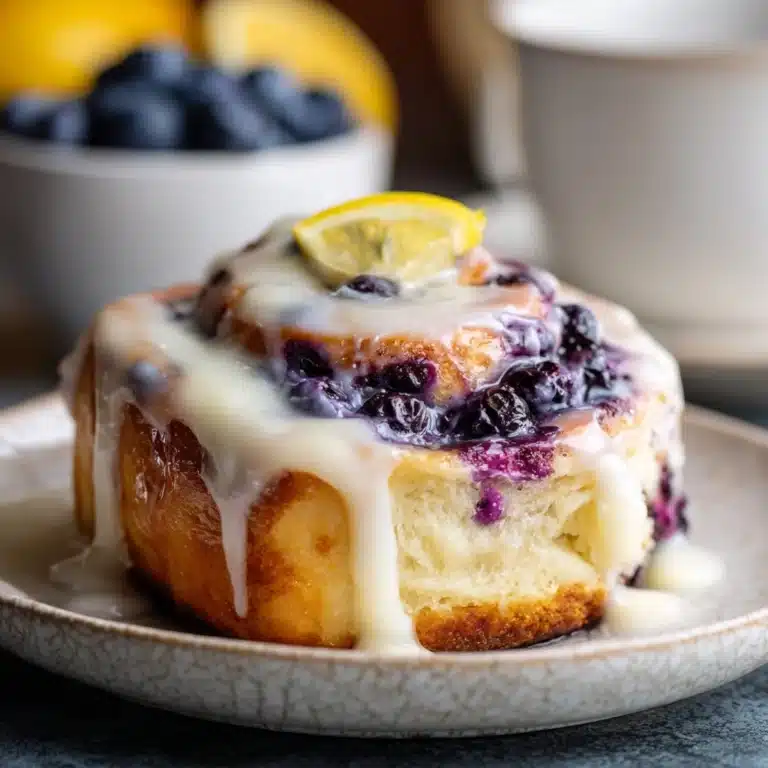
Italian Easter Cookies Recipe
Italian Easter Cookies are delightfully soft, cake-like treats that instantly brighten up any spring gathering or holiday table. Adorned with a glossy glaze and colorful sprinkles, their nostalgic charm and subtle almond-vanilla aroma make them utterly irresistible. These festive cookies bring people together year after year, and nothing feels quite as joyful as sharing homemade Italian Easter Cookies with family and friends.

Ingredients You’ll Need
Making these cookies is a breeze, thanks to a handful of classic baking staples you probably already have at home. Every ingredient plays a part in creating that beloved tender crumb and signature sweet, pastel-topped finish.
- All-purpose flour: Gives the cookies structure and softness, ensuring they bake up light and tender.
- Baking powder: Makes the cookies puff up as they bake, creating that delightful cakey texture.
- Salt: Balances the sweetness and brings out the flavors of the dough.
- Granulated sugar: Sweetens the dough and helps create a slightly crisp edge.
- Unsalted butter (softened): Adds richness and moisture for melt-in-your-mouth bites.
- Large eggs: The secret to that soft, almost brioche-like crumb; eggs bind everything together beautifully.
- Vanilla extract: Lends warmth and depth to the cookies’ flavor—don’t skip it!
- Almond extract (optional): For that classic Italian bakery touch; add it if you love a subtle almond note.
- Milk: Makes the cookies wonderfully tender and moist.
- Powdered sugar (for glaze): Gives the glaze its signature silky sweetness and smooth finish.
- Milk (for glaze): Thins out the powdered sugar for the perfect dippable consistency.
- Vanilla extract (for glaze): A splash of extra flavor right in the icing—so good!
- Multicolored sprinkles: No Italian Easter Cookies are complete without them; they add festive color and crunch.
How to Make Italian Easter Cookies
Step 1: Prepare Your Oven and Baking Sheet
Preheat your oven to 350°F and line a baking sheet with parchment paper. This simple prep step makes sure your cookies don’t stick and helps them bake evenly. It’s a small detail that guarantees picture-perfect cookies every time.
Step 2: Whisk the Dry Ingredients
In a medium bowl, whisk together the flour, baking powder, and salt. Mixing the dry ingredients separately ensures the baking powder is distributed evenly, so every cookie gets that lovely lift in the oven.
Step 3: Cream the Butter and Sugar
In a large bowl, cream together the softened butter and granulated sugar until the mixture is light and fluffy. This step is all about beating in air, which helps the Italian Easter Cookies bake up tender and soft. Don’t rush—give it a good few minutes for the best results.
Step 4: Add Eggs and Flavorings
Crack in the eggs one at a time, beating well after each addition. Stir in the vanilla extract and, if you’re using it, the almond extract. The dough will be rich and slightly satiny—exactly what you want for soft, flavorful cookies.
Step 5: Combine Wet and Dry Ingredients
Gradually add the dry mixture to the butter mixture, mixing on low until just combined. Add the milk and finish mixing until a soft, pliable dough forms—it should be slightly sticky but easy to shape.
Step 6: Shape the Cookies
Scoop out tablespoon-sized portions of dough, rolling them into 1-inch balls or stretching them into short ropes. Shape each rope into rings or simple twists—classic shapes for Italian Easter Cookies. Place each one on your prepared baking sheet, leaving space between for spreading.
Step 7: Bake
Bake for 10–12 minutes, until the bottoms are just barely golden but the tops are still pale and tender. Be careful not to overbake—these cookies are all about that soft, almost cakey bite! Let them cool completely on a wire rack before glazing.
Step 8: Glaze and Decorate
Whisk the powdered sugar, milk, and vanilla extract until you have a smooth, pourable glaze. Dip each cooled cookie top into the glaze, then set it back on the rack and quickly sprinkle with the multicolored sprinkles while the glaze is still wet. Let dry completely for that signature glossy look. If you want an extra festive touch, tint the glaze with a few drops of pastel food coloring!
How to Serve Italian Easter Cookies

Garnishes
Italian Easter Cookies truly shine when you top them with a generous shower of bright confetti sprinkles. For extra flair, you can add a light dusting of sanding sugar or even use pastel-hued glazes for a pop of color. Let your creativity (and sweet tooth) lead the way!
Side Dishes
Pair these cookies with a fresh fruit platter or a bowl of mixed spring berries to balance their sweetness. They’re also fabulous with a side of espresso, cappuccino, or a pot of fragrant herbal tea—the classic Italian way to enjoy them at your afternoon table.
Creative Ways to Present
Try stacking the glazed cookies in a pyramid on a pretty cake stand for a stunning holiday centerpiece. Or, arrange them in clear cellophane bags tied with pastel ribbons as thoughtful, homemade gifts. Italian Easter Cookies also look incredible on a vintage platter surrounded by edible flowers for a truly enchanting presentation.
Make Ahead and Storage
Storing Leftovers
Italian Easter Cookies will stay soft and fresh for up to five days when stored in an airtight container at room temperature. Just make sure the glaze has dried completely before stacking them so they don’t stick together.
Freezing
If you want to make them ahead, freeze the cookies (unglazed is best) in a single layer, then transfer to a zip-top bag or airtight container. They can be frozen for up to two months. Thaw at room temperature and glaze fresh for best results.
Reheating
You don’t need to reheat these cookies—just serve at room temperature! But if you love that just-baked feel, warm them very gently wrapped in foil for a couple of minutes at 300°F. Be careful not to melt the glaze if already glazed.
FAQs
Can I use a different extract if I don’t like almond?
Absolutely! Leave out the almond extract or swap in a little extra vanilla, lemon extract, or even a touch of orange zest to suit your personal taste. Italian Easter Cookies are wonderfully flexible with flavorings.
Do I have to make them into rings or can I use other shapes?
No rules here! Traditionally, Italian Easter Cookies are shaped as rings or twists, but you can roll them into balls, logs, or even braid ropes for fun new shapes. The dough is forgiving and holds its form well.
Can I double this recipe?
Yes—these cookies are perfect for sharing, so go ahead and double or even triple the recipe if you need a big batch for a crowd. Just make sure to bake in batches so each cookie gets enough space on the tray.
How can I tint the glaze for a more festive look?
After mixing the glaze, divide it into bowls and stir in a drop or two of pastel food coloring. Dip your cookies for a rainbow of beautiful hues—a wonderful tradition for Italian Easter Cookies!
What’s the best way to keep the glaze shiny?
The key is to let the glaze set completely at room temperature, uncovered, before stacking or storing. This way, your Italian Easter Cookies will keep their glossy, bakery-style finish that everyone loves.
Final Thoughts
Whether you’re carrying on a family tradition or baking something new this year, Italian Easter Cookies are guaranteed to lift your spirits and fill your kitchen with joy. Pour a cup of coffee, share them with someone you love, and savor every sweet, colorful bite—you might just find a new holiday favorite!
Print
Italian Easter Cookies Recipe
- Total Time: 37 minutes
- Yield: 36 cookies
- Diet: Vegetarian
Description
These Italian Easter Cookies are a delightful treat perfect for the holiday season. Soft, sweet, and glazed to perfection, these cookies are a must-have for any festive gathering.
Ingredients
Dough:
3½ cups all-purpose flour, 1 tablespoon baking powder, ½ teaspoon salt, ¾ cup granulated sugar, ½ cup unsalted butter (softened), 4 large eggs, 1 tablespoon vanilla extract, ½ teaspoon almond extract (optional), 2 tablespoons milk
For Glaze:
1½ cups powdered sugar, 2–3 tablespoons milk, ½ teaspoon vanilla extract, multicolored sprinkles
Instructions
- Preheat oven and prepare baking sheet: Preheat oven to 350°F and line a baking sheet with parchment paper.
- Mix dry ingredients: In a medium bowl, whisk together flour, baking powder, and salt.
- Cream butter and sugar: In a large bowl, cream butter and sugar until light and fluffy.
- Add eggs and flavorings: Add eggs one at a time, beating well after each addition. Stir in vanilla extract and almond extract.
- Combine wet and dry ingredients: Gradually mix in the dry ingredients until a soft dough forms.
- Shape and bake: Roll dough into 1-inch balls or ropes and shape into rings or twists. Bake for 10–12 minutes until lightly golden.
- Make glaze: Whisk together powdered sugar, milk, and vanilla extract until smooth.
- Glaze and decorate: Dip cooled cookies into the glaze, top with sprinkles, and let dry before storing.
Notes
- You can tint the glaze with pastel food coloring for a festive touch.
- Store cookies in an airtight container for up to 5 days.
- Prep Time: 25 minutes
- Cook Time: 12 minutes
- Category: Dessert
- Method: Baking
- Cuisine: Italian
Nutrition
- Serving Size: 1 cookie
- Calories: 110
- Sugar: 10g
- Sodium: 40mg
- Fat: 4g
- Saturated Fat: 2g
- Unsaturated Fat: 1g
- Trans Fat: 0g
- Carbohydrates: 17g
- Fiber: 0g
- Protein: 2g
- Cholesterol: 20mg

