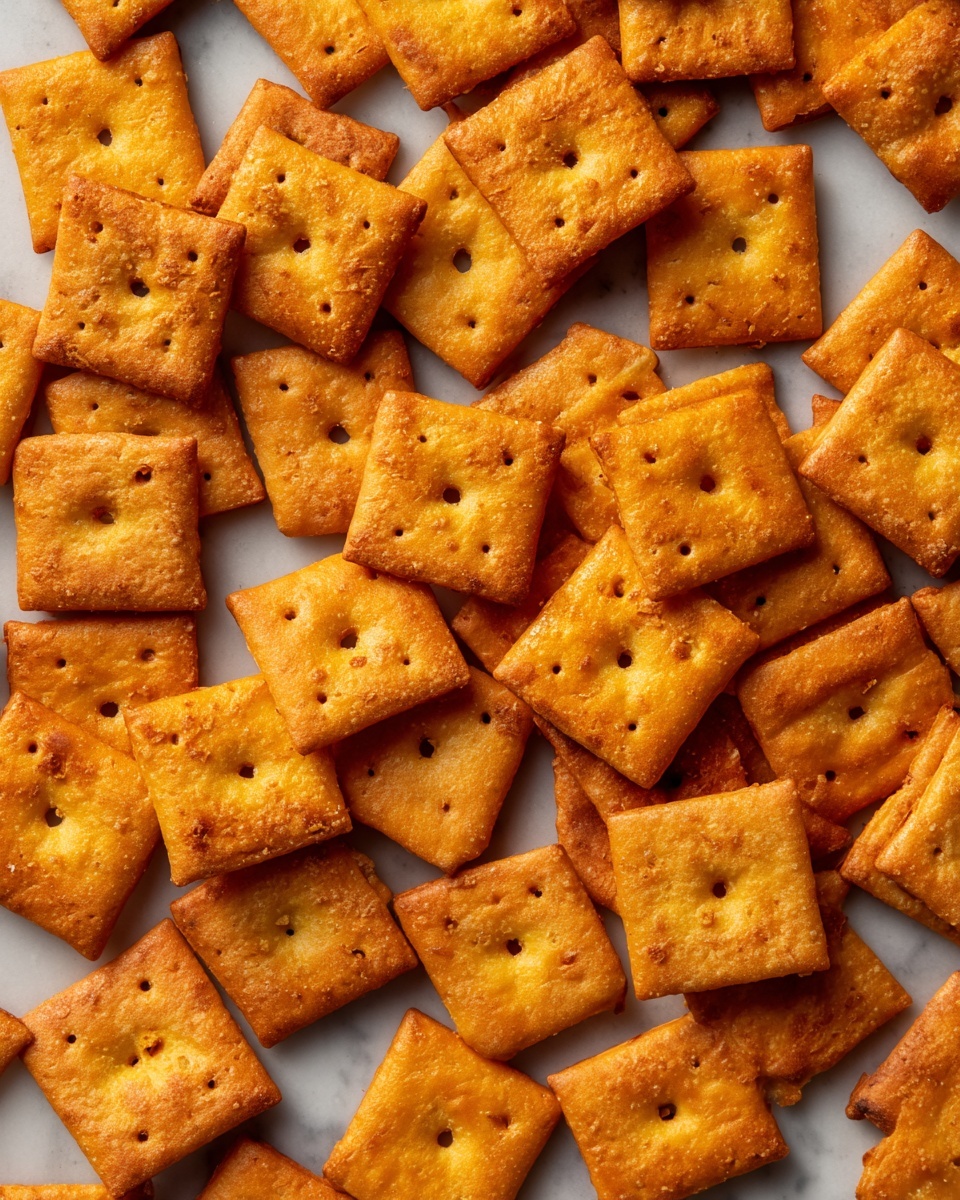
If you have ever dreamed of biting into a perfectly crispy, flavorful snack that tastes like it just came from your favorite bakery, then this Homemade Cheez-Its Recipe is going to be your new go-to. These little cheese crackers are bursting with sharp cheddar goodness, a hint of garlic and paprika for depth, and the satisfying crunch that will have you reaching for more. Making your own from scratch means you control the quality of ingredients and the flavor, creating a snack that feels both nostalgic and special. Trust me, once you try these, store-bought Cheez-Its will feel like a distant memory.
Ingredients You’ll Need
This Homemade Cheez-Its Recipe uses a handful of simple, everyday ingredients that come together to create a perfect balance of taste and texture. Each item is thoughtfully chosen to enhance the cheesy flavor and give the crackers that irresistible flakiness and crunch.
- All-purpose flour: The base that gives structure to the crackers and helps achieve that crisp bite.
- Sharp cheddar cheese: Grated fresh for maximum flavor and a punch of cheesy richness.
- Unsalted butter: Cold and cubed to add flakiness and a luscious mouthfeel without overpowering the cheese.
- Salt: Just enough to bring out the flavors without being too salty.
- Paprika: Adds a gentle warmth and a subtle smoky note that complements the cheddar perfectly.
- Garlic powder: A hint of savory depth for more complexity without overwhelming the cheesy main star.
- Cold water: Added one tablespoon at a time to help the dough come together without becoming tough.
How to Make Homemade Cheez-Its Recipe
Step 1: Prep Your Oven and Baking Sheet
Start by heating your oven to 375°F (190°C). Line a baking sheet with parchment paper to prevent sticking and make clean-up effortless. This step sets the stage for perfectly baked crackers with even heat distribution.
Step 2: Combine the Dry Ingredients and Cheese
In a food processor, pulse together the all-purpose flour, grated sharp cheddar, cold cubed butter, salt, paprika, and garlic powder. The mix should resemble coarse crumbs—this texture is key for achieving that light, flaky bite.
Step 3: Add Cold Water to Form Dough
Slowly add 2 to 3 tablespoons of cold water—one tablespoon at a time—while pulsing until the dough starts to come together into a ball. Avoid overhydrating; the dough needs to be firm but pliable, ready for rolling out.
Step 4: Roll Out the Dough
Dust your work surface lightly with flour then roll the dough out to about 1/8-inch thickness. This thinness ensures the crackers will bake up crunchy and not too chewy or dense.
Step 5: Cut into Small Squares
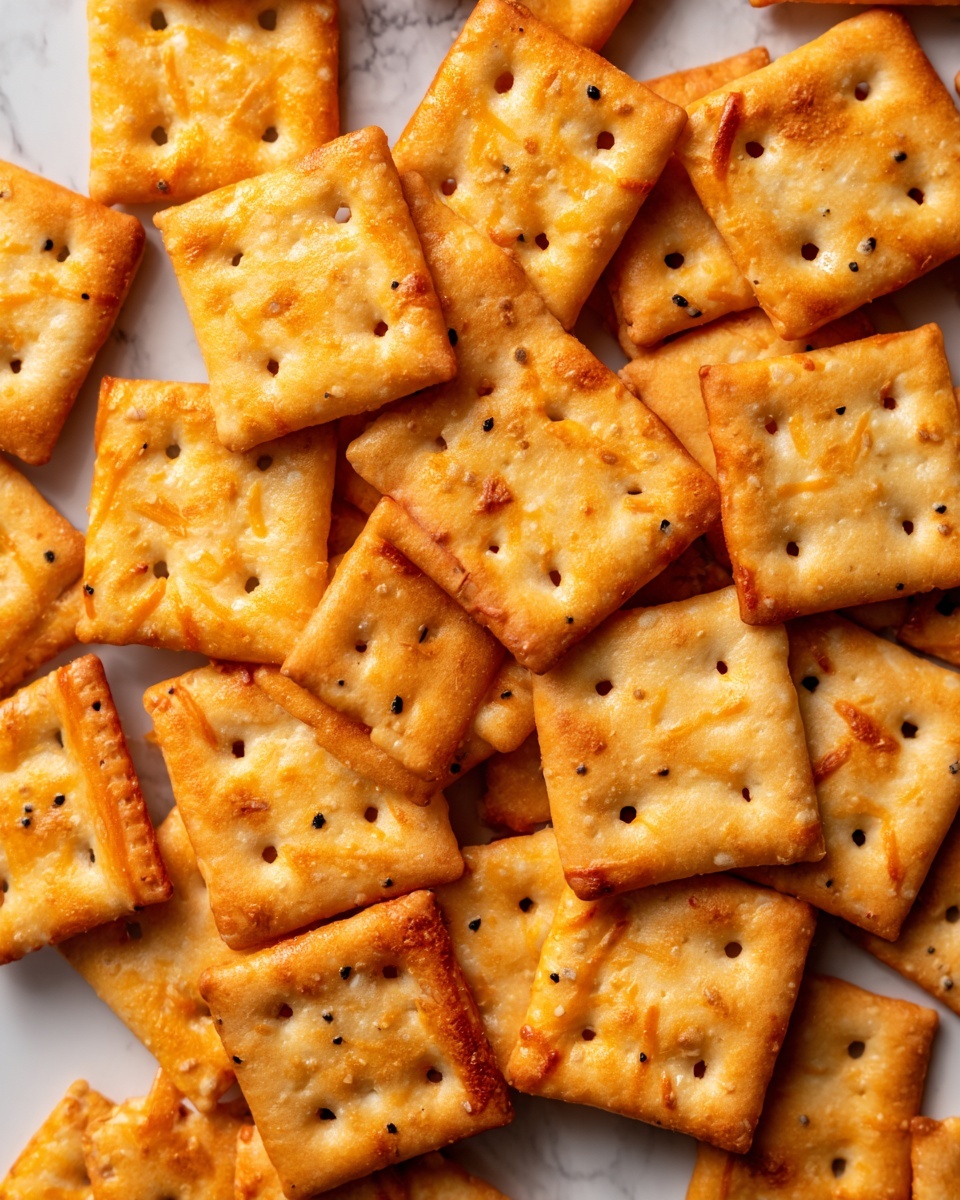
Use a small cookie cutter or a knife to slice the rolled dough into evenly sized squares, about the size of traditional Cheez-Its. Don’t forget to poke a small hole in the center of each square to mimic the classic look and help with baking evenly.
Step 6: Bake Until Golden and Crispy
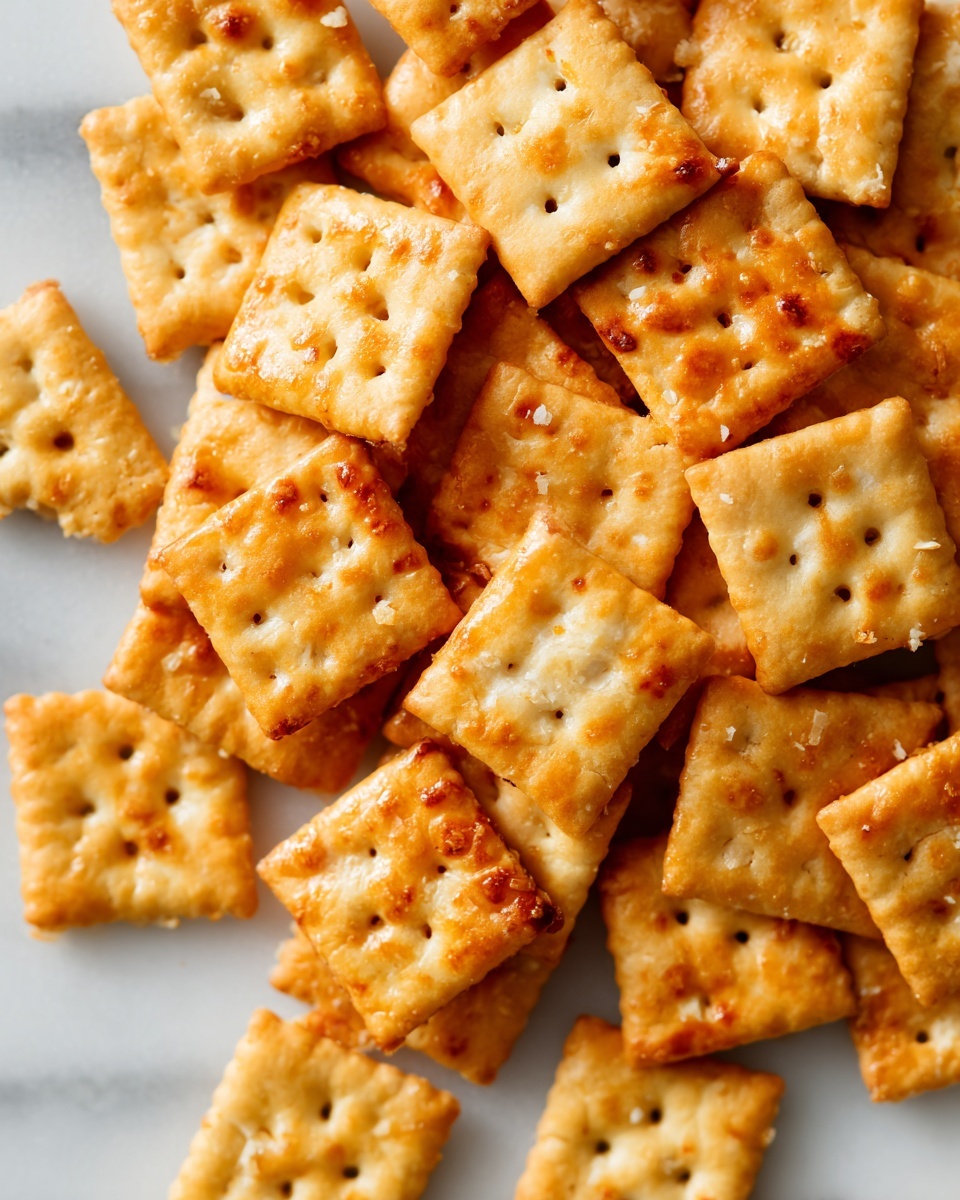
Arrange the squares on your lined baking sheet, giving them room so they don’t stick together during baking. Pop them in the oven for 12 to 15 minutes or until golden brown around the edges and crispy to the touch.
Step 7: Cool and Enjoy
Remove the crackers from the oven and let them cool completely on a wire rack. This cooling phase lets them crisp up fully so you get that satisfying snap with every bite.
How to Serve Homemade Cheez-Its Recipe
Garnishes
While these crackers are incredible on their own, you can add a sprinkle of flaky sea salt or a dash of smoked paprika for an extra hint of flavor right before serving. Fresh herbs like finely chopped chives or rosemary also make for a pretty, tasty touch that can elevate your snack game.
Side Dishes
Pair your Homemade Cheez-Its Recipe with creamy dips like ranch, guacamole, or a savory onion dip to balance their cheesy crunch. They also make fantastic accompaniments to soups and salads, adding texture and savory notes to any meal.
Creative Ways to Present
Use these crackers as a base for mini bites topped with cream cheese and smoked salmon or a slice of ripe tomato and basil. Present them on a rustic wooden board alongside olives, nuts, and cheeses for an impressive snack spread that guests will adore.
Make Ahead and Storage
Storing Leftovers
Once cooled, store your Homemade Cheez-Its Recipe in an airtight container at room temperature. They stay fresh and crispy for up to a week, making them perfect for preparing in advance for parties or snack cravings.
Freezing
If you want to keep them longer, freeze your crackers in a sealed freezer-safe container or bag. When properly stored, they can last up to three months without losing their crunch or flavor.
Reheating
To revive any slight softness after storage or freezing, pop the crackers into a preheated oven at 300°F (150°C) for 5 to 7 minutes. This brings back that freshly baked crispiness you love.
FAQs
Can I use a different type of cheese?
Absolutely! While sharp cheddar is classic, you can experiment with cheeses like Parmesan, Gruyere, or a smoky cheddar for different flavors. Just keep in mind that the texture and saltiness may change slightly.
Is a food processor necessary for this recipe?
A food processor makes combining the ingredients easier and faster, but you can also use a pastry cutter or your fingers to work the butter into the dry ingredients until crumbly, then mix in the water by hand.
How thin should I roll out the dough?
Rolling the dough to about 1/8-inch thickness is ideal. Thinner will give you extra crunch, but too thin and the crackers may burn easily; thicker can make them a bit softer.
Can I add herbs or spices to customize the flavor?
Definitely! Adding dried herbs like thyme or rosemary, or spices like cayenne pepper for heat, can personalize your Homemade Cheez-Its Recipe and make it your own special treat.
What’s the best way to store these crackers to keep them crispy?
Keep them in an airtight container at room temperature away from moisture. Avoid refrigerating as it can cause them to lose crispness and become stale faster.
Final Thoughts
Making your own Homemade Cheez-Its Recipe is such a rewarding experience—you get to savor a fresh, cheesy snack made with care and simple ingredients. The crunch, the flavor, the nostalgia all come together in these delightful crackers. I can’t wait for you to give this recipe a try and share it with your friends and family. Once you do, store-bought Cheez-Its will seem like old news!
Print
Homemade Cheez-Its Recipe
- Prep Time: 10 minutes
- Cook Time: 15 minutes
- Total Time: 25 minutes
- Yield: 4 servings (approximately 40 crackers)
- Category: Snack
- Method: Baking
- Cuisine: American
Description
These homemade Cheez-Its are crunchy, cheesy crackers made with sharp cheddar cheese and a blend of spices. Perfect for snacking, they come together quickly and bake up golden and crispy for a delightful treat that rivals store-bought versions.
Ingredients
Dry Ingredients
- 2 cups all-purpose flour
- 1/4 teaspoon salt
- 1/4 teaspoon paprika
- 1/4 teaspoon garlic powder
Wet Ingredients
- 1 1/2 cups sharp cheddar cheese, grated
- 1/4 cup unsalted butter, cold and cubed
- 2–3 tablespoons cold water
Instructions
- Preheat the oven: Preheat your oven to 375°F (190°C) and line a baking sheet with parchment paper to prevent sticking and ensure even baking.
- Mix dry ingredients and add cheese and butter: In a food processor, combine the flour, grated sharp cheddar cheese, cold cubed unsalted butter, salt, paprika, and garlic powder. Pulse until the mixture resembles coarse crumbs, which helps create a flaky texture in the crackers.
- Form the dough ball: Gradually add the cold water, one tablespoon at a time, pulsing after each addition until the dough comes together into a firm ball that is not sticky.
- Roll out the dough: On a floured surface, roll the dough out to about 1/8-inch thickness. Keeping the dough thin ensures the crackers will be crispy.
- Cut the dough into squares: Use a cookie cutter or a knife to cut the rolled dough into small squares, mimicking the classic Cheez-It shape and size.
- Bake the crackers: Place the cut squares evenly spaced on the prepared baking sheet. Bake in the preheated oven for 12-15 minutes, or until the crackers turn golden brown and crispy.
- Cool and serve: Allow the Cheez-Its to cool completely on the baking sheet before serving, so they crisp up fully and are easy to handle.
Notes
- Ensure the butter is cold to help achieve a flaky texture in the crackers.
- Adjust water quantity as needed; dough should be firm but not sticky.
- For extra flavor, you can sprinkle a little extra cheese on top before baking.
- Store cooled crackers in an airtight container to maintain crispness.
- If you prefer spicier crackers, add a pinch of cayenne pepper or chili powder.
