“`html
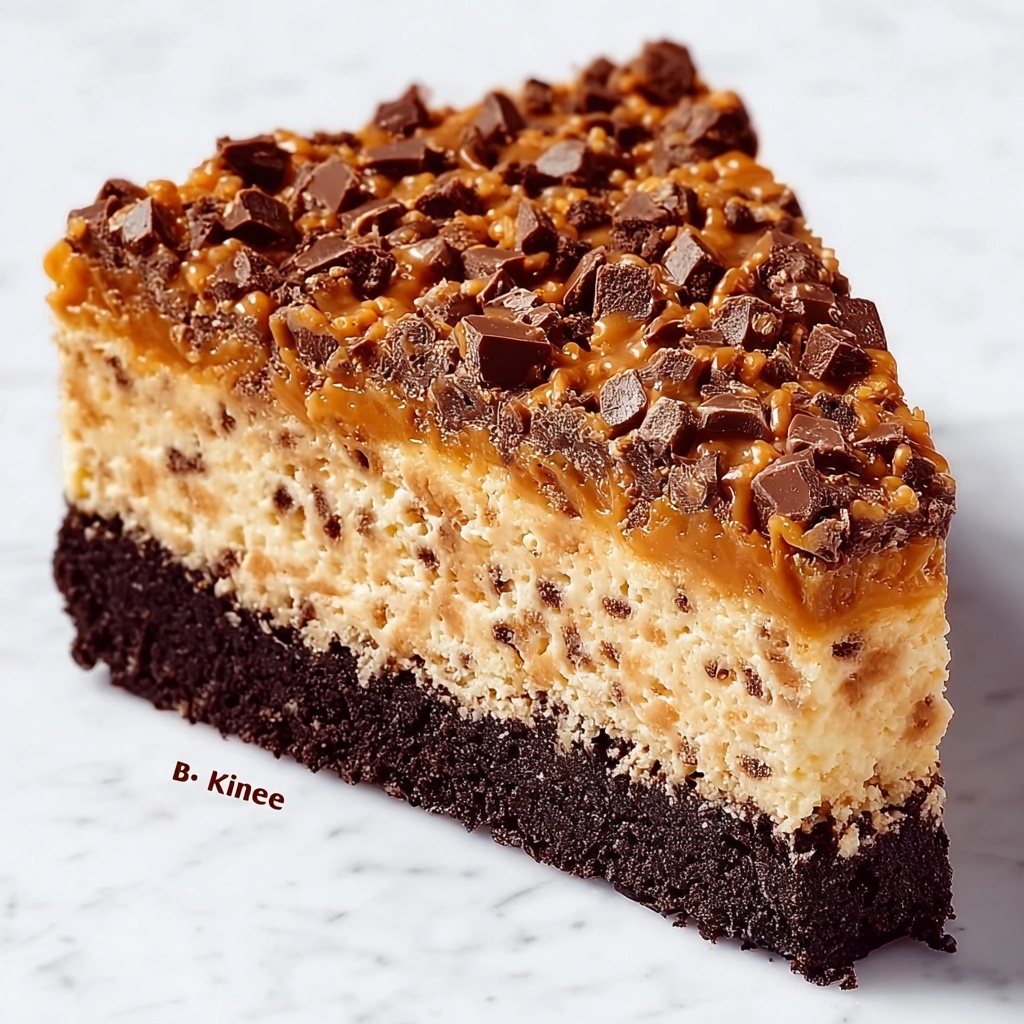
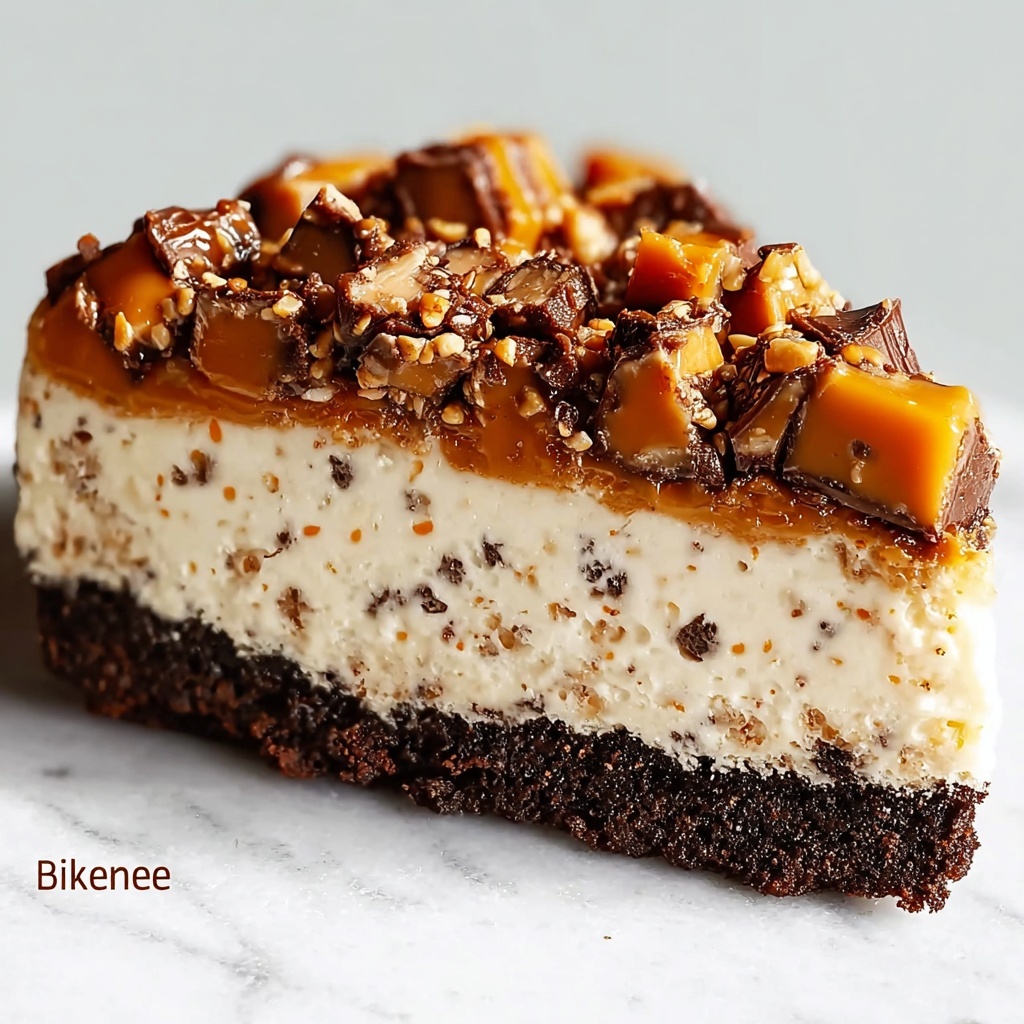
If you have a sweet tooth and love a luscious, crunchy, and peanut buttery dessert, this Butterfinger Pie (No-Bake) Recipe is going to become your new obsession. Imagine a smooth, creamy filling swirled with crushed Butterfinger bars, nestled on a buttery graham cracker crust, all coming together effortlessly without firing up the oven. This no-bake masterpiece is perfect for those moments when you want to impress with minimal fuss, delivering that irresistible Butterfinger crunch and rich flavor in every bite.

Ingredients You’ll Need
These ingredients are straightforward but essential, coming together to build layers of flavor and texture that make this pie unforgettable. Each component adds its own magic, from the crunchy crust to the silky filling and that iconic Butterfinger crunch.
- Graham cracker crumbs (1 1/2 cups): The foundation of your crust, bringing a subtle sweetness and a crisp texture.
- Granulated sugar (1/4 cup): Balances the graham cracker crumbs with just the right touch of sweetness.
- Unsalted butter, melted (1/2 cup): Helps bind the crust while adding richness and depth of flavor.
- Cream cheese, softened (8 oz): Provides that creamy, tangy base that makes the filling luxuriously smooth.
- Powdered sugar (1 cup): Sweetens the cream cheese filling perfectly without graininess.
- Whipped topping (1 cup): Lightens the filling for a fluffy and airy texture—Cool Whip works great here.
- Peanut butter (1 cup): Brings that classic peanut butter creaminess and depth that pairs brilliantly with Butterfinger.
- Heavy cream (1 cup): Adds richness and helps achieve that dreamily smooth consistency.
- Butterfinger bars (3, crushed): The star ingredient, scattered throughout and on top for that unmistakable candy bar crunch and flavor.
How to Make Butterfinger Pie (No-Bake) Recipe
Step 1: Prepare the Crust
Begin by mixing your graham cracker crumbs, granulated sugar, and melted butter until everything is perfectly combined. Press this mixture firmly into the bottom of a 9-inch pie dish to form the crust. Pop it into the fridge so it can firm up while you prepare the filling.
Step 2: Make the Creamy Filling
Using a large mixing bowl, beat the softened cream cheese and powdered sugar together until completely smooth. The secret here is patience—beat until there are no lumps left and the mixture feels silky.
Step 3: Add Peanut Butter and Cream
Next, blend in the peanut butter and heavy cream, whipping until the mixture becomes light and fluffy. This step is where the filling starts to take shape with its rich peanut butter goodness and decadent creaminess.
Step 4: Fold in Whipped Topping and Butterfinger Pieces
Gently fold in the whipped topping to keep the filling airy. Stir in most of the crushed Butterfinger bars, but hold back some for a crunchy topping that will make each slice extra special.
Step 5: Assemble and Chill
Spread the luscious filling evenly over your chilled crust, then sprinkle the reserved crushed Butterfingers on top for that perfect finishing crunch. Refrigerate the pie for at least 3 to 4 hours or overnight so the flavors meld and the filling sets to perfection.
Step 6: Serve and Enjoy
When you’re ready, slice this dreamy pie and serve chilled. Every bite promises a balance of creamy, crunchy, sweet, and nutty flavors that feel like a hug from your favorite candy bar.
How to Serve Butterfinger Pie (No-Bake) Recipe
Garnishes
Adding a bit of sparkle to your Butterfinger Pie never hurts. Try topping each slice with whipped cream rosettes, a drizzle of chocolate sauce, or even a few extra crushed Butterfinger pieces for those who just can’t get enough crunch.
Side Dishes
This pie pairs beautifully with a simple cup of coffee, a scoop of vanilla ice cream, or fresh berries to cut through the richness. These companions refresh the palate and make every bite even more indulgent.
Creative Ways to Present
For a crowd-pleaser, serve your Butterfinger Pie in individual mini mason jars layered with extra crushed candy and a dollop of whipped cream. Or create bite-sized tartlets using the same filling, perfect for parties or sharing with friends.
Make Ahead and Storage
Storing Leftovers
Store any leftover Butterfinger Pie covered tightly with plastic wrap or in an airtight container in the refrigerator. It will stay fresh and delicious for up to 3 days, maintaining its creamy texture and satisfying crunch.
Freezing
You can freeze this no-bake pie for up to 1 month. Wrap it well with foil and plastic wrap to prevent freezer burn. When you’re ready to enjoy, thaw in the refrigerator overnight for the best texture and flavor.
Reheating
This pie is best enjoyed chilled and doesn’t require reheating. Simply allow it to sit at room temperature for about 10-15 minutes if you prefer a slightly softer consistency before serving.
FAQs
Can I use a different candy instead of Butterfinger bars?
Absolutely! While Butterfinger bars give this pie its iconic crunch and peanut buttery taste, feel free to experiment with other crunchy candy bars like Heath or Skor for a similar texture and flavor twist.
Is it possible to make this pie gluten-free?
Definitely! Substitute the graham cracker crumbs with gluten-free graham crackers or gluten-free cookies to keep the crust safe for gluten-sensitive friends without sacrificing taste or texture.
Can I make the pie ahead of time for a party?
Yes, in fact, the Butterfinger Pie (No-Bake) Recipe benefits from chilling overnight. The flavors meld beautifully, and the texture becomes perfectly set, making it an excellent make-ahead dessert.
What should I do if my filling is too runny?
Make sure your cream cheese and peanut butter are well chilled and softened properly before mixing. If the filling is still too soft, chilling it a bit longer will help it firm up, or you can add a bit more powdered sugar for structure.
Can I replace the whipped topping with homemade whipped cream?
Yes! Freshly whipped heavy cream with a touch of sugar makes a fantastic alternative, adding a rich and fresh element that complements the pie just as well as store-bought whipped topping.
Final Thoughts
I truly hope you give this Butterfinger Pie (No-Bake) Recipe a try—it’s one of those desserts that feels like a celebration in every slice. Easy to make, with a dreamy texture and that unforgettable Butterfinger crunch, it’s perfect for sharing with loved ones or indulging all by yourself. Once you taste it, I guarantee it’ll be a staple in your recipe rotation!
“`
Print
Butterfinger Pie (No-Bake) Recipe
- Prep Time: 15 minutes
- Cook Time: 0 minutes
- Total Time: 3 hours 15 minutes
- Yield: 8 servings
- Category: Dessert
- Method: No-Cook
- Cuisine: American
Description
This no-bake Butterfinger Pie is a creamy, crunchy delight perfect for chocolate and peanut butter lovers. Featuring a graham cracker crust and a luscious filling made with cream cheese, peanut butter, and whipped topping, it’s finished off with crushed Butterfinger bars for the perfect texture contrast. Easy to prepare with no baking required, it’s an ideal dessert to chill and enjoy on any occasion.
Ingredients
Crust
- 1 1/2 cups graham cracker crumbs
- 1/4 cup granulated sugar
- 1/2 cup unsalted butter, melted
Filling
- 1 package (8 oz) cream cheese, softened
- 1 cup powdered sugar
- 1 cup whipped topping (like Cool Whip)
- 1 cup peanut butter
- 1 cup heavy cream
- 3 Butterfinger bars, crushed (reserve some for topping)
Instructions
- Prepare the Crust: In a medium bowl, mix together graham cracker crumbs, granulated sugar, and melted butter until the mixture is evenly combined and resembles wet sand. Press this mixture firmly into the bottom of a 9-inch pie dish to form an even crust. Place the crust in the refrigerator to set and firm up.
- Make the Filling: In a large mixing bowl, beat the softened cream cheese and powdered sugar together until the texture is smooth and creamy, ensuring no lumps remain.
- Add Peanut Butter and Cream: Add the peanut butter and heavy cream to the cream cheese mixture. Continue beating until the filling is fluffy and fully combined, creating a rich, velvety texture.
- Incorporate Whipped Topping and Butterfingers: Gently fold in the whipped topping to keep the mixture light and airy. Then stir in most of the crushed Butterfinger bars, saving some reserved pieces for the topping.
- Assemble the Pie: Spread the prepared filling evenly over the chilled graham cracker crust, smoothing the surface with a spatula.
- Top with Reserved Butterfinger Crumbs: Sprinkle the reserved crushed Butterfinger pieces evenly over the top of the pie to add a crunchy texture and enhance presentation.
- Chill to Set: Refrigerate the pie for at least 3 to 4 hours, or ideally overnight, to allow the filling to set firmly and the flavors to meld together.
- Serve: Slice the pie and serve chilled as a sweet, creamy dessert that’s perfect for any occasion.
Notes
- Ensure the cream cheese is fully softened to avoid lumps in the filling.
- You can substitute the whipped topping with freshly whipped cream for a less processed option.
- For best results, chill the pie overnight to allow it to set thoroughly.
- Store leftovers in the refrigerator covered tightly for up to 3 days.
- This recipe is not gluten-free unless gluten-free graham crackers are used.


