
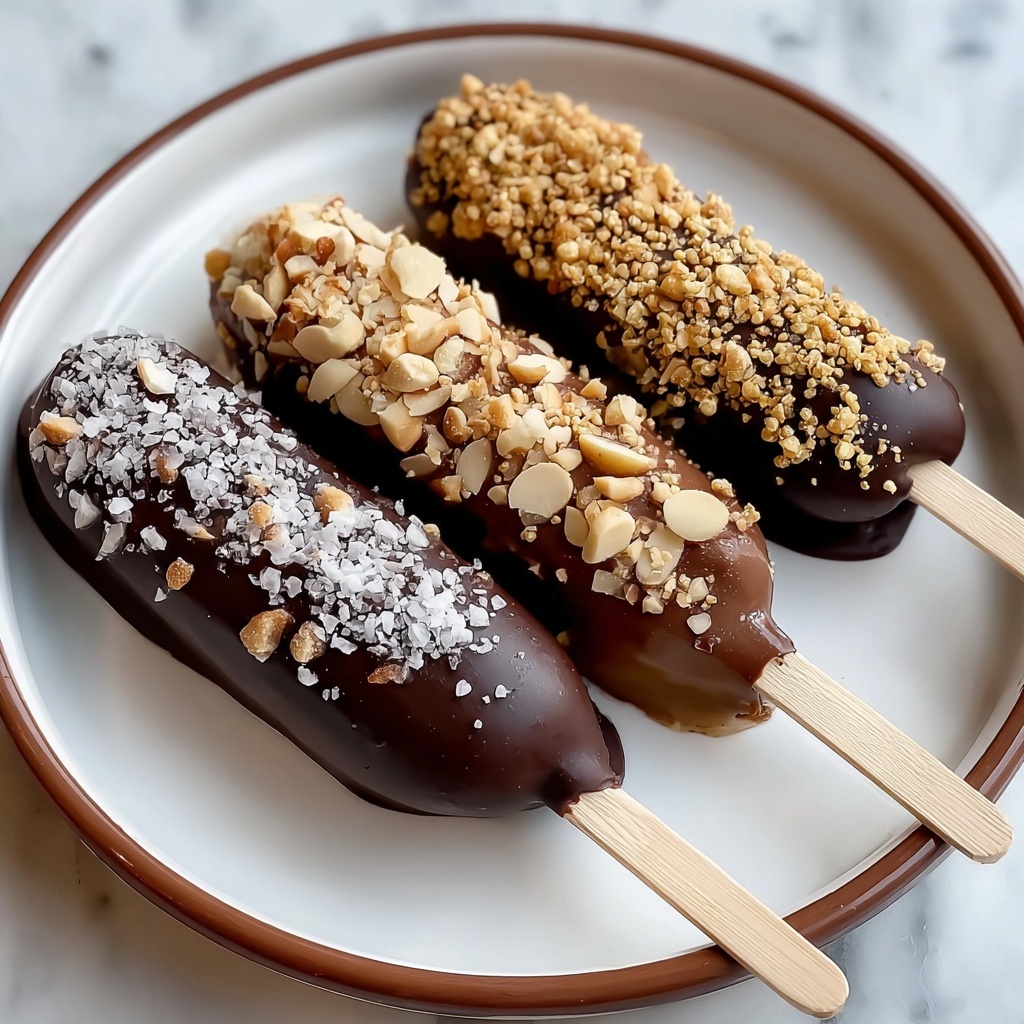
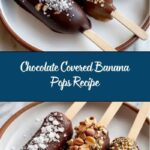
If you’re looking for a delightful treat that’s fun to make and totally satisfying, this Chocolate Covered Banana Pops Recipe is your new best friend. Picture ripe, naturally sweet bananas frozen to perfection, dipped in luscious, velvety vegan chocolate, and then showered with crunchy, flavorful toppings. It’s the perfect balance of creamy, cold, and crunchy all in one bite—a dessert that feels indulgent yet refreshingly simple. Whether you’re serving them at a summer party, handing out after-school snacks, or just craving a sweet pick-me-up, these pops are sure to bring smiles and a little chocolatey magic to any moment.
Ingredients You’ll Need
Creating these banana pops is a breeze because the ingredient list is short but essential. Each element plays its part, from the ripeness of the bananas giving natural sweetness and creaminess to the rich chocolate and the delightful crunch from the toppings.
- 6 ripe bananas: Choose ones that have some spots for sweetness but are still firm enough to hold up on the stick.
- 8 ounces chopped high-quality vegan chocolate*: Opting for quality chocolate guarantees a smooth, rich coating that’s perfectly dairy-free.
- 1 1/2 tablespoons refined coconut oil*: This helps the chocolate melt smoothly and harden with a nice sheen.
- Chopped peanuts: Adds a satisfying crunch and a nutty contrast to the sweet banana and chocolate.
- Shredded coconut: Brings a tropical flair and chewy texture to the pops.
- Granola: For a delightful, crispy bite that’s slightly hearty.
- Cacao nibs: Offers a subtle bitterness and crunch, perfect for balancing the sweetness.
- Flaky salt: A pinch on top intensifies the chocolate flavor and adds a sensational finish.
How to Make Chocolate Covered Banana Pops Recipe
Step 1: Prep Your Bananas
Start by peeling the bananas and cutting them in half evenly. Then, gently insert a popsicle stick or a wooden skewer into the flat cut side of each banana half. This will serve as a handy handle later, making these treats both fun and mess-free to eat.
Step 2: Freeze the Banana Pops
Line a baking sheet with parchment paper to keep things tidy. Arrange the prepared banana halves on the sheet with enough space between each, making sure the sticks are upright and secured. Pop them into the freezer for at least 4 hours or up to 2 days if you want to prep ahead. This freezing step ensures the bananas are firm enough to hold the chocolate coating firmly without melting too quickly.
Step 3: Melt the Chocolate
While the bananas freeze, melt your chocolate alongside the refined coconut oil which helps create a shiny and smooth coating. You can do this either in the microwave or over a double boiler.
Step 4: Melting Chocolate in the Microwave
Place the chopped chocolate and coconut oil in a microwave-safe bowl. Heat in 60-second bursts, stirring after each, and then continue in 20-second intervals to avoid burning. The goal is a perfectly melted, silky chocolate mixture that’s easy to dip your banana pops into.
Step 5: Melting Chocolate Using a Double Boiler
If you prefer a gentler heat, fill a saucepan with a bit of water and bring to a simmer. Place a heat-safe glass bowl on top (making sure it doesn’t touch the water), then add your chocolate and coconut oil. Stir frequently until completely melted and smooth. This method makes it easier to control the temperature and avoid scorching the chocolate.
Step 6: Dunk, Decorate, and Enjoy
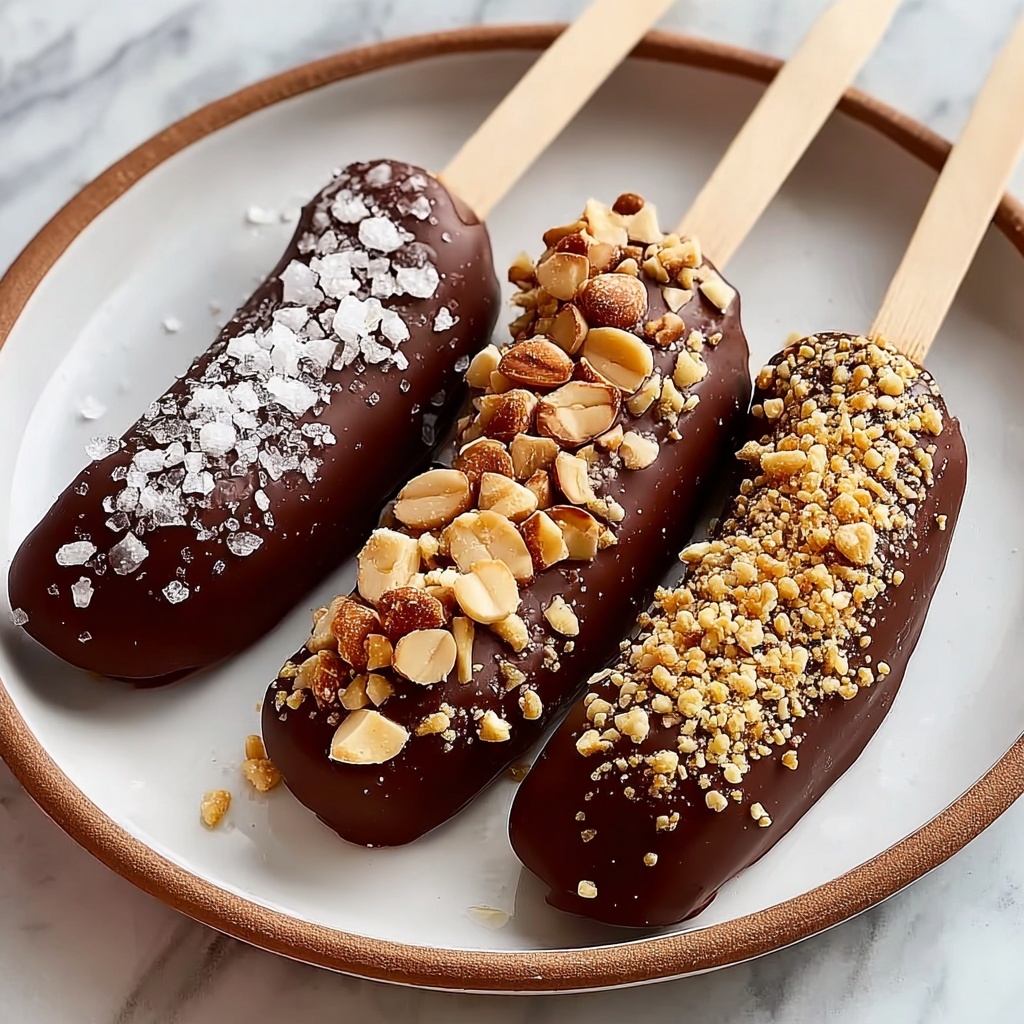
Remove your bananas from the freezer and one by one, dip them into the melted chocolate, letting any excess drip off. While the chocolate is still wet, sprinkle your chosen toppings like chopped peanuts, shredded coconut, granola, cacao nibs, and a light pinch of flaky salt for that added flavor burst. Place the finished pops back onto the parchment-lined tray to set.
How to Serve Chocolate Covered Banana Pops Recipe
Garnishes
Garnishes turn a simple dessert into an experience. The crunchy textures from peanuts, granola, and cacao nibs contrast beautifully with the creamy banana and silky chocolate. Flaky salt enhances the chocolate’s richness, making each bite complex and memorable. Feel free to mix and match according to your favorite flavors.
Side Dishes
These banana pops can stand alone as a perfect snack but also pair beautifully with light refreshments like fresh berries, a scoop of dairy-free vanilla ice cream, or a minty green salad for an unexpected twist. The freshness and simplicity keep the chocolate pops as the star.
Creative Ways to Present
Present your Chocolate Covered Banana Pops Recipe on a decorative platter lined with banana leaves or parchment paper for a rustic charm. Wrap the base of each stick with a small ribbon for parties, or stand them upright in a jar filled with colorful sprinkles or crushed nuts to create a playful ice cream bar feel. Kids and adults alike will be wowed by the thoughtfully presented treat.
Make Ahead and Storage
Storing Leftovers
If you happen to have any leftovers, simply place the pops in an airtight container lined with parchment paper to prevent sticking. Store them in the freezer and enjoy them within a week for the best texture and flavor.
Freezing
Because these banana pops are already frozen during preparation, they freeze excellently. Just keep the batch tightly covered to avoid absorption of any freezer odors. This makes it easy to whip up the recipe in advance and have a delicious dessert ready to go at any time.
Reheating
These pops are best enjoyed frozen, so reheating isn’t recommended. If they soften too much, pop them back into the freezer for a bit to regain their crunch and firmness—perfect for a refreshing treat anytime.
FAQs
Can I use regular chocolate instead of vegan chocolate?
Absolutely! Regular chocolate works just fine if you’re not strictly vegan. Just make sure it’s a good quality chocolate to get that smooth, rich coating every time.
What if I don’t have refined coconut oil? Can I use something else?
You can substitute refined coconut oil with cocoa butter or a neutral-flavored vegetable oil. The key is to keep the chocolate silky and shiny without overpowering the flavor.
Can children make this recipe with me?
Yes! This recipe is very kid-friendly. Children can help with inserting sticks, dipping bananas, and sprinkling toppings. Just be sure to supervise them when handling melted chocolate for safety.
How long do the banana pops stay good outside the freezer?
These pops are best enjoyed immediately after chocolate sets. Since bananas thaw quickly, they can become soft if left out more than 15-20 minutes, especially in warm weather.
Can I use other fruits instead of bananas?
While bananas are perfect for their sweetness and texture, you could try other sturdy fruits like strawberries or pineapple chunks on skewers for a similar chocolate-dipped treat, but freezing times and texture will vary.
Final Thoughts
This Chocolate Covered Banana Pops Recipe brings together simplicity, deliciousness, and a bit of playful fun. It’s the kind of dessert you’ll want to make again and again, whether it’s to cool down on a sunny day or to add a little excitement to your snack routine. Go ahead, give it a try, and get ready to fall in love with this easy, customizable, and truly delightful treat.
Print
Chocolate Covered Banana Pops Recipe
- Prep Time: 10 minutes
- Cook Time: 10 minutes
- Total Time: 20 minutes plus freezing time
- Yield: 12 banana pops
- Category: Dessert
- Method: Freezing and Melting (No-Cook primary method with freezing and dipping)
- Cuisine: American
- Diet: Vegan
Description
Delight in these delicious Chocolate Covered Banana Pops, a perfect frozen treat combining ripe bananas dipped in rich vegan chocolate and topped with your choice of crunchy nuts, shredded coconut, granola, cacao nibs, and a sprinkle of flaky salt. Easy to prepare and ideal for a refreshing snack or dessert, these banana pops offer a fun and healthier alternative to traditional ice cream treats.
Ingredients
Main Ingredients
- 6 ripe bananas (should have some spots, but still be firm)
- 8 ounces (225 g) chopped high-quality vegan chocolate
- 1 1/2 tablespoons refined coconut oil
Toppings (optional)
- Chopped peanuts
- Shredded coconut
- Granola
- Cacao nibs
- Flaky salt
Instructions
- Prep the Bananas: Line a baking sheet with parchment paper. Peel the bananas and cut each in half. Insert a popsicle stick or wooden skewer into the cut side of each banana half. Arrange them spaced apart on the baking sheet, then freeze for at least 4 hours or up to 2 days.
- Melt the Chocolate: Choose your preferred method to melt the vegan chocolate and coconut oil together. Either set up a double boiler by placing a glass bowl over simmering water, adding the chocolate and coconut oil and stirring frequently until melted, or use the microwave-safe bowl method by microwaving the mixture for 60 seconds, then stirring every 20 seconds until smooth.
- Dip the Bananas: Remove the frozen banana halves from the freezer. Dunk each one into the melted chocolate, allowing the excess to drip off. Immediately sprinkle your choice of optional toppings like chopped peanuts, shredded coconut, granola, cacao nibs, or flaky salt to add texture and flavor.
- Serve or Store: Enjoy the chocolate-covered banana pops immediately for a soft treat, or place them back in the freezer to harden and store for later consumption.
Notes
- Make sure bananas are ripe but firm to hold well on the sticks.
- Use refined coconut oil to avoid coconut flavor, ensuring a more neutral chocolate taste.
- Freezing bananas for the recommended time ensures they are fully frozen for dipping without melting the chocolate.
- Customize toppings to your preference—try toasted nuts or dried fruit for variety.
- Store leftover pops in an airtight container in the freezer for up to one week.