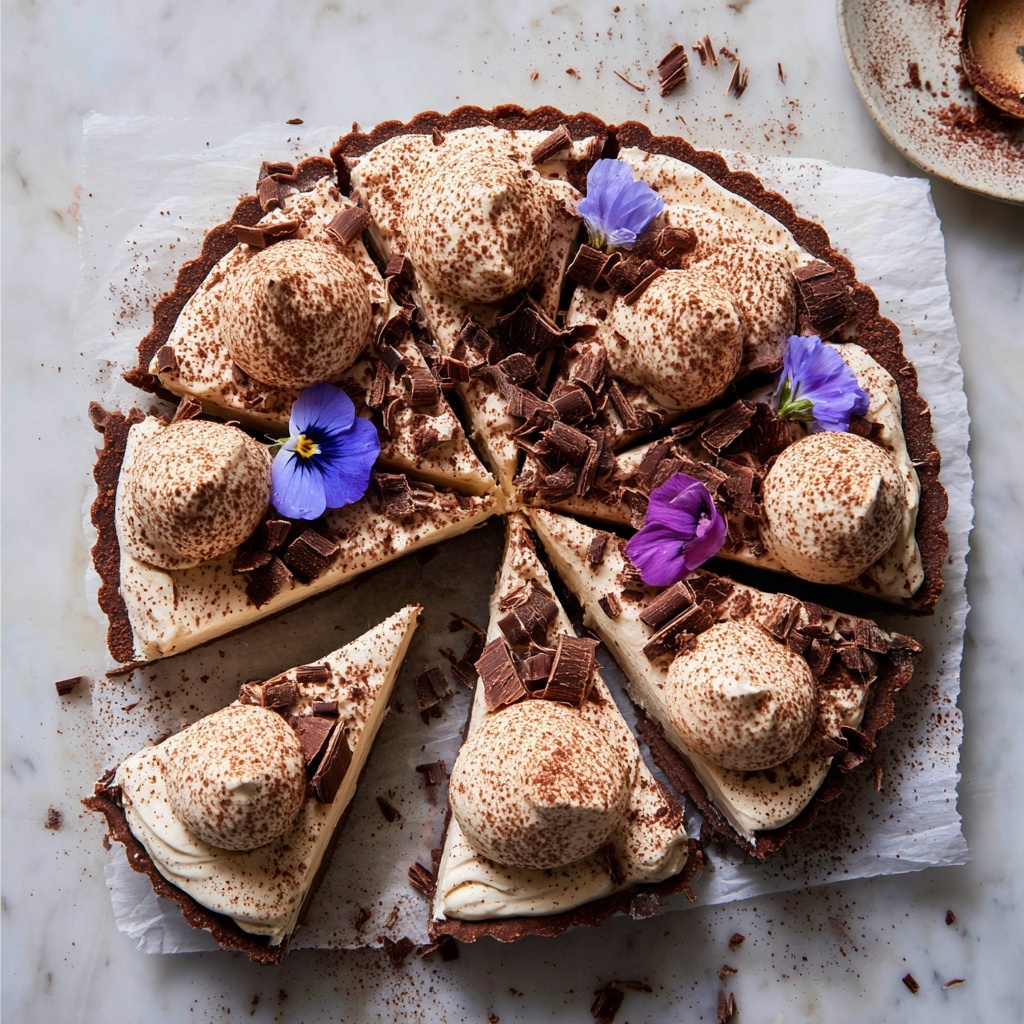
If you’ve ever dreamed of a dessert that brings back the warm comfort of grandma’s kitchen, then this Old-Fashioned Chocolate Cream Pie Recipe is your golden ticket. Rich, velvety chocolate custard nestled in a crisp pre-baked crust, topped generously with fluffy whipped cream and optional chocolate shavings—it’s a classic that never goes out of style. Every bite is a luscious blend of silky smoothness and pure chocolate delight that feels like a hug on a plate. Whether you’re baking for a special occasion or a simple family gathering, this timeless pie offers a perfect balance of indulgence and nostalgia that you and your loved ones will return to again and again.
Ingredients You’ll Need
Getting started on this pie means gathering a handful of simple yet essential ingredients. Each one plays a key role in building the luscious texture, rich chocolate flavor, and smooth finish that make the Old-Fashioned Chocolate Cream Pie Recipe so irresistible.
- Pre-baked 9-inch pie crust: Provides a buttery, crisp base that holds all the creamy filling beautifully.
- Granulated sugar (3/4 cup): Sweetens the custard just right without overpowering the chocolate.
- Unsweetened cocoa powder (1/4 cup): Adds deep, rich chocolate flavor and a gorgeous color.
- Cornstarch (1/4 cup): The secret to that perfect silky thickness in the custard.
- Salt (1/4 teaspoon): Enhances the chocolate flavor and balances the sweetness.
- Whole milk (3 cups): Creates the creamy, smooth base of the filling.
- Large egg yolks (4): Essential for richness and that velvety custard texture.
- Semi-sweet chocolate, chopped (4 ounces): Melts into the custard for intense chocolate goodness.
- Unsalted butter (2 tablespoons): Adds luscious creaminess and shine to the filling.
- Vanilla extract (1 1/2 teaspoons): Brings warmth and depth to the chocolate notes.
- Whipped cream: The perfect light topping to offset the rich filling.
- Chocolate shavings or curls (optional): For an elegant and irresistible garnish.
How to Make Old-Fashioned Chocolate Cream Pie Recipe
Step 1: Mix the Dry Ingredients
Start by whisking together the granulated sugar, unsweetened cocoa powder, cornstarch, and salt in a medium saucepan. This dry mixture is the foundation of your pie’s luscious filling and ensures the chocolate flavor is evenly distributed. It may seem simple, but this step sets the stage for the velvety custard that’s to come.
Step 2: Add the Milk and Heat Gently
Gradually whisk in the whole milk until your mixture is silky smooth with no lumps. Place the saucepan over medium heat and keep whisking constantly. Patience here is crucial—the mixture will slowly thicken and start to bubble around 7 to 10 minutes. This slow build-up is what creates the perfect creamy consistency without curdling.
Step 3: Temper the Egg Yolks
In a separate bowl, lightly beat your egg yolks. To prevent scrambling, slowly pour about half a cup of the hot milk mixture into the yolks while whisking vigorously. This tempering technique gently raises the temperature of the yolks so they blend seamlessly back into the hot custard base.
Step 4: Combine and Thicken
Pour the tempered egg yolks back into the saucepan with your hot mixture. Keep whisking constantly and cook for another 2 to 3 minutes. You’ll notice the custard thickening beautifully—this is where the magic happens and your pie filling really starts to come together.
Step 5: Finish with Chocolate, Butter, and Vanilla
Remove the saucepan from heat and quickly stir in the chopped semi-sweet chocolate, butter, and vanilla extract. The heat from the custard will melt the chocolate and butter, creating a glossy, smooth filling that is richly chocolatey with a silky mouthfeel.
Step 6: Pour, Chill, and Set
Pour the warm filling into your cooled pre-baked pie crust and smooth the surface with a spatula. Press plastic wrap directly onto the custard’s surface—this little trick stops an unwanted skin from forming. Refrigerate for at least 4 hours, or until completely set and firm to the touch.
How to Serve Old-Fashioned Chocolate Cream Pie Recipe
Garnishes
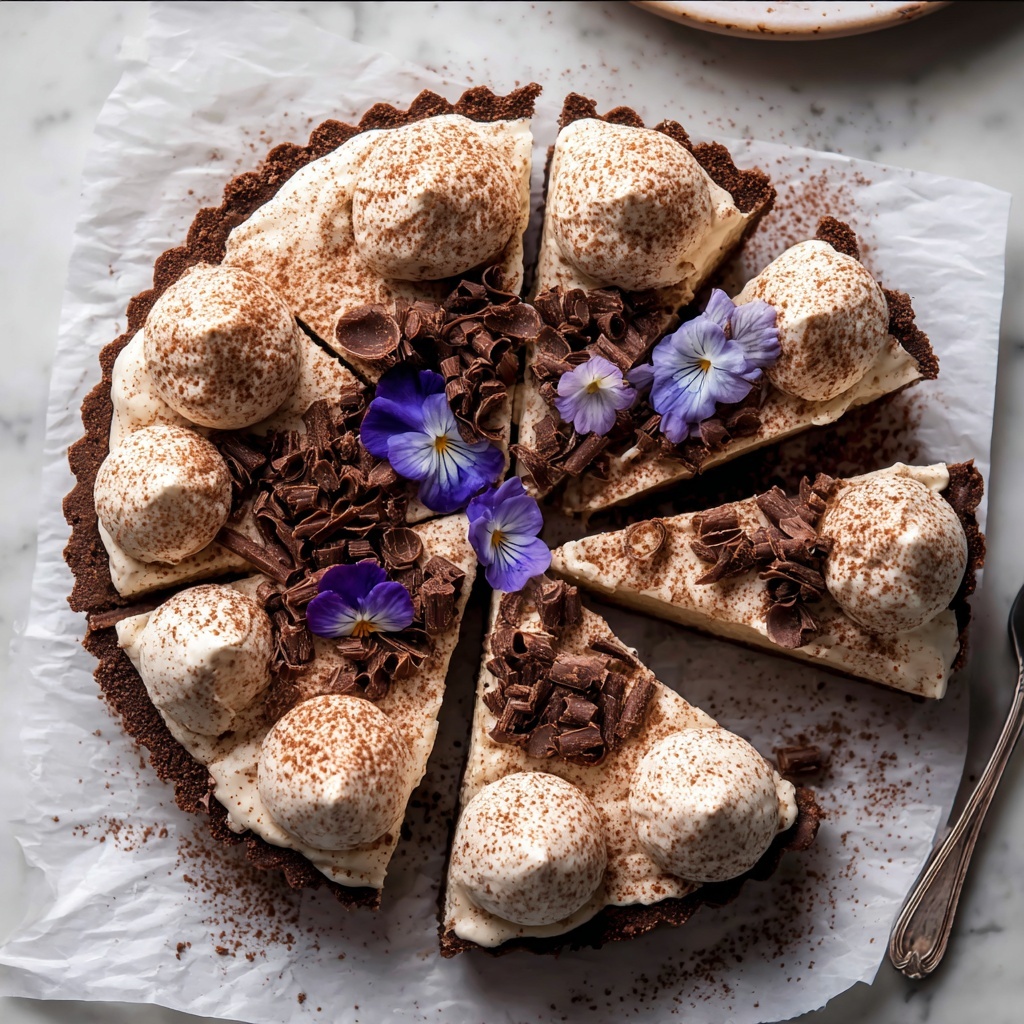
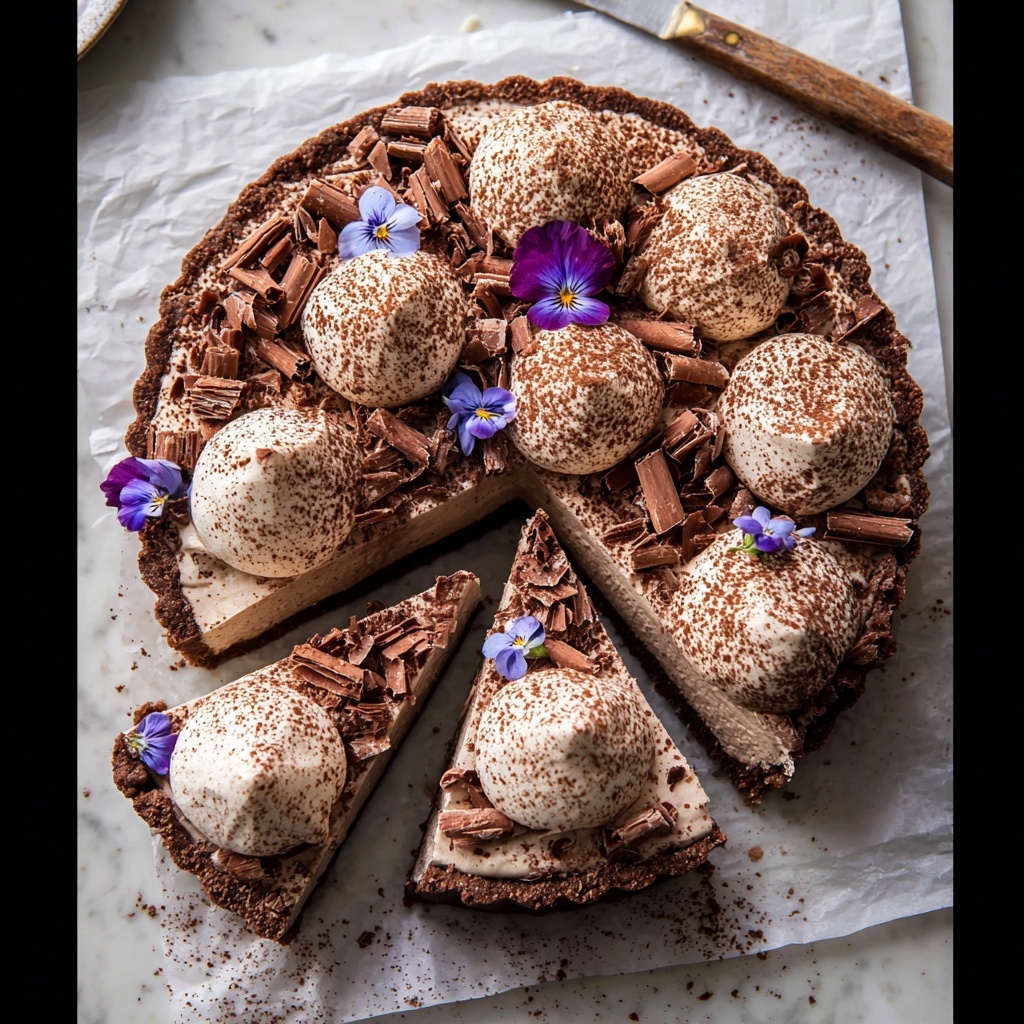
Before serving, don’t forget the finishing touches! A thick cloud of freshly whipped cream adds the perfect lightness to balance the dense chocolate custard. For an extra special look, sprinkle some chocolate shavings or curls on top. This simple garnish turns your pie into a dessert masterpiece everyone will admire before even taking a bite.
Side Dishes
This pie shines on its own but pairing it with a few simple sides can elevate your dessert experience. Fresh berries like raspberries or strawberries offer bright, tangy contrast, while a scoop of vanilla ice cream brings a creamy coolness that complements the chocolate notes beautifully.
Creative Ways to Present
Looking to jazz up your pie presentation? Serve individual slices on pretty plates garnished with a dusting of cocoa powder or a drizzle of chocolate or caramel sauce. For a charming twist, make mini chocolate cream pies in tartlet shells—perfect for parties or an elegant dessert spread.
Make Ahead and Storage
Storing Leftovers
Once your Old-Fashioned Chocolate Cream Pie Recipe is made, keep any leftovers refrigerated covered tightly with plastic wrap or stored in an airtight container. This will preserve the pie’s creamy texture and fresh flavors for up to 3 days—perfect if you want to savor every last slice.
Freezing
While freezing isn’t ideal for custard pies due to texture changes, you can freeze the pie crust separately if you want to prep in advance. To freeze the custard filling, try making it beforehand and refrigerating instead to maintain that smooth texture. If you do freeze the whole pie, expect some slight separation, so thaw slowly in the fridge and gently re-whisk the filling if needed.
Reheating
This pie is best enjoyed cold straight from the fridge. If you prefer a slightly softer texture, let the slices sit at room temperature for 10 to 15 minutes before serving. Avoid microwaving, as the custard can curdle or become grainy.
FAQs
Can I use a homemade pie crust instead of pre-baked?
Absolutely! Homemade pie crust works wonderfully and adds a lovely personal touch. Just make sure to pre-bake it fully so it remains crisp beneath the creamy filling.
What kind of chocolate is best for this pie?
Semi-sweet chocolate is perfect for balancing the sweetness of the custard, but feel free to experiment with bittersweet for a richer depth or milk chocolate for a sweeter treat.
Can I make this pie dairy-free?
Yes, by substituting whole milk and butter with plant-based alternatives like almond milk and vegan butter. Keep in mind the texture and flavor might be slightly different but still delicious.
Why do I need to press plastic wrap onto the pie filling?
This step prevents a skin from forming on the custard surface as it cools, keeping the texture perfectly smooth and creamy.
How long should I chill the pie before serving?
At least 4 hours is best to ensure the custard fully sets and slices cleanly. Overnight chilling works even better for a firmer texture.
Final Thoughts
There’s something truly special about the Old-Fashioned Chocolate Cream Pie Recipe—it’s a rich, timeless dessert that feels like coming home. Every step, from whisking the cocoa to chilling the silky filling, builds layers of nostalgic flavor you’ll want to share. So why not treat yourself and your loved ones to a slice of chocolate comfort? Once you try this recipe, it’s bound to become a cherished classic in your kitchen too.
Print
Old-Fashioned Chocolate Cream Pie Recipe
- Prep Time: 15 minutes
- Cook Time: 15 minutes
- Total Time: 4 hours 30 minutes (includes chilling)
- Yield: 8 slices
- Category: Dessert
- Method: Stovetop
- Cuisine: American
- Diet: Vegetarian
Description
Old-Fashioned Chocolate Cream Pie is a classic American dessert featuring a rich, creamy chocolate custard filling set in a pre-baked pie crust. This luscious pie is topped with fluffy whipped cream and optional chocolate shavings for an elegant finish. Perfect for chocolate lovers, it combines smooth cocoa flavor with a buttery crust, ideal for any occasion.
Ingredients
Pie Crust
- 1 pre-baked 9-inch pie crust
Chocolate Filling
- 3/4 cup granulated sugar
- 1/4 cup unsweetened cocoa powder
- 1/4 cup cornstarch
- 1/4 teaspoon salt
- 3 cups whole milk
- 4 large egg yolks
- 4 ounces semi-sweet chocolate, chopped
- 2 tablespoons unsalted butter
- 1 1/2 teaspoons vanilla extract
Topping
- Whipped cream for topping
- Chocolate shavings or curls for garnish (optional)
Instructions
- Combine dry ingredients: In a medium saucepan, whisk together the sugar, cocoa powder, cornstarch, and salt until evenly mixed.
- Add milk and cook: Gradually whisk in the milk until smooth. Place the saucepan over medium heat and cook, whisking constantly, until the mixture thickens and begins to bubble, about 7 to 10 minutes.
- Temper egg yolks: In a separate bowl, lightly beat the egg yolks. Slowly pour about 1/2 cup of the hot chocolate mixture into the yolks while whisking continuously to temper them and prevent curdling.
- Combine and thicken: Pour the tempered egg yolk mixture back into the saucepan, whisking constantly. Continue cooking for another 2 to 3 minutes until the pudding thickens further.
- Finish the filling: Remove the saucepan from heat. Stir in the chopped chocolate, unsalted butter, and vanilla extract until the mixture is smooth and glossy.
- Assemble the pie: Pour the chocolate filling into the cooled, pre-baked pie crust and smooth the top with a spatula.
- Prevent skin formation: Press plastic wrap directly onto the surface of the filling to prevent a skin from forming.
- Chill: Refrigerate the pie for at least 4 hours, or until fully set and firm.
- Serve: Before serving, top the pie with whipped cream and garnish with chocolate shavings or curls if desired.
Notes
- Use high-quality semi-sweet chocolate for the richest, smoothest flavor in the filling.
- The pie can be prepared a day ahead and stored in the refrigerator to allow flavors to meld and texture to set perfectly.
- For an extra decadent twist, substitute the traditional pastry crust with a chocolate cookie crust for added texture and flavor contrast.

