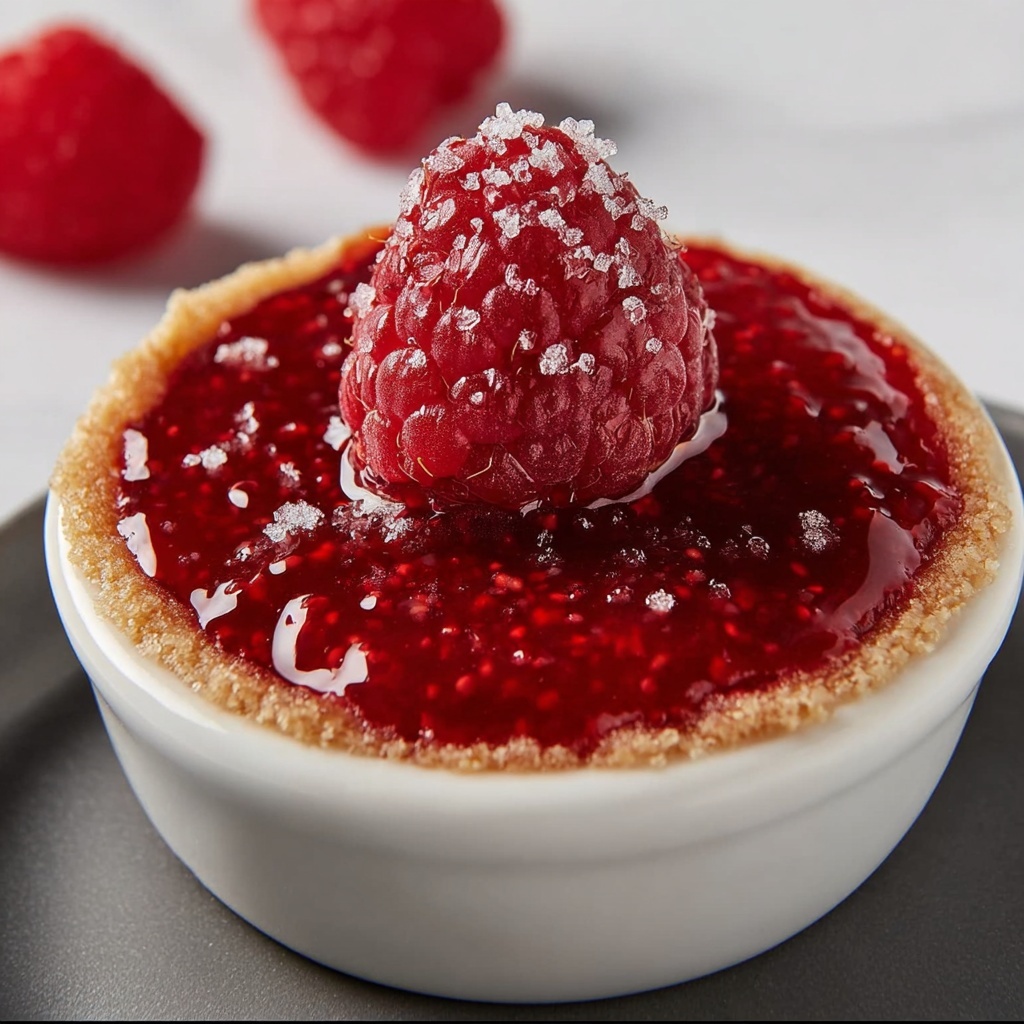
If you’ve ever dreamed of a luscious, vibrant, and irresistibly tangy fruit filling that can brighten up any dessert, this Raspberry Filling for Desserts Recipe is the answer you’ve been waiting for. Made from fresh or thawed raspberries, a touch of sugar, and a few pantry staples, this filling comes together easily yet delivers big on flavor. It’s perfectly balanced with just the right sweetness and a hint of lemon, making it a versatile companion to pies, tarts, cheesecakes, and even pancakes. Trust me, once you try this recipe, it will quickly become your go-to secret ingredient for adding that amazing burst of raspberry goodness to all your favorite treats.
Ingredients You’ll Need
These ingredients are wonderfully simple but essential to achieving the perfect texture and flavor for your raspberry filling. Each one plays a unique role: from the tangy sweetness of raspberries to the thickening power of cornstarch, everything comes together beautifully.
- Fresh or frozen raspberries (6 cups): The star of the show, providing vibrant color and natural tartness.
- Granulated sugar (1 cup): Sweetens and balances the tart raspberries; adjust depending on your preferred sweetness.
- Cornstarch (1/4 cup): Essential for thickening the filling to a luscious consistency.
- Cold water (1/4 cup): Helps dissolve the cornstarch smoothly for an even texture.
- Freshly squeezed lemon juice (1 tablespoon): Adds a bright zing that enhances the raspberry flavor.
- Vanilla extract (1/2 teaspoon, optional): Provides a subtle warmth and depth to the filling.
- Pinch of salt: Balances sweetness and intensifies all the flavors.
How to Make Raspberry Filling for Desserts Recipe
Step 1: Rinse the Raspberries
Begin by gently rinsing your fresh raspberries under cold water to remove any debris. If you’re using frozen raspberries, make sure they’re completely thawed and drained so your filling doesn’t become too watery.
Step 2: Combine Raspberries and Sugar
Place the raspberries in a medium saucepan and sprinkle the sugar over them. Stir gently so the sugar coats the berries evenly, starting to draw out their juicy sweetness.
Step 3: Simmer the Mixture
Turn the heat to medium and bring the mix to a gentle simmer. Stir occasionally so nothing sticks to the pan and the raspberries start to soften and release their vibrant juices.
Step 4: Cook Down the Berries
Continue simmering for about 8 to 10 minutes until the berries have softened completely and the mixture has thickened slightly. Keep stirring to prevent the fruit from sticking or burning.
Step 5: Smash Some of the Raspberries (Optional)
If you want a smoother filling, gently mash some of the raspberries with a spoon or potato masher against the side of the saucepan. This will create a perfect balance between chunky fruit and a silky texture.
Step 6: Whisk Cornstarch and Water
While the fruit simmers, whisk together the cornstarch and cold water until completely smooth. This mixture will help your filling thicken just right without clumps.
Step 7: Slowly Add Slurry to Raspberry Mixture
Gradually pour the cornstarch slurry into the simmering raspberries, stirring constantly to mix everything smoothly and evenly.
Step 8: Stir Constantly
Keep stirring the filling as you add the slurry to avoid lumps and help achieve that glossy, thick texture we all love in a fruit filling.
Step 9: Simmer and Thicken
Allow the filling to simmer for another 2 to 3 minutes. You’ll notice it thickening beautifully — aim for a consistency that will coat the back of a spoon.
Step 10: Remove from Heat
Once you’re happy with the texture, take the pan off the heat to stop the cooking process and prevent over-thickening.
Step 11: Add Lemon Juice and Vanilla Extract
Stir in the freshly squeezed lemon juice and vanilla extract (if using). These final flavorings add brightness and warmth, perfect for rounding out your Raspberry Filling for Desserts Recipe.
Step 12: Add a Pinch of Salt
Tiny but mighty, a pinch of salt will enhance all the other flavors and balance the sweetness perfectly.
Step 13: Taste and Adjust
Give your filling a quick taste; if needed, add a little more sugar or lemon juice to suit your preference. It’s all about making it just right for your dessert.
Step 14: Cool Slightly
Allow the filling to cool for a bit before using. This resting time lets it thicken further and makes spreading or filling so much easier.
How to Serve Raspberry Filling for Desserts Recipe

Garnishes
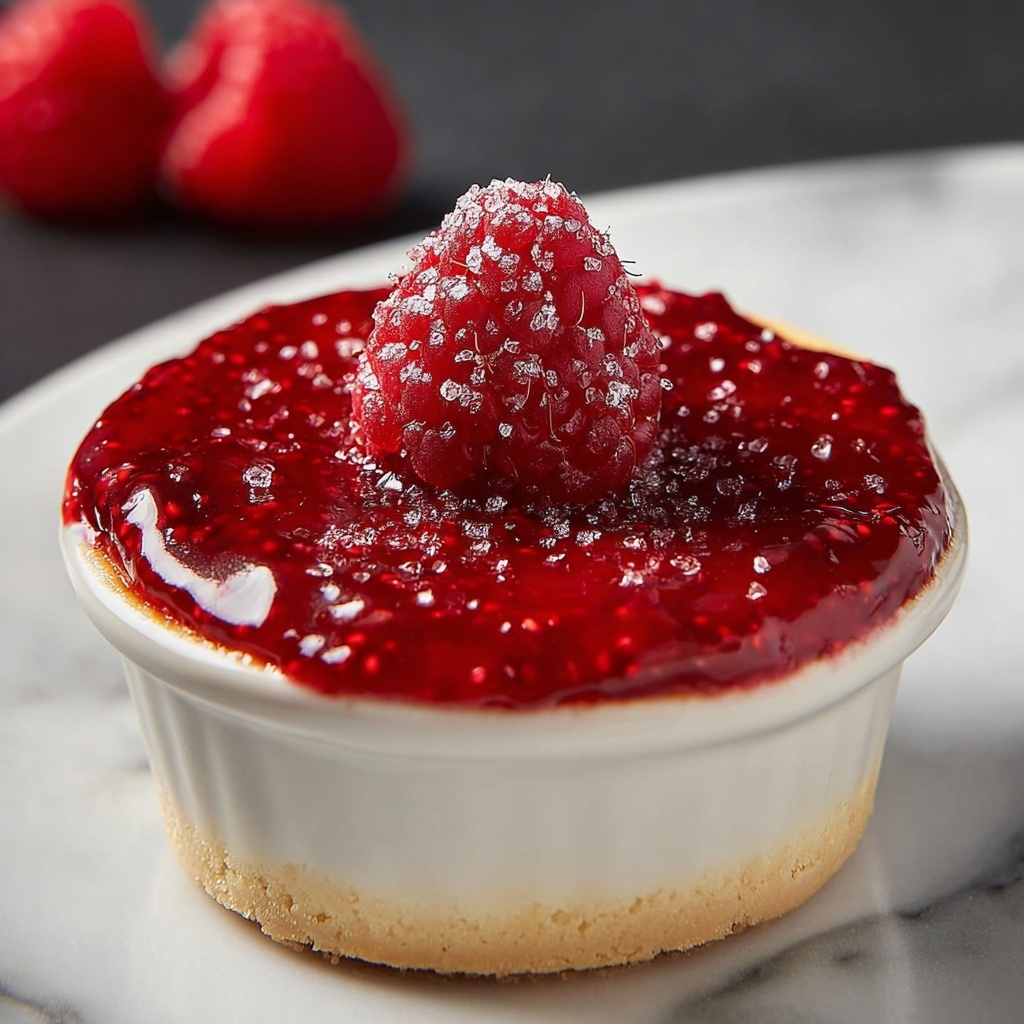
The simplest garnishes can elevate your finished dessert. Try topping your raspberry filling with fresh mint leaves, a dusting of powdered sugar, or even a few whole raspberries for that extra pop of color and freshness.
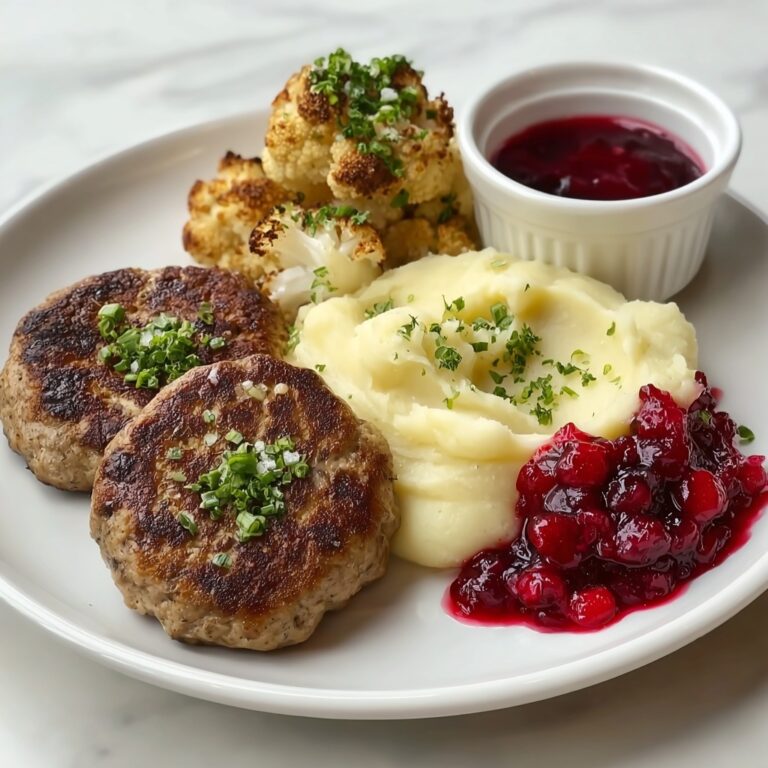
Side Dishes
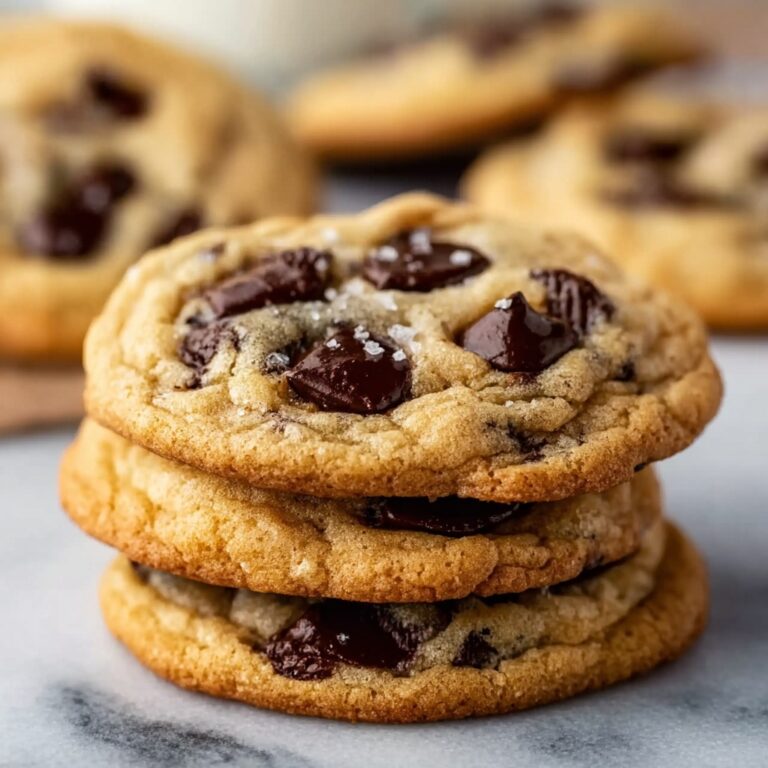
Raspberry filling pairs beautifully with delicate cakes, buttery shortbread cookies, or creamy vanilla ice cream. It also adds a vibrant twist to breakfast favorites like waffles and crepes, providing a refreshing burst of flavor with every bite.
Creative Ways to Present
Think beyond the classic pie! Use this raspberry filling as a luscious layer in trifles, dollop it on top of panna cotta, or swirl it into cheesecake batter before baking. You can even fill puff pastries or make mini tartlets for an elegant party treat. The possibilities are endless!
Make Ahead and Storage
Storing Leftovers
After making your raspberry filling, store any leftovers in an airtight container in the refrigerator. It will keep fresh for up to five days, ready to brighten up another dessert or breakfast.
Freezing
This recipe freezes wonderfully. Simply cool the filling completely, transfer to a freezer-safe container, and freeze for up to three months. Thaw in the refrigerator overnight before using, stirring gently to restore the perfect texture.
Reheating
To reheat, warm the filling over low heat on the stove, stirring occasionally. If it seems too thick, add a splash of water to loosen it up. Reheating brings back that freshly made flavor and texture in no time.
FAQs
Can I use frozen raspberries for this Raspberry Filling for Desserts Recipe?
Absolutely! Frozen raspberries work perfectly as long as they’re fully thawed and drained to avoid excess liquid diluting the filling.
Can I make this filling ahead of time?
Yes, you can prepare this filling a few days in advance and keep it refrigerated. Just give it a quick stir before using, and it’s ready to go.
What desserts go best with raspberry filling?
Raspberry filling pairs beautifully with pies, tarts, cheesecakes, pancakes, crepes, and even as a topping for ice cream and yogurt.
Can I adjust the sweetness?
Definitely. The amount of sugar can be adjusted to your taste or the natural sweetness of your berries. Taste the mixture as you cook and tweak accordingly.
Is the vanilla extract necessary?
While optional, vanilla extract adds a lovely warmth and depth of flavor that enhances the raspberry filling. It’s highly recommended but not mandatory.
Final Thoughts
This Raspberry Filling for Desserts Recipe is one of those delightful treasures that blend simple ingredients into an unforgettable taste experience. Whether you’re filling a pie, topping a cake, or spreading it on toast, its vibrant color and bright flavor will bring a smile to your face. Give it a try — you might just find that this is the raspberry filling recipe you’ve been searching for all along!
Print
Raspberry Filling for Desserts Recipe
- Prep Time: 10 minutes
- Cook Time: 15 minutes
- Total Time: 25 minutes
- Yield: 3 cups
- Category: Dessert Filling
- Method: Stovetop
- Cuisine: American
- Diet: Vegetarian
Description
This vibrant raspberry filling is the perfect sweet and tangy addition to your favorite desserts. Made with fresh or thawed raspberries, sugar, and thickened with a cornstarch slurry, it delivers a luscious texture and intense flavor, enhanced with lemon juice and vanilla. Ideal for pies, tarts, cakes, or even spooned over ice cream, this easy stovetop recipe takes just 25 minutes to prepare and yields 3 cups of delicious filling.
Ingredients
Fruits and Flavorings
- 6 cups fresh raspberries (about 3 pints) or frozen raspberries (thawed)
- 1 tablespoon freshly squeezed lemon juice
- 1/2 teaspoon vanilla extract (optional)
- Pinch of salt
Sweetener and Thickener
- 1 cup granulated sugar (adjust to taste depending on the sweetness of the berries)
- 1/4 cup cornstarch
- 1/4 cup cold water
Instructions
- Rinse the Raspberries: Gently rinse fresh raspberries under cold water, or if using frozen, ensure they are fully thawed and drain any excess liquid thoroughly.
- Combine Raspberries and Sugar: In a medium saucepan, gently stir together the raspberries and granulated sugar to evenly coat the berries with sugar.
- Simmer the Mixture: Place the saucepan over medium heat and bring the raspberry and sugar mixture to a gentle simmer, stirring occasionally to prevent sticking.
- Cook Down the Berries: Continue simmering for 8-10 minutes until the raspberries have softened and released their juices, stirring frequently to avoid burning.
- Smash Some of the Berries (Optional): For a smoother texture, gently mash some raspberries against the side of the pan with a spoon or potato masher.
- Whisk Cornstarch and Water: In a small bowl, whisk together cornstarch and cold water until completely smooth to create a slurry.
- Slowly Add Slurry to Raspberry Mixture: Gradually pour the cornstarch slurry into the simmering raspberry mixture while stirring continuously.
- Stir Constantly: Keep stirring constantly to incorporate the slurry evenly and prevent lumps from forming.
- Simmer and Thicken: Continue simmering the filling over medium heat, stirring constantly, for 2-3 minutes until the filling thickens enough to coat the back of a spoon.
- Remove from Heat: Once thickened to your desired consistency, take the pan off the heat to stop cooking.
- Add Lemon Juice and Vanilla Extract: Stir in the freshly squeezed lemon juice and optional vanilla extract to enhance the flavor complexity.
- Add a Pinch of Salt: Sprinkle a pinch of salt to balance sweetness and brighten the overall taste.
- Taste and Adjust: Sample the filling and adjust sugar or lemon juice if a sweeter or more tart flavor is preferred.
- Cool Slightly: Allow the filling to cool at room temperature before using; it will continue to thicken as it cools, perfect for your dessert applications.
Notes
- If a chunkier texture is preferred, skip mashing the berries.
- Use fresh lemon juice for the best bright and natural flavor.
- Adjust sugar amounts according to the sweetness of raspberries or personal taste.
- The filling can be refrigerated and used within 3-4 days.
- For a vegan option, ensure that vanilla extract used is vegan-friendly and consider alternative sweeteners if desired.


