“`html
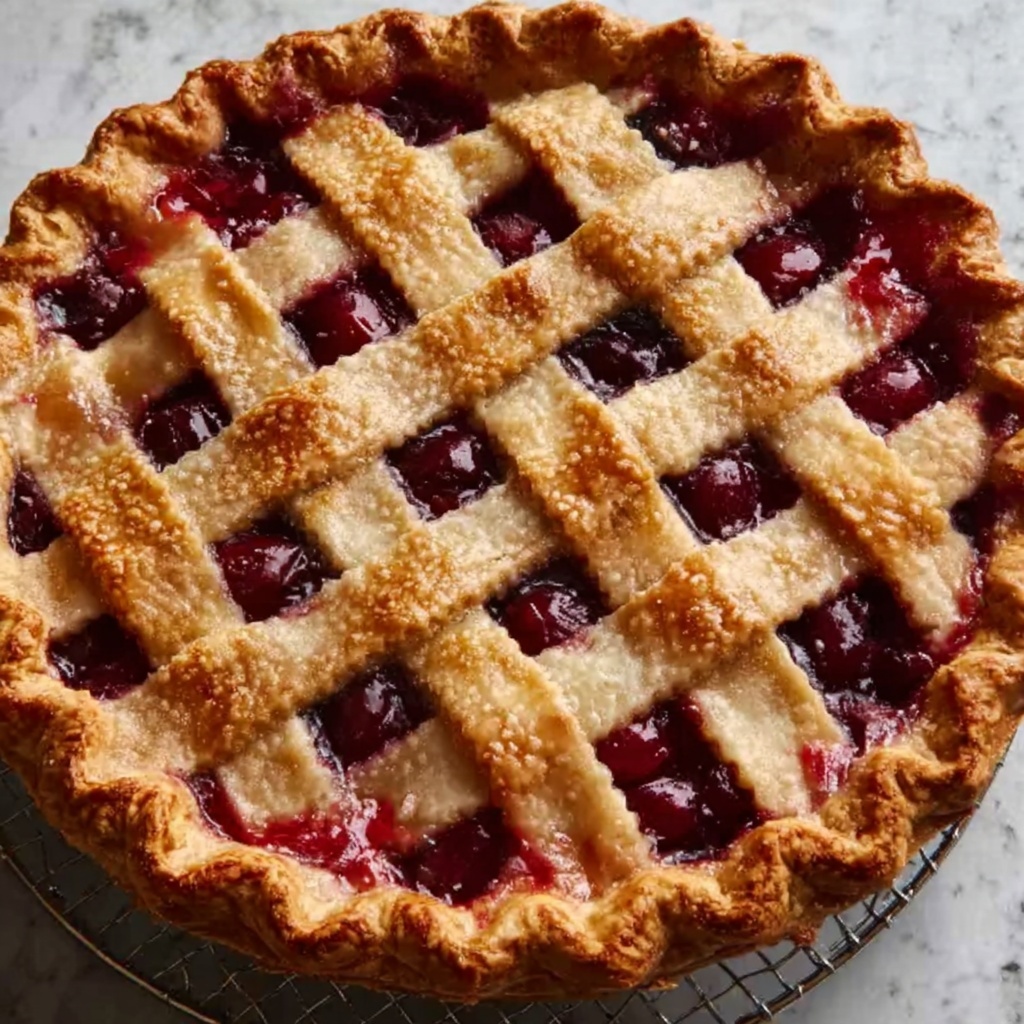
If you’ve ever dreamed of biting into a dessert bursting with bright, juicy cherries embraced by a golden, flaky crust, then this Baked Fresh Cherry Pie Recipe is absolutely for you. It’s a timeless classic that combines simple pantry staples with fresh fruit to create a pie bursting with natural sweetness and a hint of almond and vanilla that feels like a warm hug from your childhood. Whether you’re an experienced baker or just starting, this recipe offers the perfect balance of ease and indulgence that makes any occasion feel special.
Ingredients You’ll Need
These ingredients may seem straightforward, but each plays a crucial role in delivering that perfect cherry pie experience. The pastry brings buttery flakiness, tapioca helps the filling thicken without overpowering the fruit, and the almond and vanilla extracts add depth and warmth to every bite.
- Pastry for a 9-inch double crust pie: Provides a tender, flaky base and top that beautifully encases the filling.
- 4 tablespoons quick-cooking tapioca: Essential for thickening the juicy cherry filling without turning it gummy.
- ⅛ teaspoon salt: Enhances the flavors and balances sweetness perfectly.
- 1 cup white sugar: Sweetens the cherries just right while letting their natural tartness shine through.
- 4 cups pitted cherries: The star of the show, fresh and tangy for maximum flavor.
- ¼ teaspoon almond extract: Adds a subtle nutty note that complements the cherries brilliantly.
- ½ teaspoon vanilla extract: Brings warmth and richness to the filling’s flavor profile.
- 1 ½ tablespoons butter: Dotting the filling with butter enriches the texture and gives the finished pie a glossy, indulgent touch.
How to Make Baked Fresh Cherry Pie Recipe
Step 1: Prepare Your Oven and Pie Crust
Start by preheating your oven to 400 degrees F (205 degrees C). Place the bottom crust into your pie pan gently but securely. Keep the top crust covered and set aside to prevent it from drying out while you prepare the filling. This sets the foundation for a perfectly baked pie with a nicely browned crust.
Step 2: Create the Cherry Filling
In a large mixing bowl, combine the quick-cooking tapioca, salt, sugar, pitted cherries, almond extract, and vanilla extract. Stir everything well, then let the mixture stand for at least 15 minutes. This rest time allows the tapioca to swell slightly and the flavors to meld into a luscious, thick filling.
Step 3: Assemble the Pie
Pour the cherry mixture evenly into your prepared bottom crust. Dot the surface with small pieces of the butter—they’ll melt into the filling during baking, adding a silky richness. Then, carefully place the top crust over the filling. Flute the edges to seal the pie and cut vents in the top crust to allow steam to escape and keep the crust crisp.
Step 4: Bake to Perfection
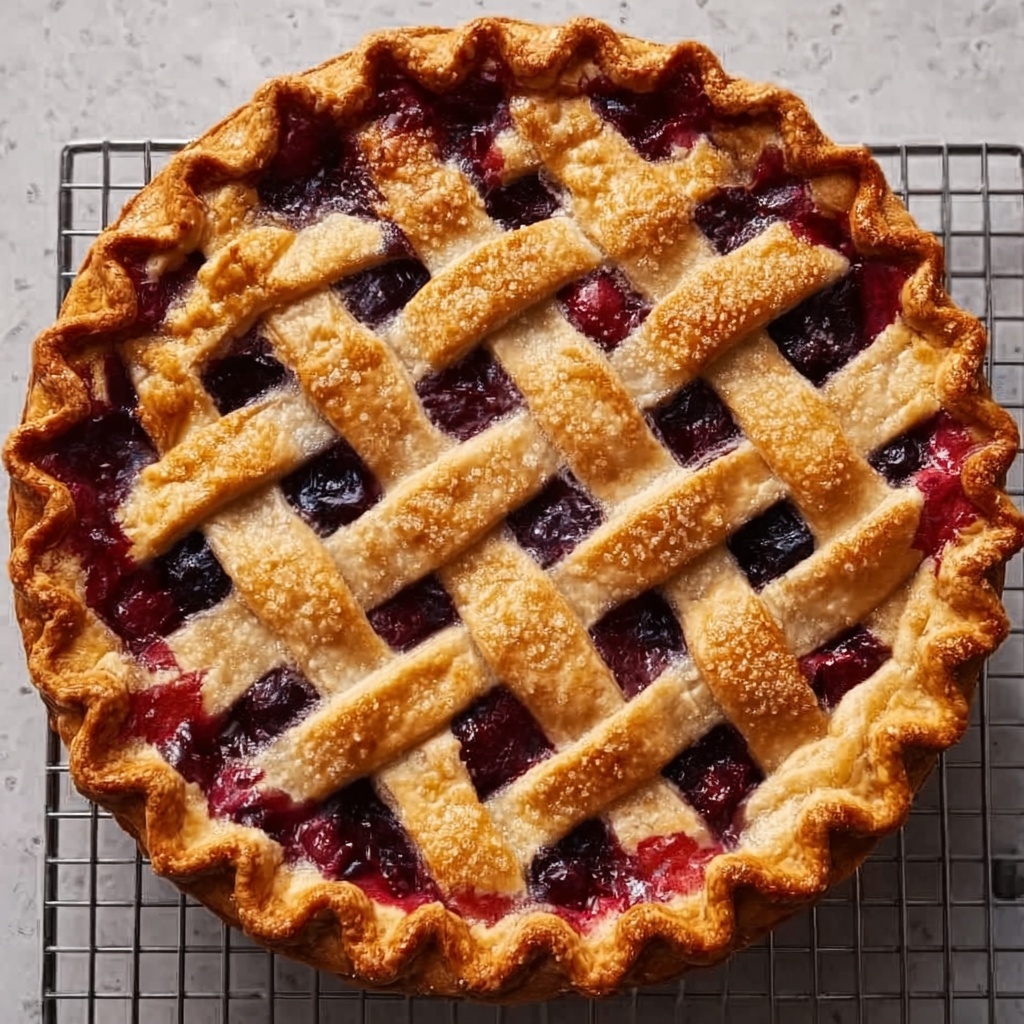
Set your pie on a foil-lined cookie sheet to catch any bubbling filling that might drip out during baking—this helps keep your oven clean. Bake for about 50 minutes, or until the crust gleams with a golden brown color and you can see the cherry filling bubbling through the vents. This signals that your pie is perfectly baked and the filling thickened beautifully.
Step 5: Cool Before Serving
Patience is a virtue when making this pie! Let it cool for several hours once out of the oven. This cooling period allows the filling to fully set, so when you slice the pie, each piece holds together beautifully with that luscious, jammy cherry center.
How to Serve Baked Fresh Cherry Pie Recipe

Garnishes
For an extra touch of charm, a scoop of vanilla ice cream or a dollop of freshly whipped cream works wonders alongside a slice of this cherry pie. Sprinkle on a little powdered sugar or garnish with fresh mint leaves for a pretty, inviting presentation.
Side Dishes
Keep it simple to let the pie shine—offer a cup of hot coffee, a glass of cold milk, or a refreshing cup of herbal tea. These easy drink pairings balance the pie’s sweetness and make for a cozy, comforting dessert experience.
Creative Ways to Present
For a festive twist, serve the pie in rustic individual ramekins or top slices with toasted almonds or a drizzle of balsamic glaze to elevate the flavors. You can also pair slices with a scoop of cherry sorbet for an intense double cherry delight that’s sure to impress guests.
Make Ahead and Storage
Storing Leftovers
Leftover slices of your baked fresh cherry pie can be stored in an airtight container in the refrigerator for up to 4 days. This keeps the crust from getting soggy and retains the fresh flavor of the cherries, so you can enjoy the pie just as much the next day.
Freezing
You can freeze an unbaked cherry pie wrapped tightly in plastic wrap and aluminum foil for up to 2 months. When you’re ready to bake it, thaw the pie overnight in the fridge and then bake as usual. If freezing a baked pie, wrap it securely to preserve freshness and thaw overnight before reheating.
Reheating
To enjoy your leftover pie warm, place slices in a preheated oven at 350 degrees F for 10 to 15 minutes. This method revives the flaky crust and warms the juicy filling beautifully, giving you that just-baked feeling all over again.
FAQs
Can I use frozen cherries instead of fresh?
Absolutely! Frozen cherries work well too. Just be sure to thaw and drain any excess liquid before mixing with the other ingredients to prevent a watery filling in your Baked Fresh Cherry Pie Recipe.
Why do I need to let the cherry mixture stand before baking?
Allowing the mixture to sit gives the quick-cooking tapioca time to absorb moisture and start thickening the filling, which helps prevent your pie from being runny once baked.
Is there a way to prevent the bottom crust from getting soggy?
You can brush the bottom crust with a thin layer of beaten egg white before adding the filling. This creates a barrier that helps keep the crust crisp and flaky as it bakes.
Can I make this cherry pie gluten-free?
Yes! Simply substitute the traditional pie crust with a gluten-free pastry dough of your choice. The filling and bake times remain the same, giving you that classic cherry pie experience without gluten.
How do I know when the pie filling is done?
Look for bubbling filling visible through the crust vents and a golden brown crust. The bubbling indicates the tapioca has thickened the filling properly, which is key for a perfectly set cherry pie.
Final Thoughts
This Baked Fresh Cherry Pie Recipe is one of those timeless desserts that feels magical every time you make it. With its vibrant cherry flavor, warm accents of almond and vanilla, and that irresistibly flaky crust, it’s a dessert you’ll want to share with family and friends again and again. So why not grab some fresh cherries and treat yourself—this pie truly brings a little slice of joy to any day!
“`
Print
Baked Fresh Cherry Pie Recipe
- Prep Time: 20 minutes
- Cook Time: 50 minutes
- Total Time: 3 hours 10 minutes
- Yield: 1 9-inch pie (about 8 slices)
- Category: Dessert
- Method: Baking
- Cuisine: American
Description
This classic baked fresh cherry pie features a flaky double crust filled with a luscious mixture of sweet, tart cherries thickened with tapioca and flavored with almond and vanilla extracts. Perfectly golden and juicy, this pie is a timeless dessert ideal for any occasion.
Ingredients
Pie Crust
- 1 recipe pastry for a 9-inch double crust pie (bottom)
- 1 recipe pastry for a 9-inch double crust pie (top)
Filling
- 4 tablespoons quick-cooking tapioca
- ⅛ teaspoon salt
- 1 cup white sugar
- 4 cups pitted cherries
- ¼ teaspoon almond extract
- ½ teaspoon vanilla extract
- 1 ½ tablespoons butter
Instructions
- Preheat Oven: Preheat your oven to 400 degrees Fahrenheit (205 degrees Celsius). Place the bottom pie crust in a 9-inch pie pan and keep the top crust covered to prevent it from drying out.
- Prepare Filling: In a large mixing bowl, combine the quick-cooking tapioca, salt, white sugar, pitted cherries, almond extract, and vanilla extract. Stir well and let the mixture stand for 15 minutes to allow the tapioca to absorb the cherry juices.
- Fill Pie Crust: Pour the cherry mixture evenly into the prepared bottom crust. Dot the top of the filling with small pieces of butter for added richness and flavor.
- Top Crust: Cover the pie with the top crust. Seal and flute the edges to secure the crust. Cut vents into the top crust to allow steam to escape during baking, which helps prevent sogginess.
- Prepare for Baking: Place the filled pie on a foil-lined cookie sheet to catch any drips and keep your oven clean.
- Bake: Bake the pie in the preheated oven for approximately 50 minutes or until the crust turns a beautiful golden brown color and the filling is bubbling.
- Cool: Remove the pie from the oven and let it cool for several hours before slicing. This resting time allows the filling to set properly, making it easier to serve neat slices.
Notes
- Using quick-cooking tapioca ensures the filling thickens while baking without needing pre-cooking.
- Letting the pie cool completely is crucial for the filling to set and avoid runny slices.
- Cutting steam vents in the top crust helps prevent sogginess and promotes even baking.
- Placing the pie on a foil-lined cookie sheet makes cleanup easier by catching any drips from the bubbling filling.


