
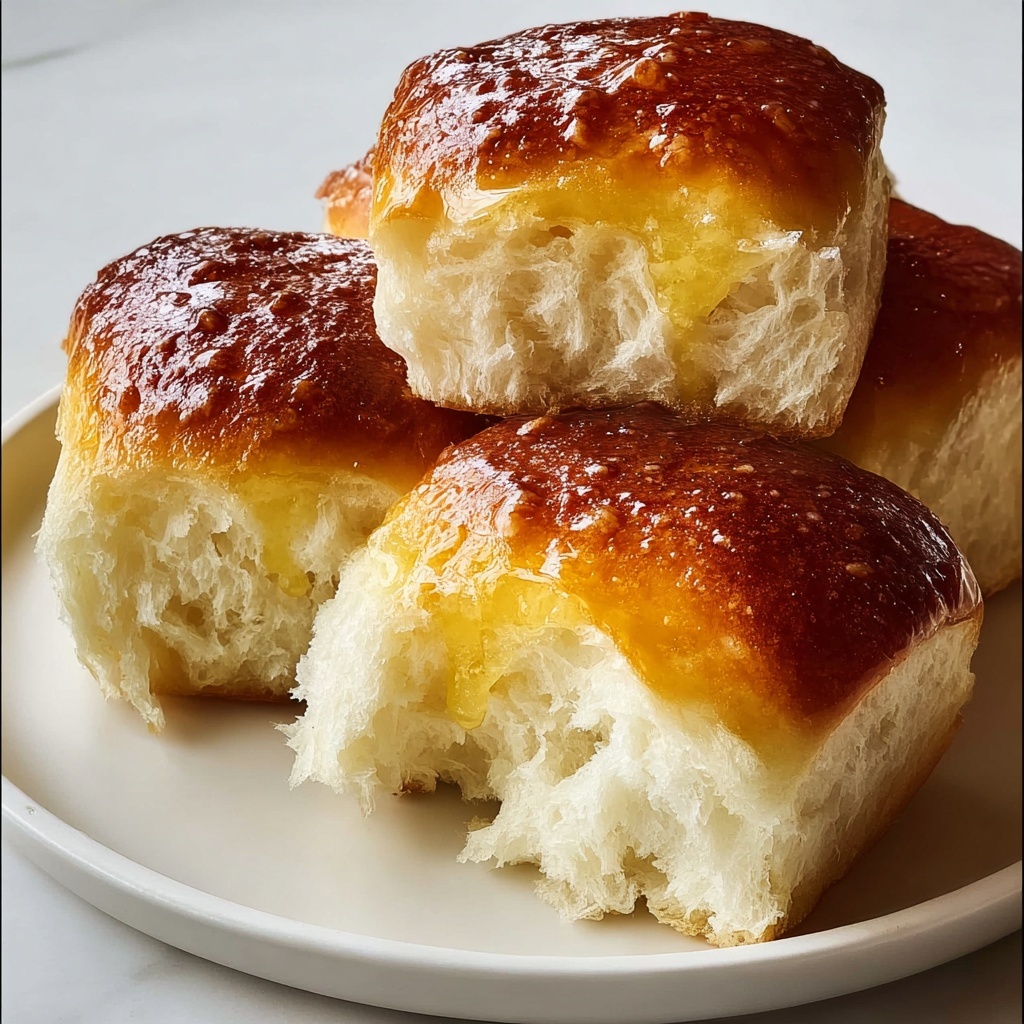
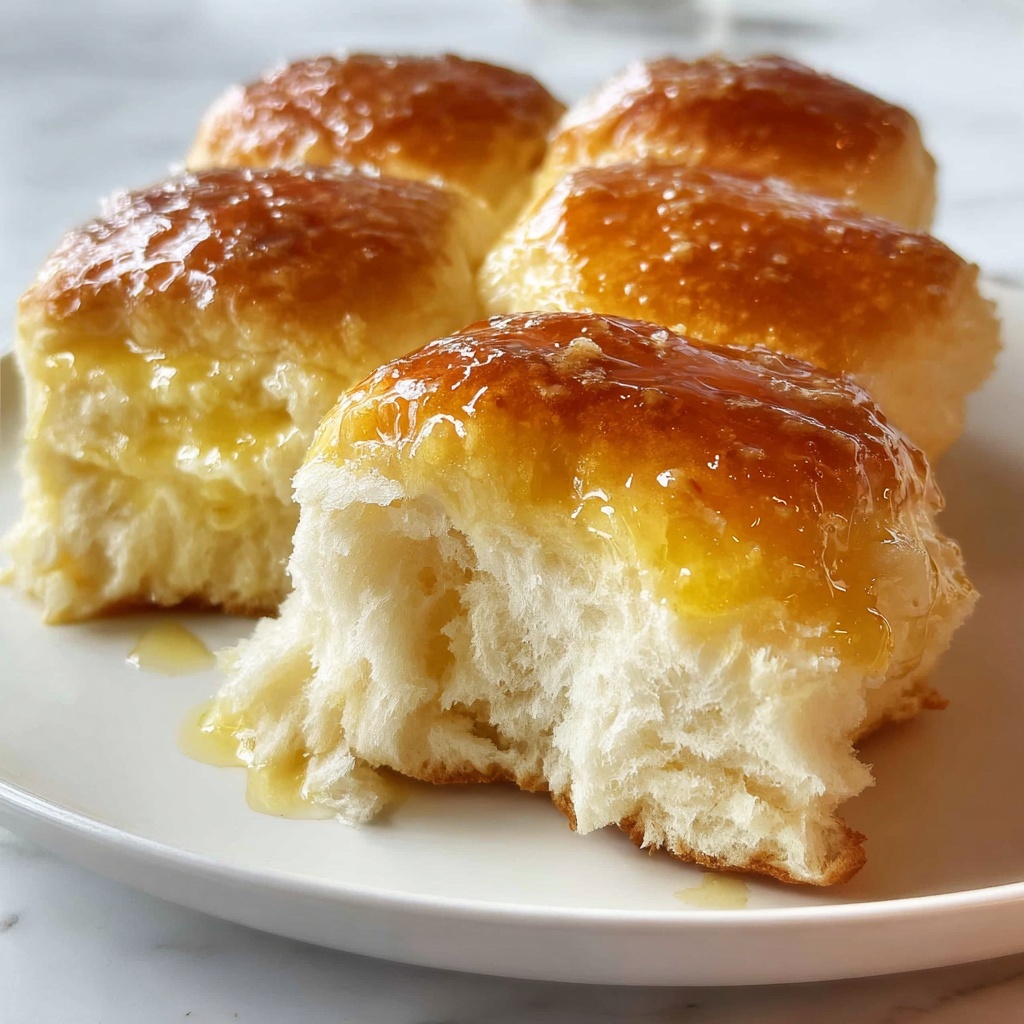
If you’re craving warm, fluffy bread with a burst of savory garlic flavor, you’re in the right place. The Homemade Garlic Dinner Rolls: 5 Tips for Fluffy Perfection Recipe is your new go-to for creating irresistibly soft rolls that bring people to the table with eager smiles. Each roll offers that perfect balance of buttery richness and just the right touch of garlic, turning a simple accompaniment into a star dish. Trust me, once you try this recipe, you’ll want these rolls on your dinner menu every week.
Ingredients You’ll Need
Creating these garlic dinner rolls is surprisingly simple, relying on basic pantry staples that come together to build flavor, texture, and that golden crust we all love. Each ingredient plays a key role, from tenderizing the dough to infusing that trademark garlic aroma throughout.
- 4 cups all-purpose flour: The sturdy base that creates a soft yet structured dough perfect for rolls.
- 1 packet (2 1/4 tsp) active dry yeast: The magical agent that makes the rolls rise light and fluffy.
- 1 cup warm water: Activates the yeast and hydrates the flour for a smooth dough.
- 1/4 cup sugar: Feeds the yeast and adds a subtle sweetness to balance the garlic.
- 1/4 cup butter, melted: Enriches the dough with moisture and a tender crumb.
- 2 tsp salt: Enhances all the flavors and controls yeast growth.
- 4 cloves garlic, minced: Fresh, fragrant garlic infuses every bite with savory goodness.
- 1 egg: Gives the rolls their beautiful golden-brown color and adds richness.
How to Make Homemade Garlic Dinner Rolls: 5 Tips for Fluffy Perfection Recipe
Step 1: Activate Your Yeast
Start by warming your water to around 110°F, just warm enough to wake up that yeast! Combine it with sugar and yeast in a bowl, and let it rest for 5 minutes until it’s frothy and bubbling—a sure sign it’s ready to work its magic on the dough.
Step 2: Combine the Wet Ingredients
Once your yeast mixture is lively, stir in the melted butter, minced garlic, salt, and egg. Each of these adds depth—the butter for tenderness, garlic for flavor, salt for balance, and the egg for richness and beautiful color in your rolls.
Step 3: Gradually Add Flour and Knead
Time to bring your dough together! Slowly add the flour while mixing until a sticky dough forms. Then, transfer to a lightly floured surface and knead for about 5 minutes. This develops the gluten, giving your rolls that perfect chewy texture.
Step 4: Let the Dough Rise
Place your dough ball in a greased bowl, cover it with a clean cloth or plastic wrap, and find it a warm spot. This hour-long rest lets the dough double in size, creating the airy softness every great roll needs.
Step 5: Shape, Rise Again, and Bake
Punch down the risen dough and divide it into 12 even balls—this ensures even baking and consistent size. Arrange them in a greased baking dish, cover, and let rise another 30 minutes. Finally, bake at 375°F for 20 to 25 minutes until they’re golden, fluffy, and irresistible.
How to Serve Homemade Garlic Dinner Rolls: 5 Tips for Fluffy Perfection Recipe
Garnishes
Warm garlic rolls practically invite a little extra flair. Brush each roll with melted butter mixed with finely chopped parsley right after baking for a glossy finish and fresh herb flavor. You can also sprinkle a pinch of sea salt or grated Parmesan for a tasty touch that elevates the rolls beautifully.
Side Dishes
These rolls are the perfect sidekick to hearty soups, stews, and pasta. Think creamy tomato basil soup or a rich beef stew—the soft garlic bread soaks up juices and adds comforting carbs that round out any meal splendidly.
Creative Ways to Present
Don’t just serve them piled on a plate! Present your rolls in a rustic basket lined with a cozy, colorful napkin or create individual garlic pull-apart cups with herbs tucked between the dough balls for an interactive dining experience that guests will love.
Make Ahead and Storage
Storing Leftovers
If you have leftovers, simply cool them completely, then store in an airtight container or ziplock bag at room temperature for up to 2 days. When stored properly, they maintain softness and flavor for quick enjoyment later.
Freezing
To keep them fresh much longer, freeze the rolls either before or after baking. Wrap them tightly in plastic wrap and then foil or place in a freezer-safe bag. They keep beautifully for up to 3 months and thaw quickly when you’re ready.
Reheating
To revive that just-baked softness, reheat rolls in a preheated oven at 350°F for about 10 minutes or until warmed through. Alternatively, wrap in a damp kitchen towel and microwave in short bursts for a tender, fresh-from-the-oven feel.
FAQs
Can I make these rolls without fresh garlic?
Absolutely! You can substitute garlic powder or roasted garlic paste if fresh isn’t handy, but fresh garlic really gives the best punch of flavor that makes these rolls so special.
What if my dough doesn’t rise?
If your dough doesn’t rise, it could be due to inactive yeast or water that was too hot or cold. Always use warm water (not hot) to activate the yeast and check the yeast’s expiration date for best results.
Can I use whole wheat flour instead of all-purpose?
You can swap in whole wheat flour, but expect a denser texture and nuttier flavor. To keep rolls fluffy, consider mixing whole wheat with all-purpose flour or adding a bit more water because whole wheat flour absorbs more liquid.
How long can the dough rise before baking?
For best results, allow the dough to rise for about 1 hour the first time and 30 minutes after shaping. However, if your kitchen is cooler, the dough might take longer—just look for it to double in size.
Can I add herbs or cheese to the rolls?
Definitely! Adding fresh herbs like rosemary or thyme or folding in shredded cheese before baking can personalize the rolls and add extra bursts of flavor that are perfect for any occasion.
Final Thoughts
Making these rolls from scratch might just be your favorite kitchen adventure yet. The Homemade Garlic Dinner Rolls: 5 Tips for Fluffy Perfection Recipe brings together simple ingredients and straightforward steps to create something truly magical—soft, buttery, garlicky rolls that feel like a warm hug with every bite. Go ahead, give this recipe a try and watch how soon your family and friends start asking for seconds!
Print
Homemade Garlic Dinner Rolls: 5 Tips for Fluffy Perfection Recipe
- Prep Time: 20 minutes
- Cook Time: 25 minutes
- Total Time: 1 hour 45 minutes
- Yield: 12 rolls
- Category: Bread/Dinner Rolls
- Method: Baking
- Cuisine: American
Description
These homemade garlic dinner rolls are soft, fluffy, and infused with savory garlic flavor. Perfect as a side for any meal, these rolls come out golden brown with a tender crumb, thanks to a yeast-based dough enriched with butter and a hint of garlic. Follow these simple steps for fluffy, aromatic rolls that will impress your family and guests.
Ingredients
Dry Ingredients
- 4 cups all-purpose flour
- 1 packet (2 1/4 tsp) active dry yeast
- 1/4 cup sugar
- 2 tsp salt
Wet Ingredients
- 1 cup warm water
- 1/4 cup butter, melted
- 4 cloves garlic, minced
- 1 egg
Instructions
- Preheat the Oven: Set your oven to 375°F (190°C) to ensure it reaches the right temperature while you prepare the dough.
- Activate Yeast: In a bowl, combine the warm water, sugar, and active dry yeast. Stir lightly and let it sit for about 5 minutes until the mixture becomes frothy, indicating the yeast is active.
- Mix Wet Ingredients: Add the melted butter, salt, minced garlic, and egg into the yeast mixture. Stir well to combine all the wet ingredients evenly.
- Add Flour: Gradually mix in the all-purpose flour until a soft dough forms. The dough should be slightly tacky but not sticky.
- Knead Dough: Transfer the dough to a floured surface and knead it for about 5 minutes until it becomes smooth and elastic.
- First Rise: Place the dough in a greased bowl and cover it with a clean towel or plastic wrap. Let it rise in a warm area for 1 hour, or until it doubles in size.
- Shape Rolls: Punch down the risen dough to release air. Divide it into 12 equal-sized balls.
- Second Rise: Arrange the dough balls in a greased baking dish. Cover and let them rise again for 30 minutes to become puffy.
- Bake: Bake the rolls in the preheated oven for 20-25 minutes until they turn a golden brown on top.
Notes
- For a richer flavor, brush the tops of the rolls with melted butter right after baking.
- You can substitute all-purpose flour with bread flour for chewier texture.
- Make sure the water is warm, not hot, to avoid killing the yeast.
- Allow the dough enough time to rise for fluffier rolls.
- These rolls are best enjoyed fresh but can be stored in an airtight container for 2 days or frozen for longer storage.


