If you are searching for a delightful dessert that is as adorable as it is delicious, the Mini Cheesecakes III Recipe is your perfect match. These bite-sized treats combine a crisp, buttery graham cracker crust with a luxuriously smooth and creamy cheesecake filling that melts in your mouth. Whether you are hosting a gathering or simply craving a sweet indulgence, this recipe offers the ideal balance of sweetness and texture, making every mini cheesecake a little piece of heaven. Trust me, once you try this Mini Cheesecakes III Recipe, it will quickly become a treasured favorite that you will want to share with everyone you know.
Ingredients You’ll Need
Gathering simple, quality ingredients is the secret to creating the perfect mini cheesecakes. Each component plays an essential role — from the crunchy crust that provides a buttery base to the creamy filling bursting with subtle vanilla and tangy sour cream flavors.
- Graham cracker crumbs (1 1/2 cups): Provides a sweet, crunchy crust that perfectly complements the smooth cheesecake filling.
- White sugar (1/4 cup + 2/3 cup): Adds just the right amount of sweetness to both the crust and the rich filling.
- Butter, melted (1/3 cup): Binds the crust ingredients together, giving it that irresistible buttery flavor and texture.
- Cream cheese, softened (2 8-oz packages): The star ingredient, ensuring your cheesecake is creamy, rich, and perfectly smooth.
- Eggs (2): Provide structure and help the cheesecake set beautifully while keeping it velvety.
- Vanilla extract (1/2 teaspoon): Adds depth and a lovely aromatic touch that enhances the overall flavor.
- Sour cream (1/2 cup): Gives a subtle tang and extra creaminess, balancing the sweetness and making the cheesecake wonderfully moist.
How to Make Mini Cheesecakes III Recipe
Step 1: Prepare Your Oven and Muffin Tin
Start by preheating your oven to 325°F (165°C). This even, moderate heat ensures your mini cheesecakes will bake perfectly without cracking. Line your muffin tin with paper liners — this will help your cheesecakes release easily and keep their charming individual shapes.
Step 2: Create the Crust
In a medium bowl, combine the graham cracker crumbs, 1/4 cup white sugar, and melted butter. Mix until the crumbs are fully coated and resemble wet sand. Press this mixture firmly into the bottom of each muffin cup; this crust forms a crisp base that contrasts beautifully with the creamy filling.
Step 3: Make the Cheesecake Filling
Using a large bowl, beat the softened cream cheese and 2/3 cup white sugar together until the mixture is smooth and velvety. Next, add the eggs one at a time, beating well after each to create a uniform texture. Stir in the vanilla extract and sour cream last — these bring a lovely richness and slight tang that elevates the flavor.
Step 4: Fill and Bake
Carefully spoon the cheesecake filling over each crust in the muffin tin, filling almost to the top to achieve that perfect mini cheesecake height. Place the tin in your preheated oven and bake for 18 to 22 minutes. You’ll know they’re ready when the tops are just set and have developed a delicate golden tint.
Step 5: Cool and Chill
Allow the cheesecakes to cool right in the pan so they set completely and retain their shape. Once cooled, refrigerate them for at least 2 hours. This chilling step is crucial — it gives the flavors time to meld and ensures that the texture is creamy and firm, making these mini delights irresistible.
How to Serve Mini Cheesecakes III Recipe
Garnishes
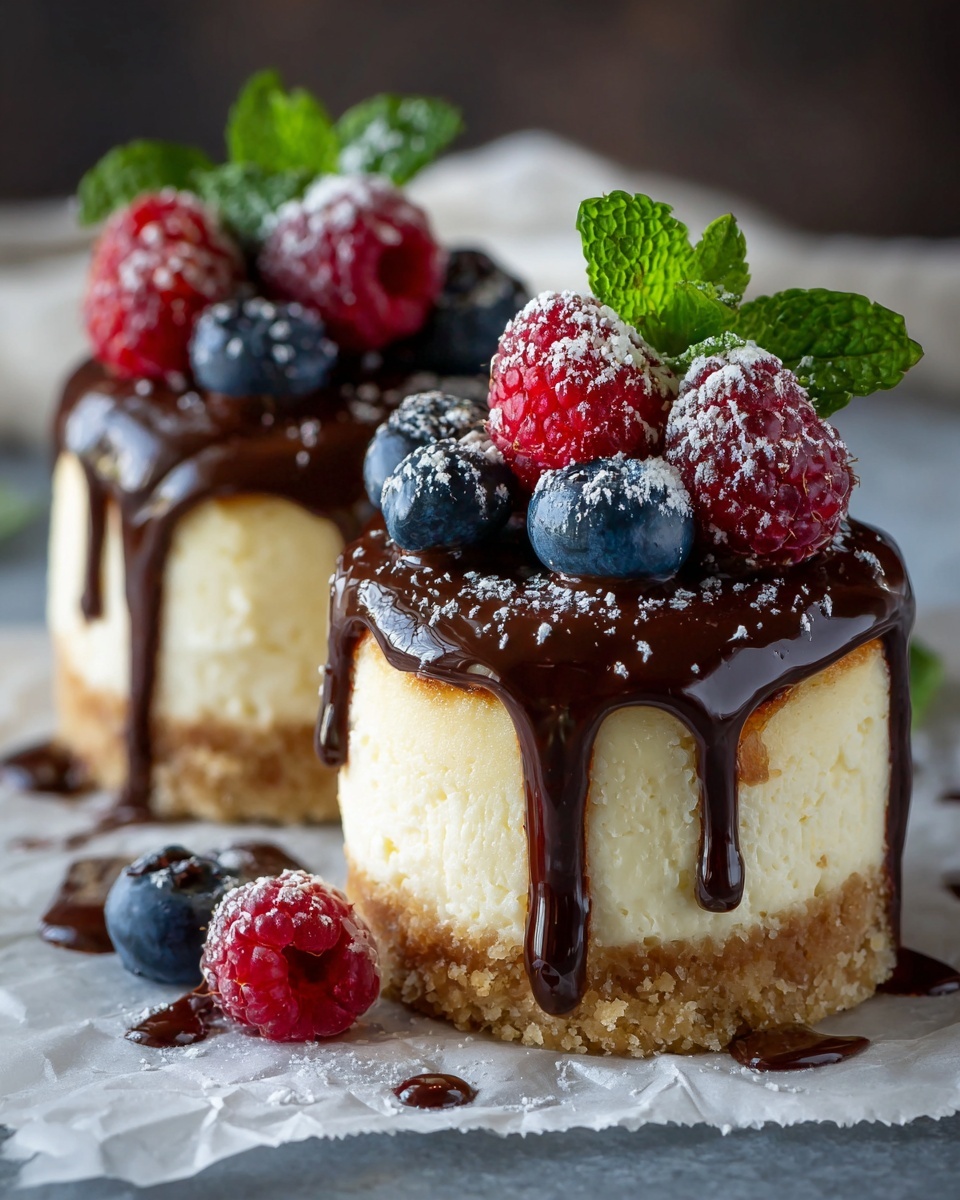
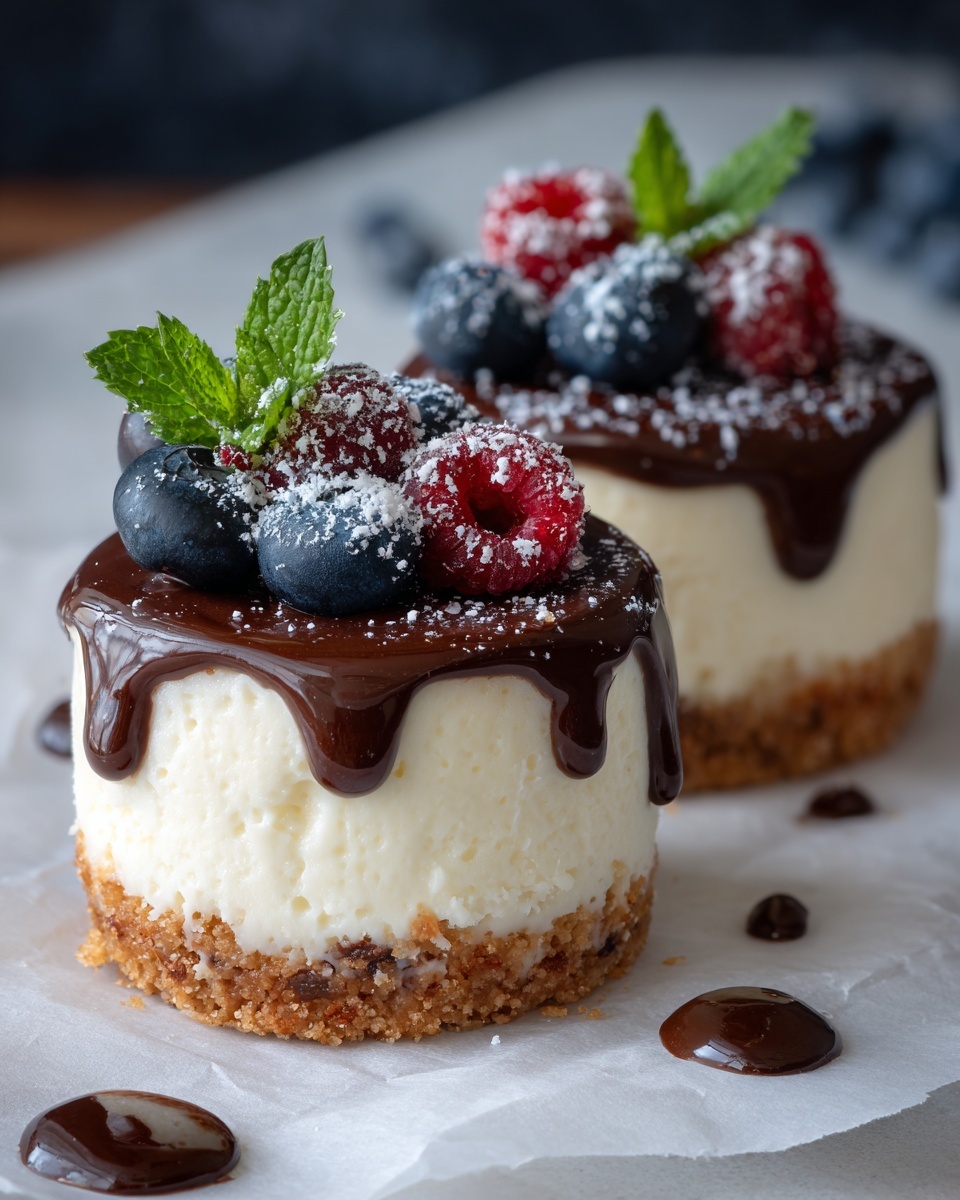
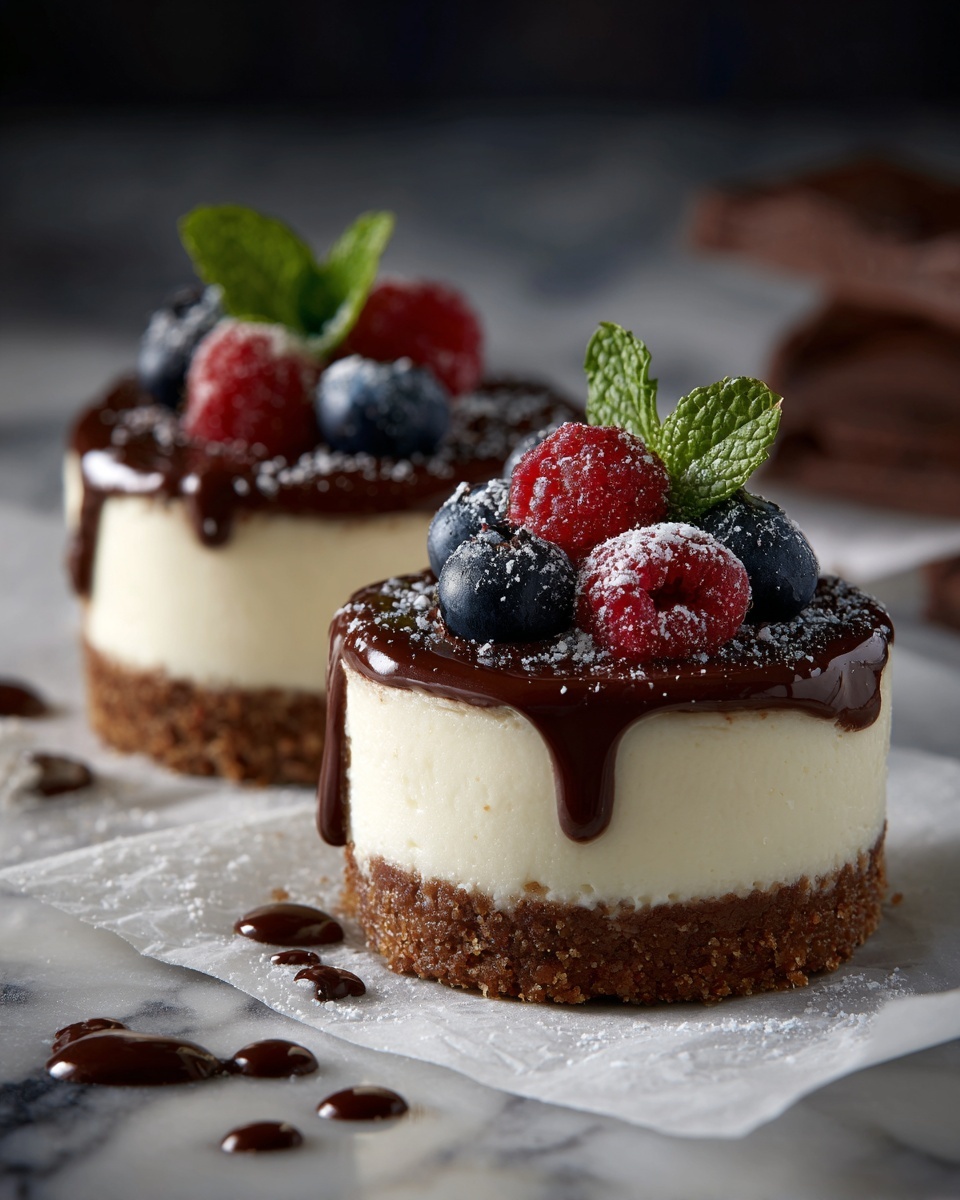
Mini cheesecakes are like little blank canvases waiting to be decorated. Fresh fruits such as strawberries, raspberries, or blueberries add a refreshing burst of color and tang that contrasts with the richness. Drizzling melted chocolate or caramel sauce over the top brings an extra layer of indulgence. Whipped cream is also a classic favorite that adds a light, airy finish to each bite.
Side Dishes
Because these mini cheesecakes are quite rich, pairing them with light and fresh sides is a great idea. A crisp green salad with citrus vinaigrette or a small bowl of fruit salad complements the creamy sweetness perfectly. For a cozy twist, serve alongside a hot cup of coffee or tea to balance the dessert’s richness.
Creative Ways to Present
Presentation makes all the difference, especially when serving friends or guests. Arrange your Mini Cheesecakes III Recipe on a decorative platter lined with edible flowers or mint leaves for an elegant look. You can also serve them in individual glass jars layered with fruit compote or whipped cream, turning this classic dessert into a trendy treat.
Make Ahead and Storage
Storing Leftovers
Once prepared, mini cheesecakes store beautifully in the refrigerator. Keep them covered with plastic wrap or in an airtight container to maintain moisture and prevent them from absorbing other fridge odors. They will stay fresh and creamy for up to 4 days, making them a great make-ahead treat.
Freezing
If you want to prepare these mini cheesecakes ahead of time or save leftovers for later, freezing works wonderfully. Place them in a single layer on a baking sheet and freeze until firm before transferring to an airtight container or freezer bag. They can be frozen for up to 2 months without losing their delightful flavor or texture.
Reheating
When ready to enjoy frozen mini cheesecakes, thaw them in the refrigerator overnight for the best texture. Because they are best served chilled, avoid reheating in a microwave or oven. If you prefer them slightly less cold, let them sit at room temperature for 20-30 minutes before serving.
FAQs
Can I use a different type of crust?
Absolutely! While the traditional graham cracker crust is classic, you can try crushed digestive biscuits, chocolate cookies, or even a nut-based crust for a unique flavor and texture.
How can I prevent cracks in my mini cheesecakes?
To keep cracks at bay, make sure your cream cheese is softened before mixing and avoid over-beating the batter. Also, baking at a lower temperature and letting the cheesecakes cool gradually helps maintain a smooth surface.
Can I make this recipe gluten-free?
Yes! Simply substitute the graham cracker crumbs with gluten-free cookie crumbs or gluten-free graham crackers crumb, and ensure all other ingredients are gluten-free certified.
What toppings pair best with chocolate-flavored Mini Cheesecakes III Recipe?
For chocolate mini cheesecakes, fresh raspberries, chopped nuts, or a sprinkle of sea salt work beautifully to balance the sweetness and enhance the rich chocolate flavor.
How long do mini cheesecakes last in the refrigerator?
When stored properly in an airtight container, mini cheesecakes can last up to 4 days in the refrigerator without losing their texture or flavor.
Final Thoughts
Trying the Mini Cheesecakes III Recipe is like inviting a little piece of joy into your kitchen. These charming, creamy bites are perfect for any occasion, and the satisfaction of making them yourself is unbeatable. So grab your ingredients, follow these easy steps, and prepare to be amazed by how such small treats can deliver so much deliciousness. Your friends and family will be asking for seconds in no time!
Print
Mini Cheesecakes III Recipe
- Prep Time: 20 minutes
- Cook Time: 20 minutes
- Total Time: 2 hours 40 minutes
- Yield: 12 servings
- Category: Dessert
- Method: Baking
- Cuisine: American
Description
These Mini Cheesecakes III are creamy, rich, and perfectly portioned individual cheesecakes with a buttery graham cracker crust. Baked to a smooth, slightly golden finish and chilled for the best texture, they’re ideal for parties or a delightful dessert treat.
Ingredients
Crust
- 1 1/2 cups graham cracker crumbs
- 1/4 cup white sugar
- 1/3 cup butter, melted
Filling
- 2 (8 oz) packages cream cheese, softened
- 2/3 cup white sugar
- 2 eggs
- 1/2 teaspoon vanilla extract
- 1/2 cup sour cream
Instructions
- Preheat Oven and Prepare Pan: Preheat your oven to 325°F (165°C). Line a muffin tin with paper liners to ensure easy removal and clean-up.
- Make the Crust: In a medium bowl, mix together the graham cracker crumbs, 1/4 cup white sugar, and melted butter until well combined. Press this mixture firmly into the bottom of each muffin cup to form an even crust layer.
- Prepare the Filling: In a large bowl, beat the softened cream cheese and 2/3 cup white sugar together until the mixture is smooth and creamy without lumps. Add the eggs one at a time, beating well after each addition to ensure a smooth texture. Stir in the vanilla extract and sour cream until just combined.
- Fill the Cups: Spoon the cream cheese mixture over the prepared crusts in the muffin cups, filling each almost to the top but leaving a little room for rising.
- Bake: Bake in the preheated oven for 18-22 minutes or until the mini cheesecakes are set around the edges but slightly jiggly in the center and have a slight golden color on top.
- Cool and Chill: Allow the cheesecakes to cool in the pan on a wire rack. Once cooled, refrigerate for at least 2 hours to let them firm up and develop better flavor and texture.
- Serve: Before serving, optionally top with fresh fruits or a drizzle of chocolate sauce for added flavor and visual appeal.
Notes
- Be sure the cream cheese is softened to room temperature for a smooth filling and to avoid lumps.
- Do not overbake; the centers should still be slightly jiggly to ensure creamy texture after chilling.
- Use muffin paper liners for easy removal and serving.
- Chilling is essential for the best texture and flavor; do not skip.
- Customize toppings with fresh berries, fruit compote, or chocolate drizzle depending on your preference.


